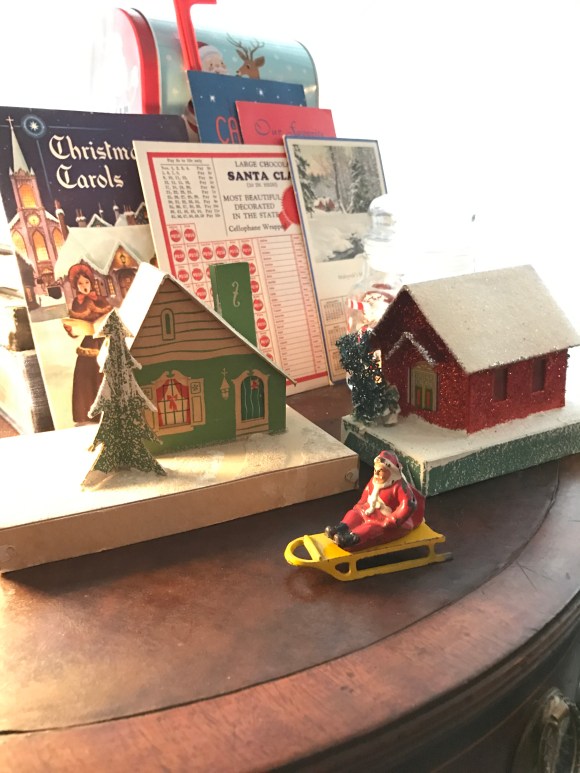
 Last year, I told Naoto about vintage Putz houses, the tiny Mid-Century glittered paper houses. I’ve always wanted a Christmas village but the newer ones never struck my fancy the way these old beat up ones did. They’re almost impossible to find with the glitter still shining and it’s a rare gem that still has its vellum windows and doors in tact. (Mid-century children must have loved to punch those things out!)
He surprised me at Christmas with two Putz houses–BOTH with all of their vellum in pristine condition! The green one has sweet little details like the curtained window and green door and the red one is so glittery and also has a really special door. He also got me a cast iron Santa riding a sled. I was so excited to pull the village (more like settlement) out this year! 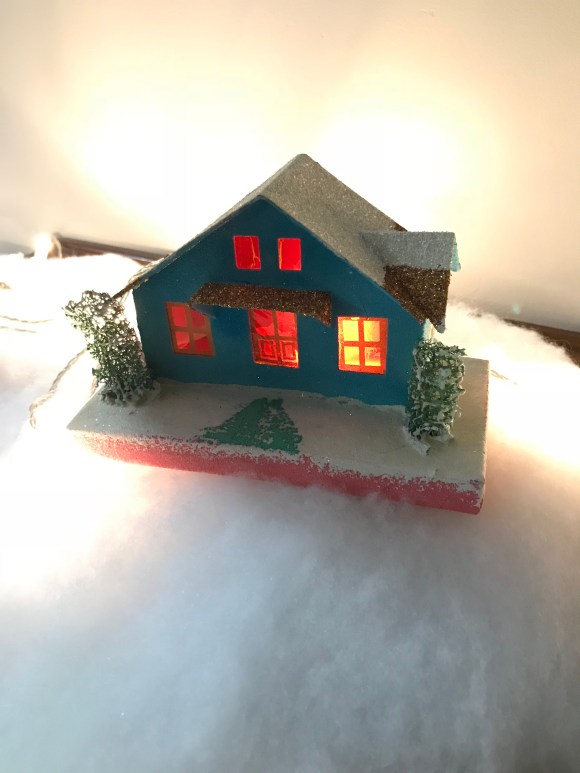 Then, during the Forest Park Holiday Walk, Karen and I found this blue gem. The windows, as you can see, have been repaired, but its color and two-toned glitter roof really sold me.
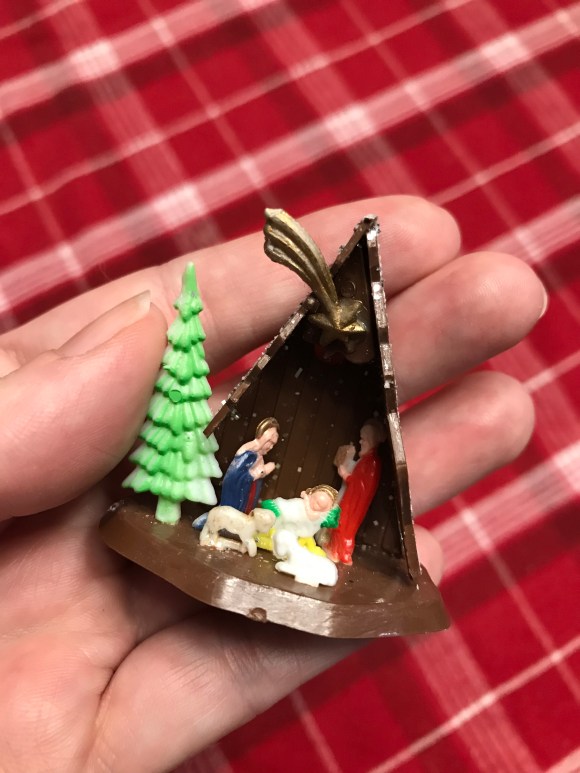 I also picked up this teeny plastic nativity for the village, because every town needs one.
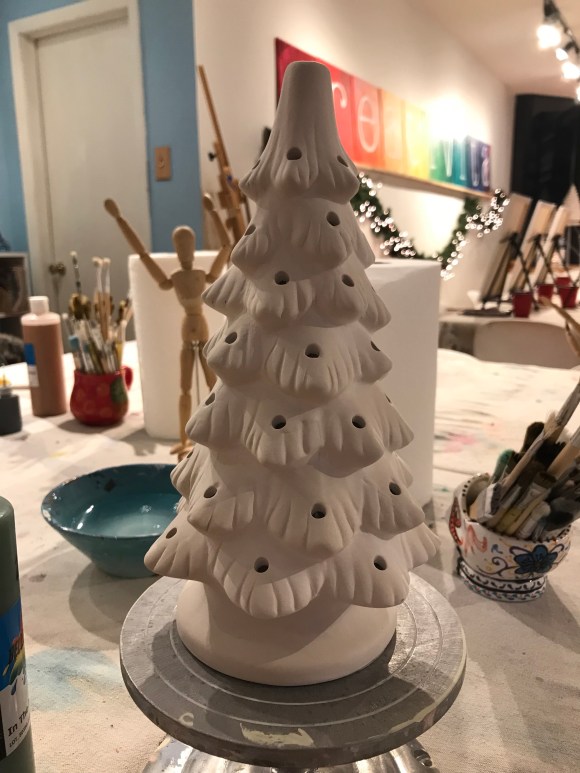
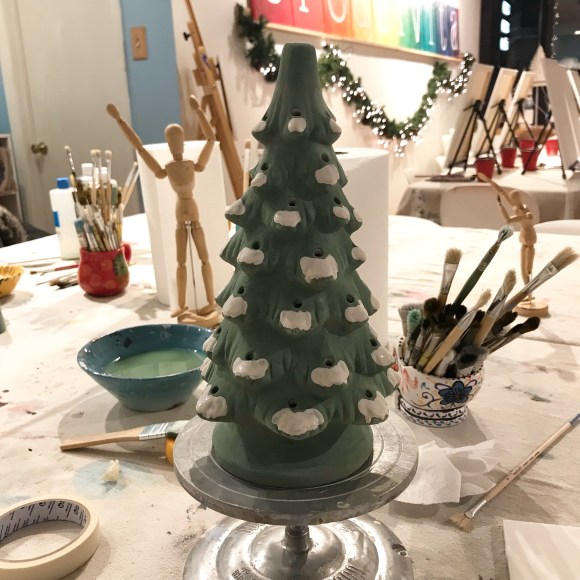 Every settlement also needs a town Christmas tree, so I painted one at Creativita. Have you noticed ceramic Christmas trees are making a comeback? I highly recommend painting your own! It was such a fun activity!
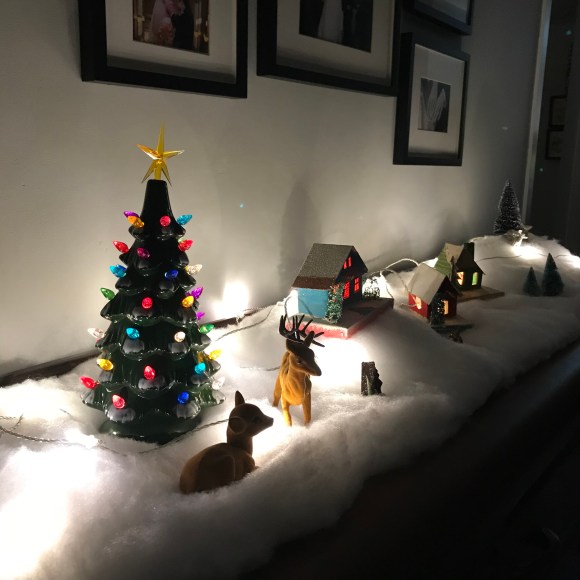
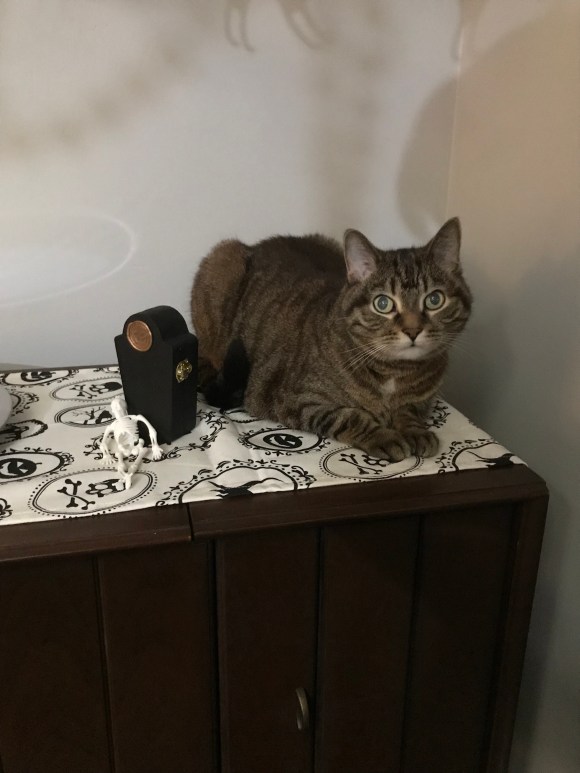
The flocked deer are especially fond of the new tree. 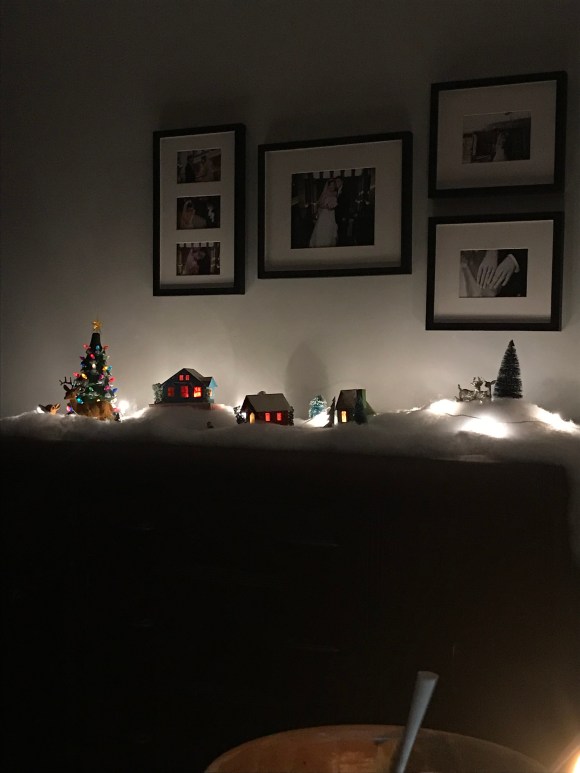 I had to put the village on the sideboard this year because Presley has been napping on the wine cabinet lately. I like it better on the sideboard because the wine cabinet was too high to appreciate the village anyway.
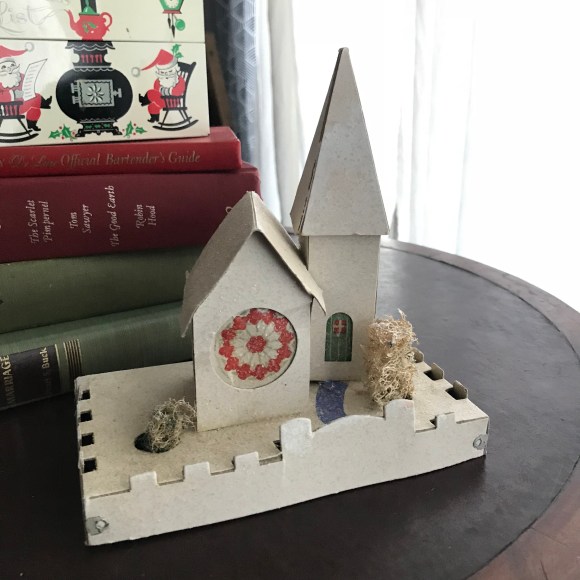 This year, Naoto added to my collection with a tiny Putz church!! And again, he struck gold with intact windows and doors!! It has some faded trees, but I love the little gate and the blue walkway! This one hardly has any glitter left so I may add some…but I hesitate to mess with its worn charm too much.
Here’s a little video of the complete village…


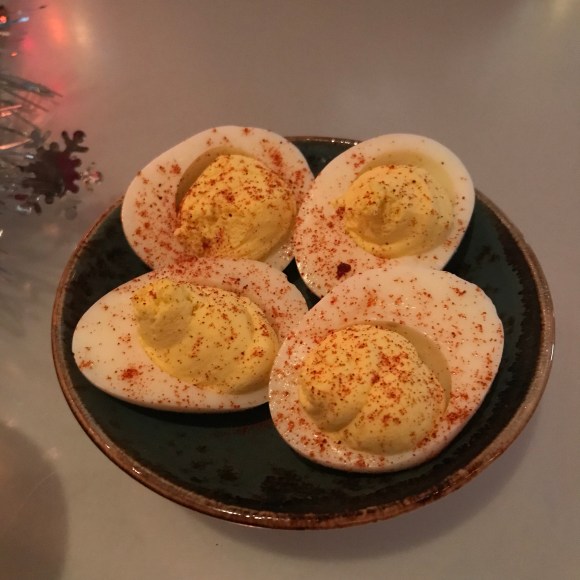
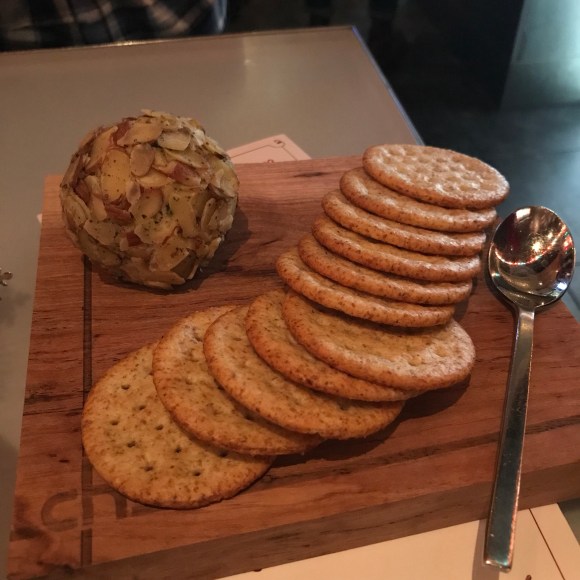
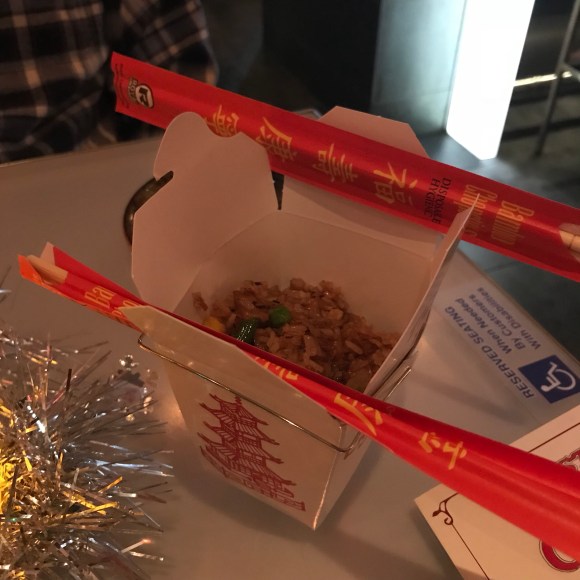


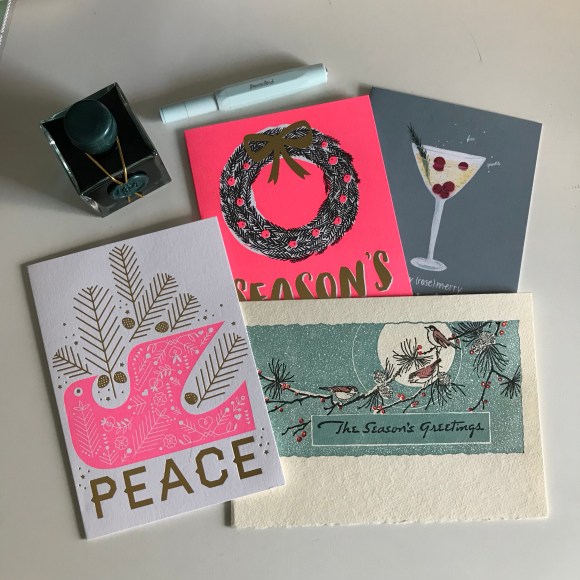




 It’s that time of the year again–
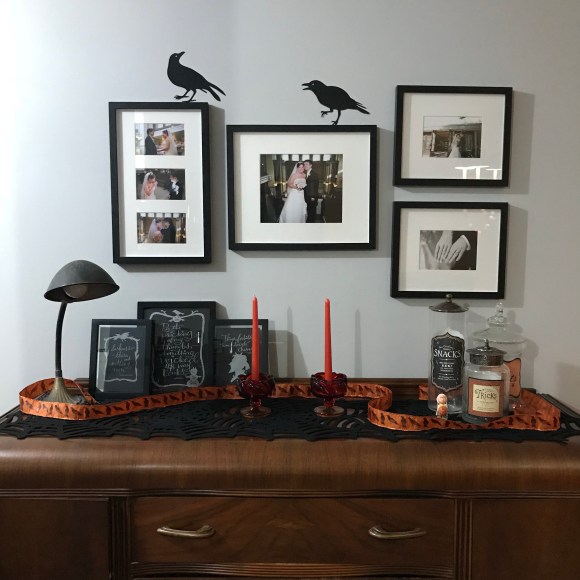
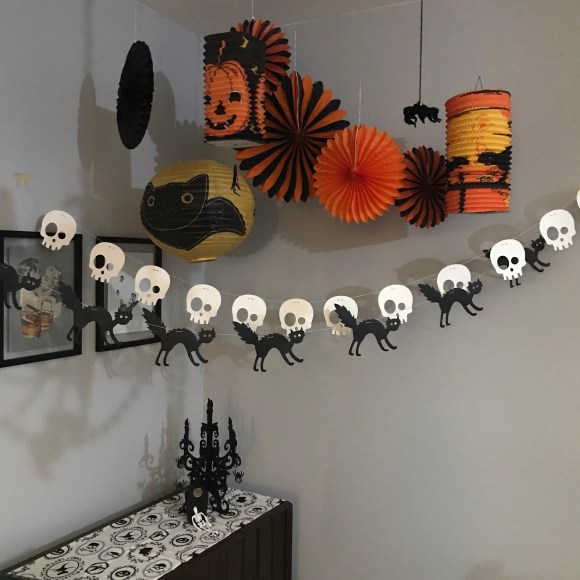
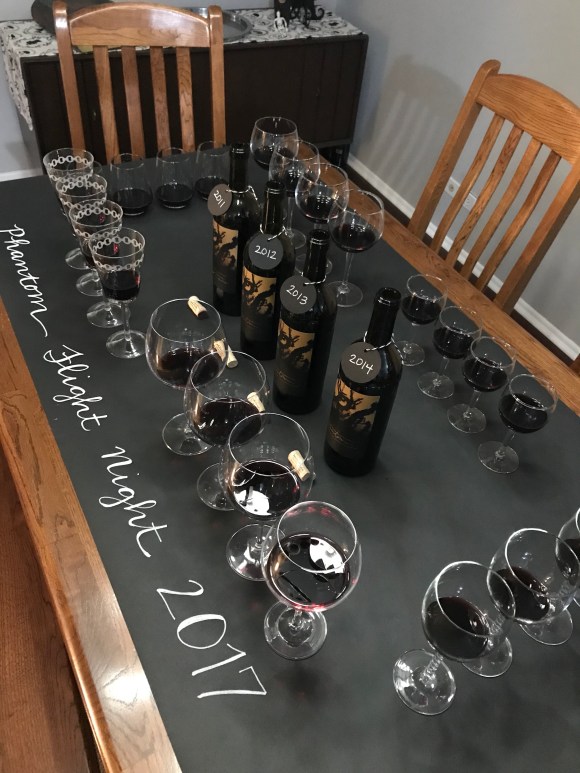

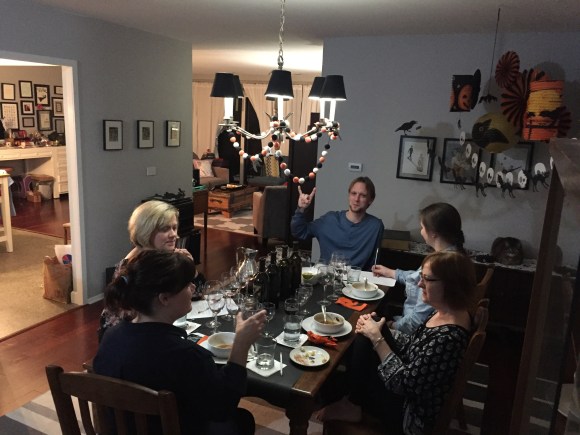
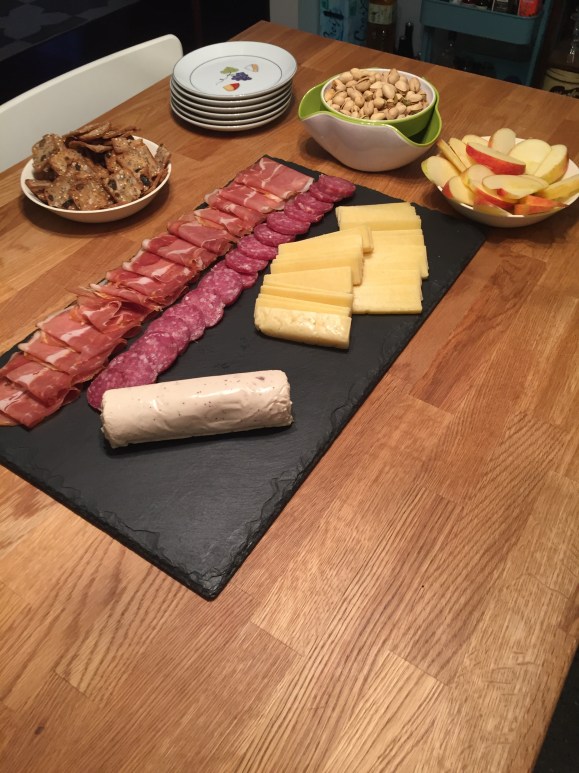 Karen made her fabulous homemade pimento cheese and we served meats and cheeses and minestrone soup. The “other Karen” made
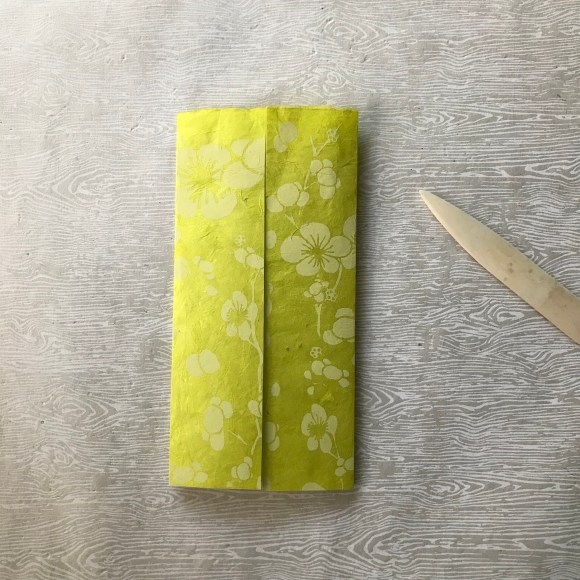
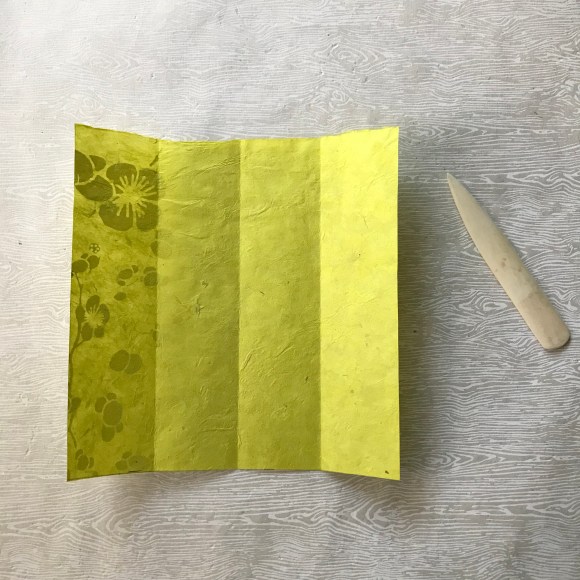
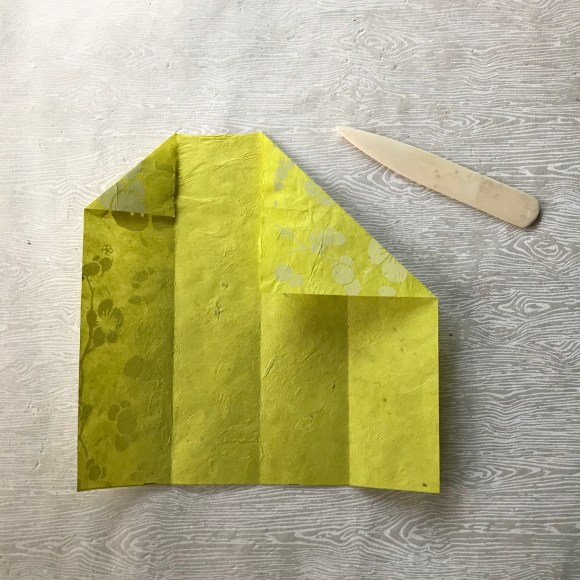
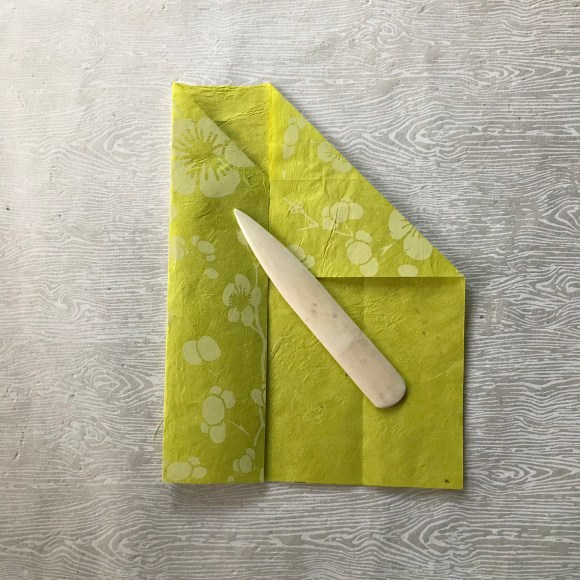
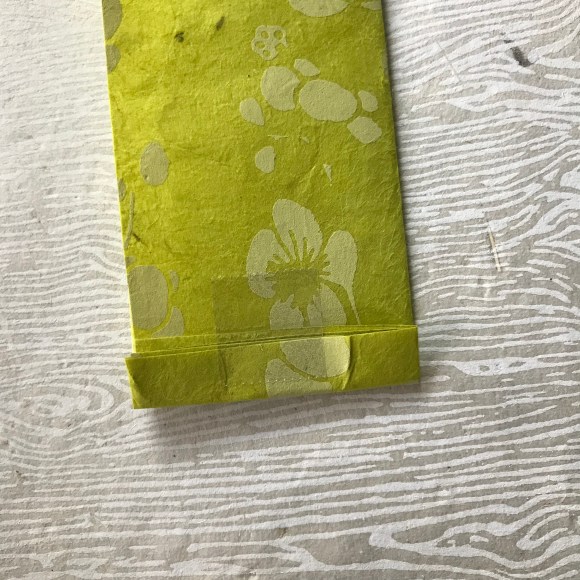
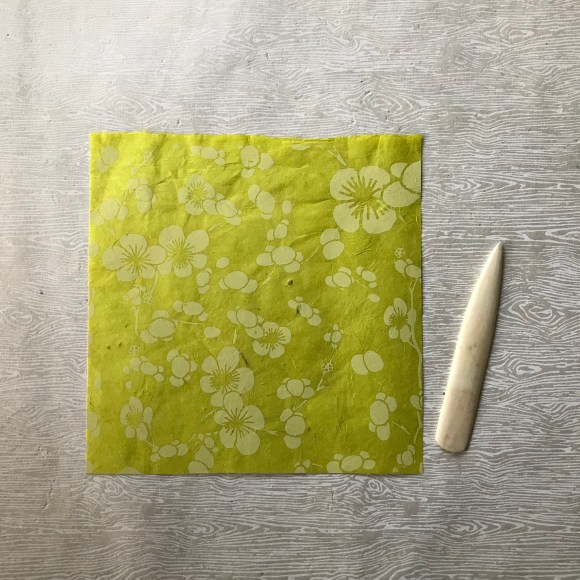 You’ll need to cut your paper to an 8×8 inch square. I used a ruler and scissors for this since the paper is too large for my paper cutter. Do your best to get nice straight lines since origami is a pretty exact science. My paper had a deckled edge so I placed that at the top to add some interest to the collar of the pencil/chopstick holder. You could also cut the deckled edge off and just have clean edges all around. A bone holder (that thing on the right) is helpful to smooth your folds, but if you don’t have one, you’re fingers will work just fine.
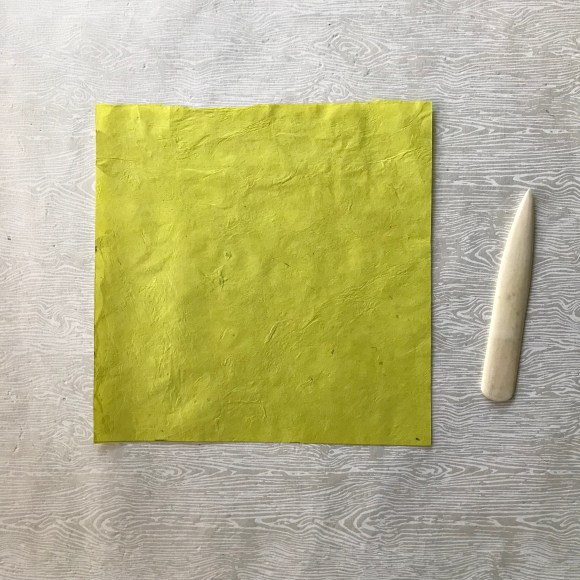 Flip your paper over so the pattern is facing down.
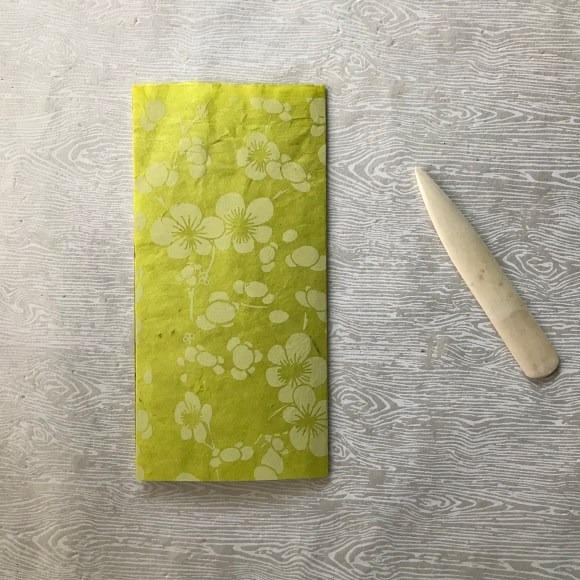
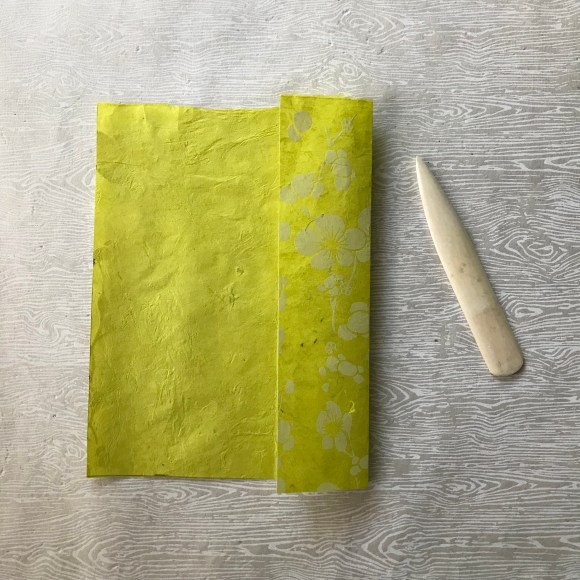
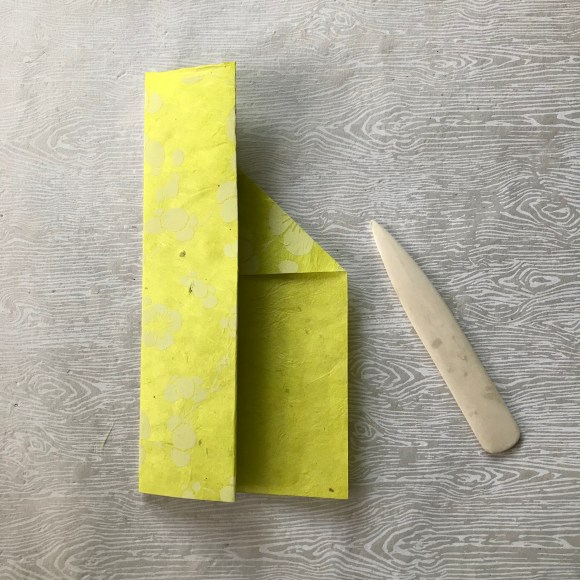
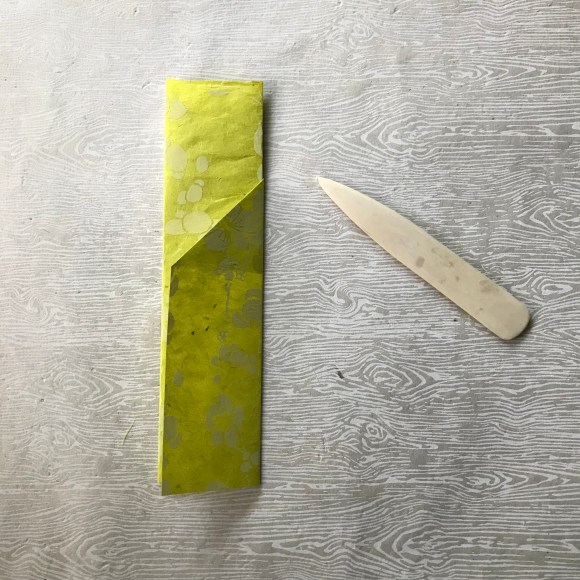
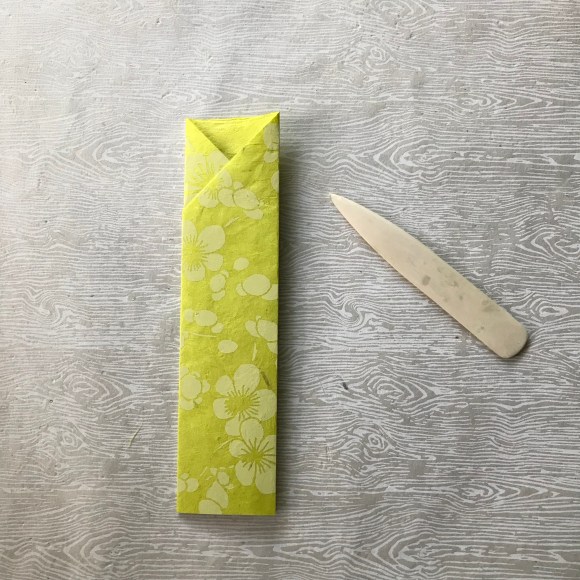
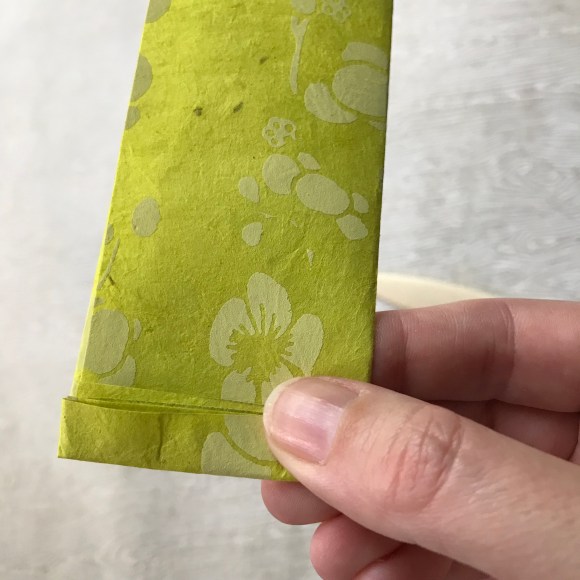
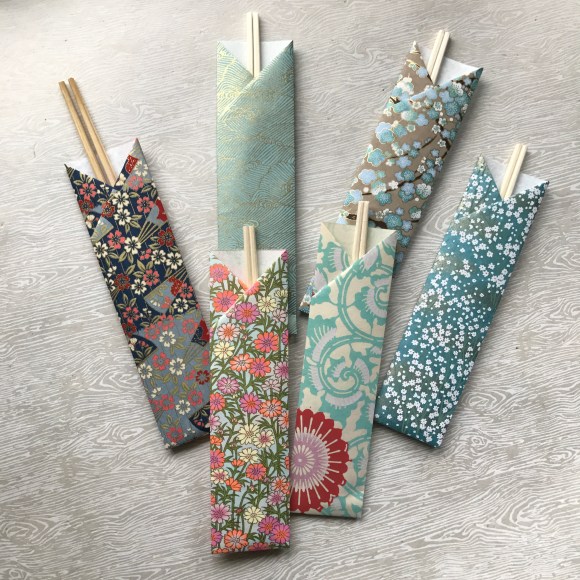
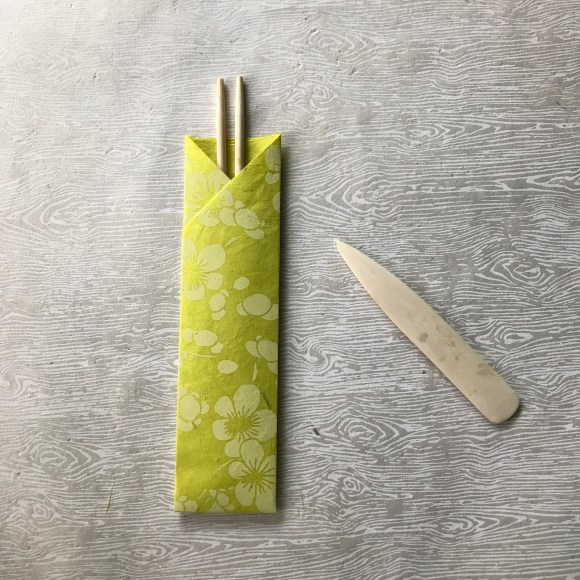 Stick in some chopsticks, pencils, pens, magic wands…and you’re done! I made a bunch for my
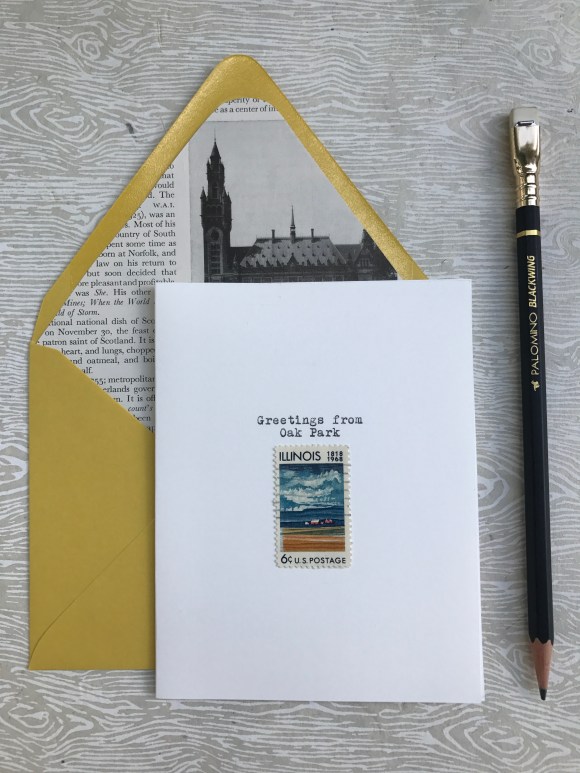
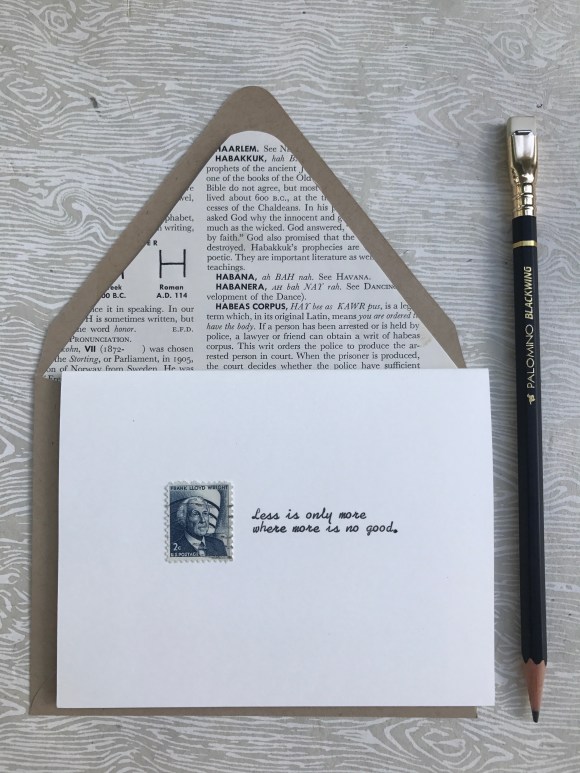
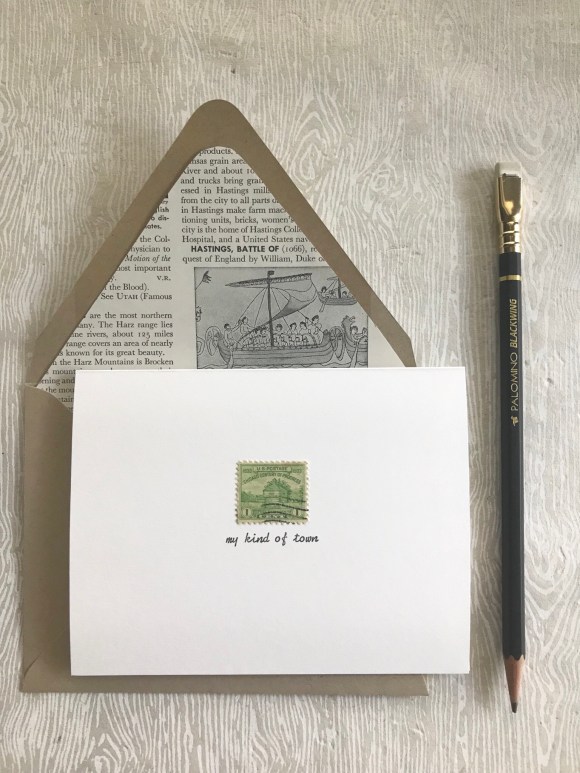
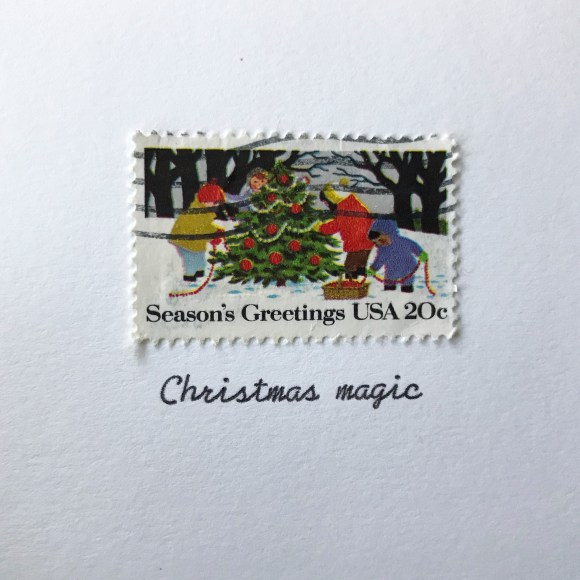
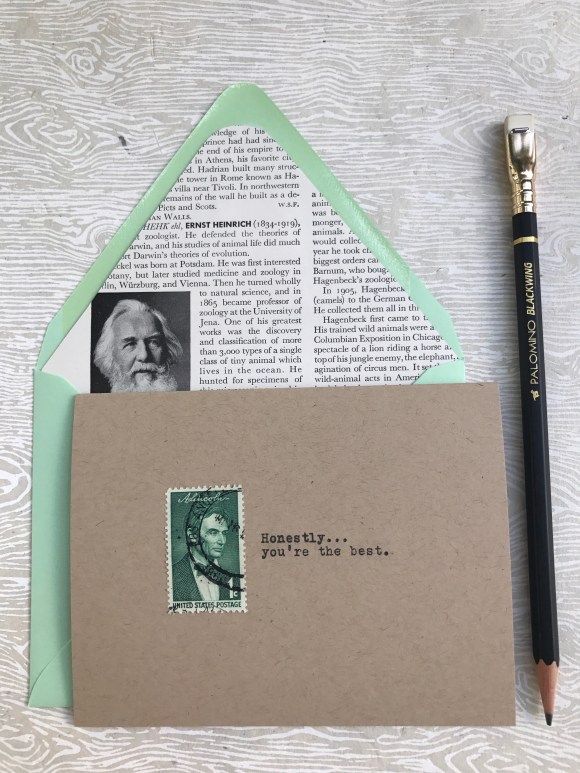 Since I won’t be standing in the shop telling people that my cards are all typed on vintage typewriters and that I use real cancelled postage stamps and line the envelopes with pages from old encyclopedias, I’m having a stamp made for the back of the cards to explain those details. Most of the cards at the shop are mass printed, so I’m hoping some locals and visitors will appreciate something that’s made entirely by hand.