Category Archives: crafty adventures

A Place For Everything & Everything In Its Place

Home Decorator's Collection, Martha Stewart flat fileIt’s been a little quiet over here on the blog these past couple of weeks. I’ve been trying to focus on cleaning up around here, spending time outside and drinking in this wonderful summer.

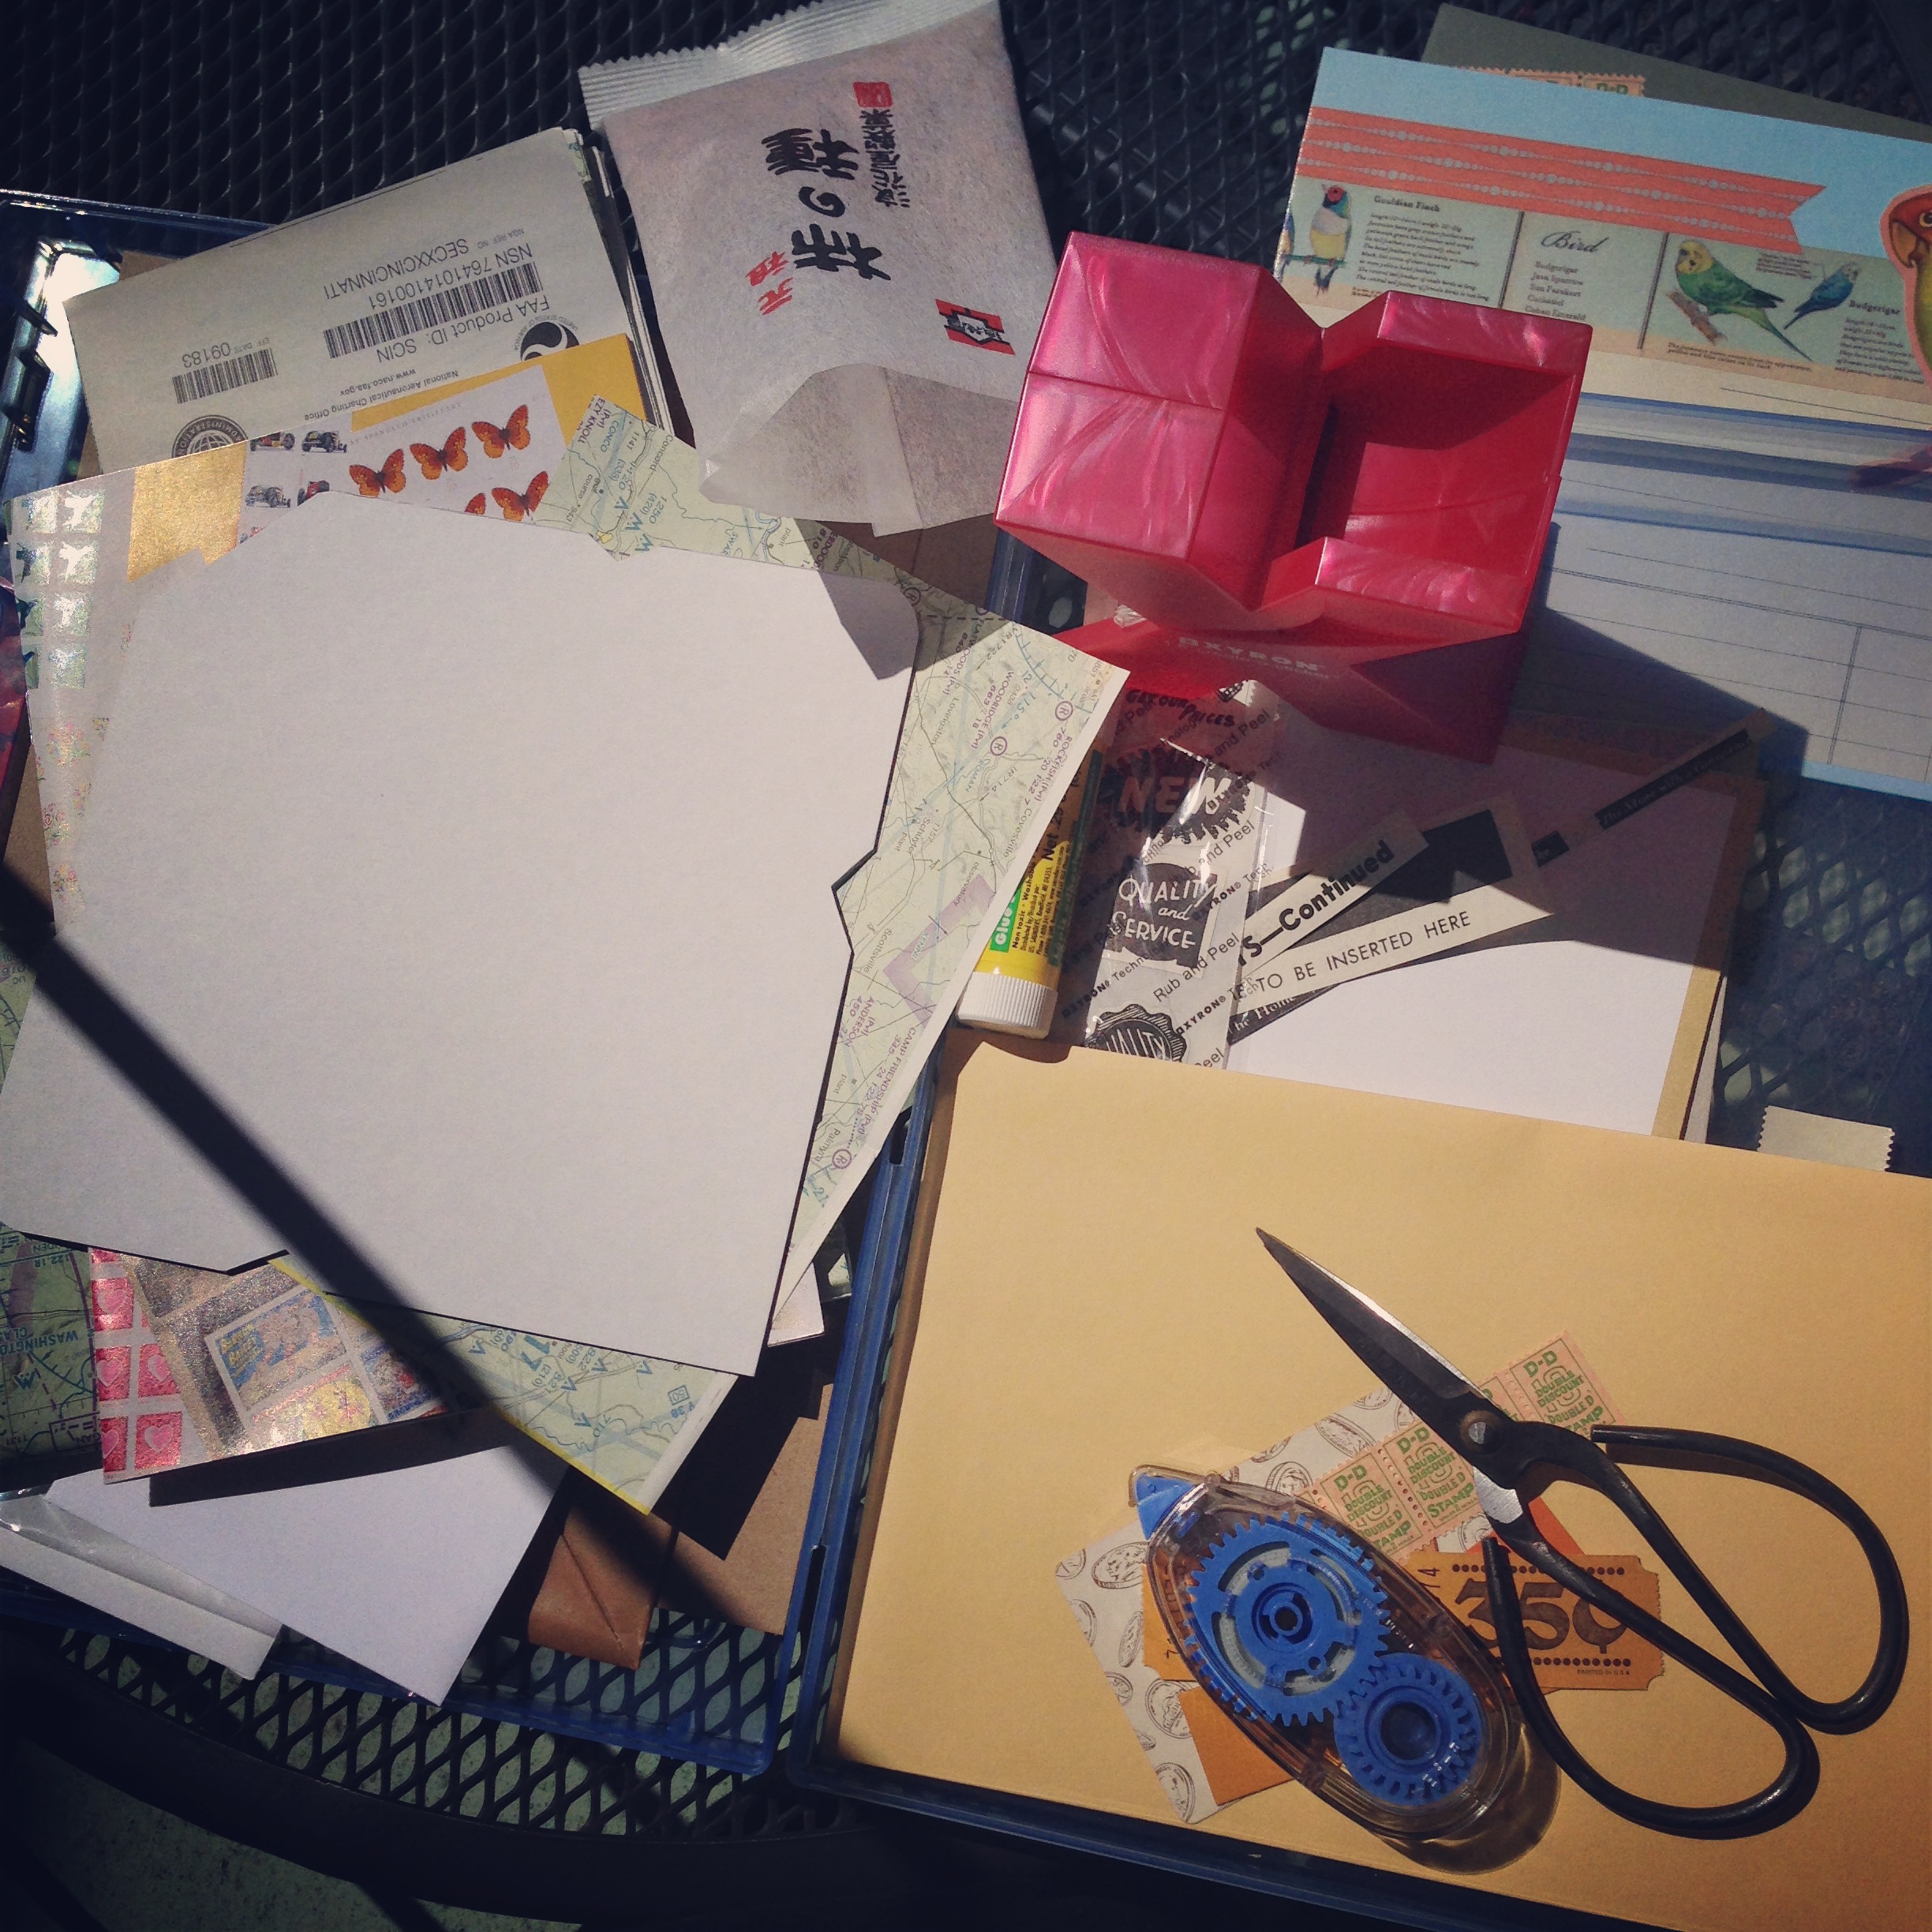
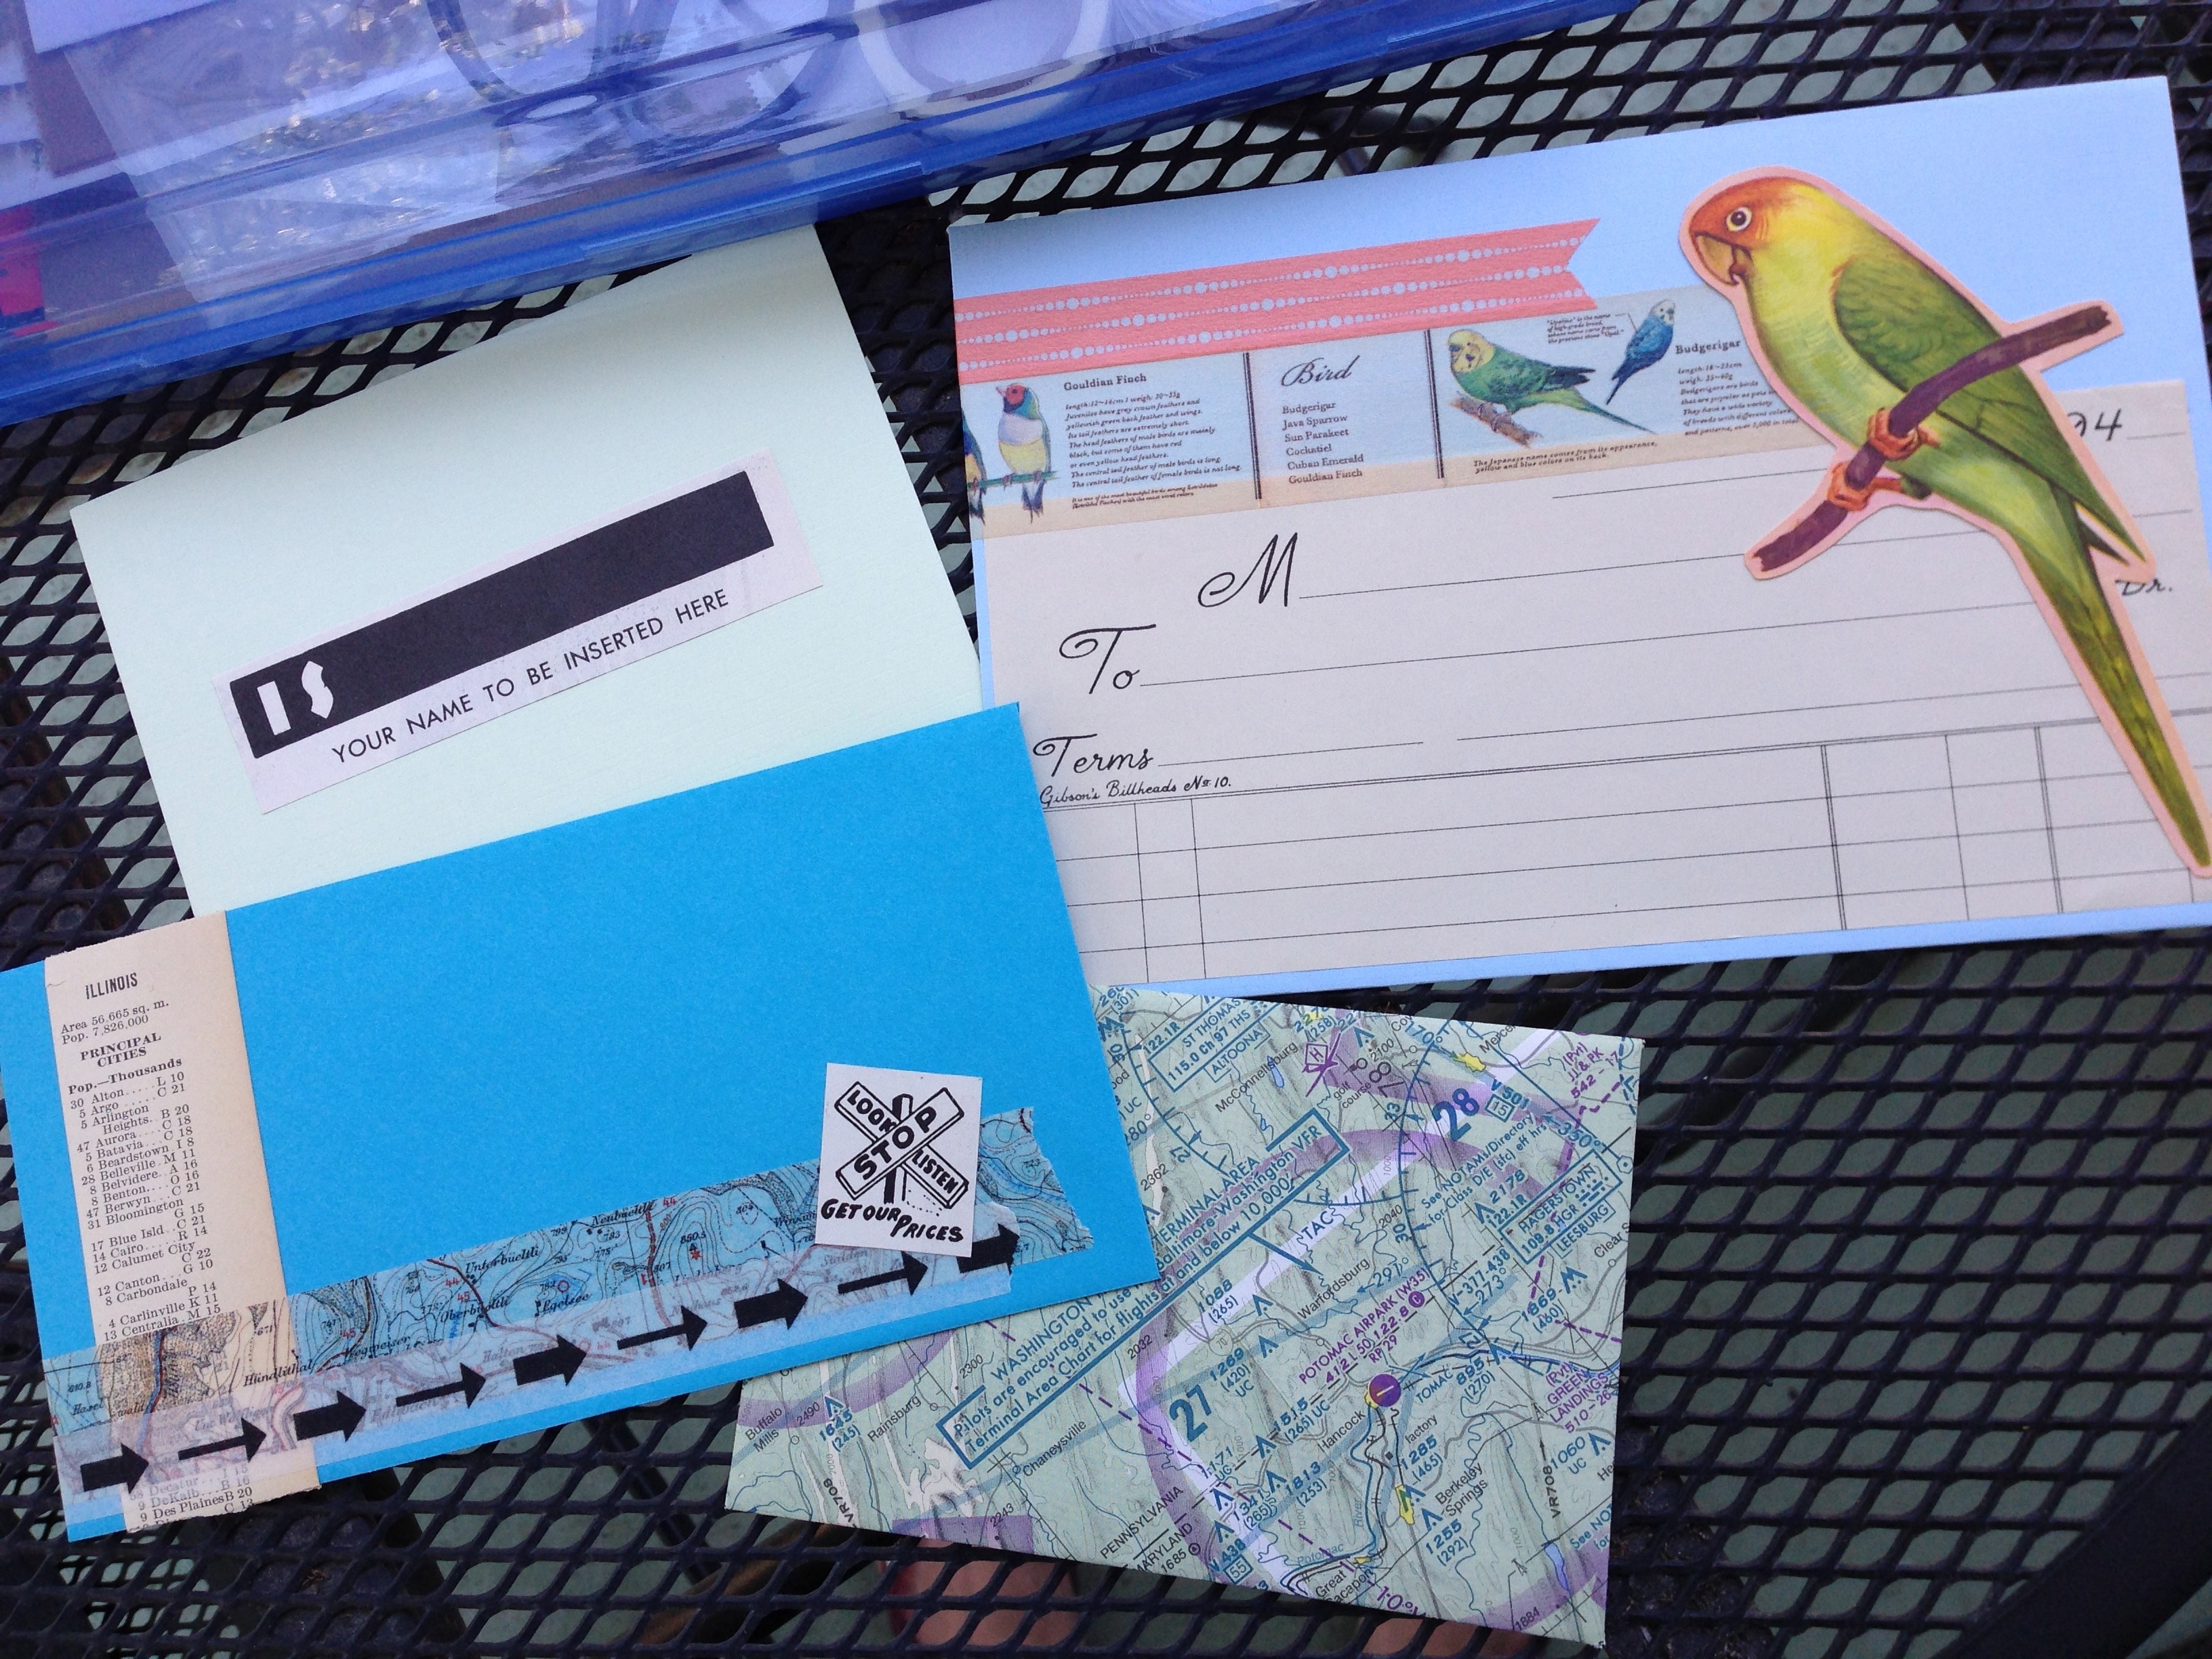
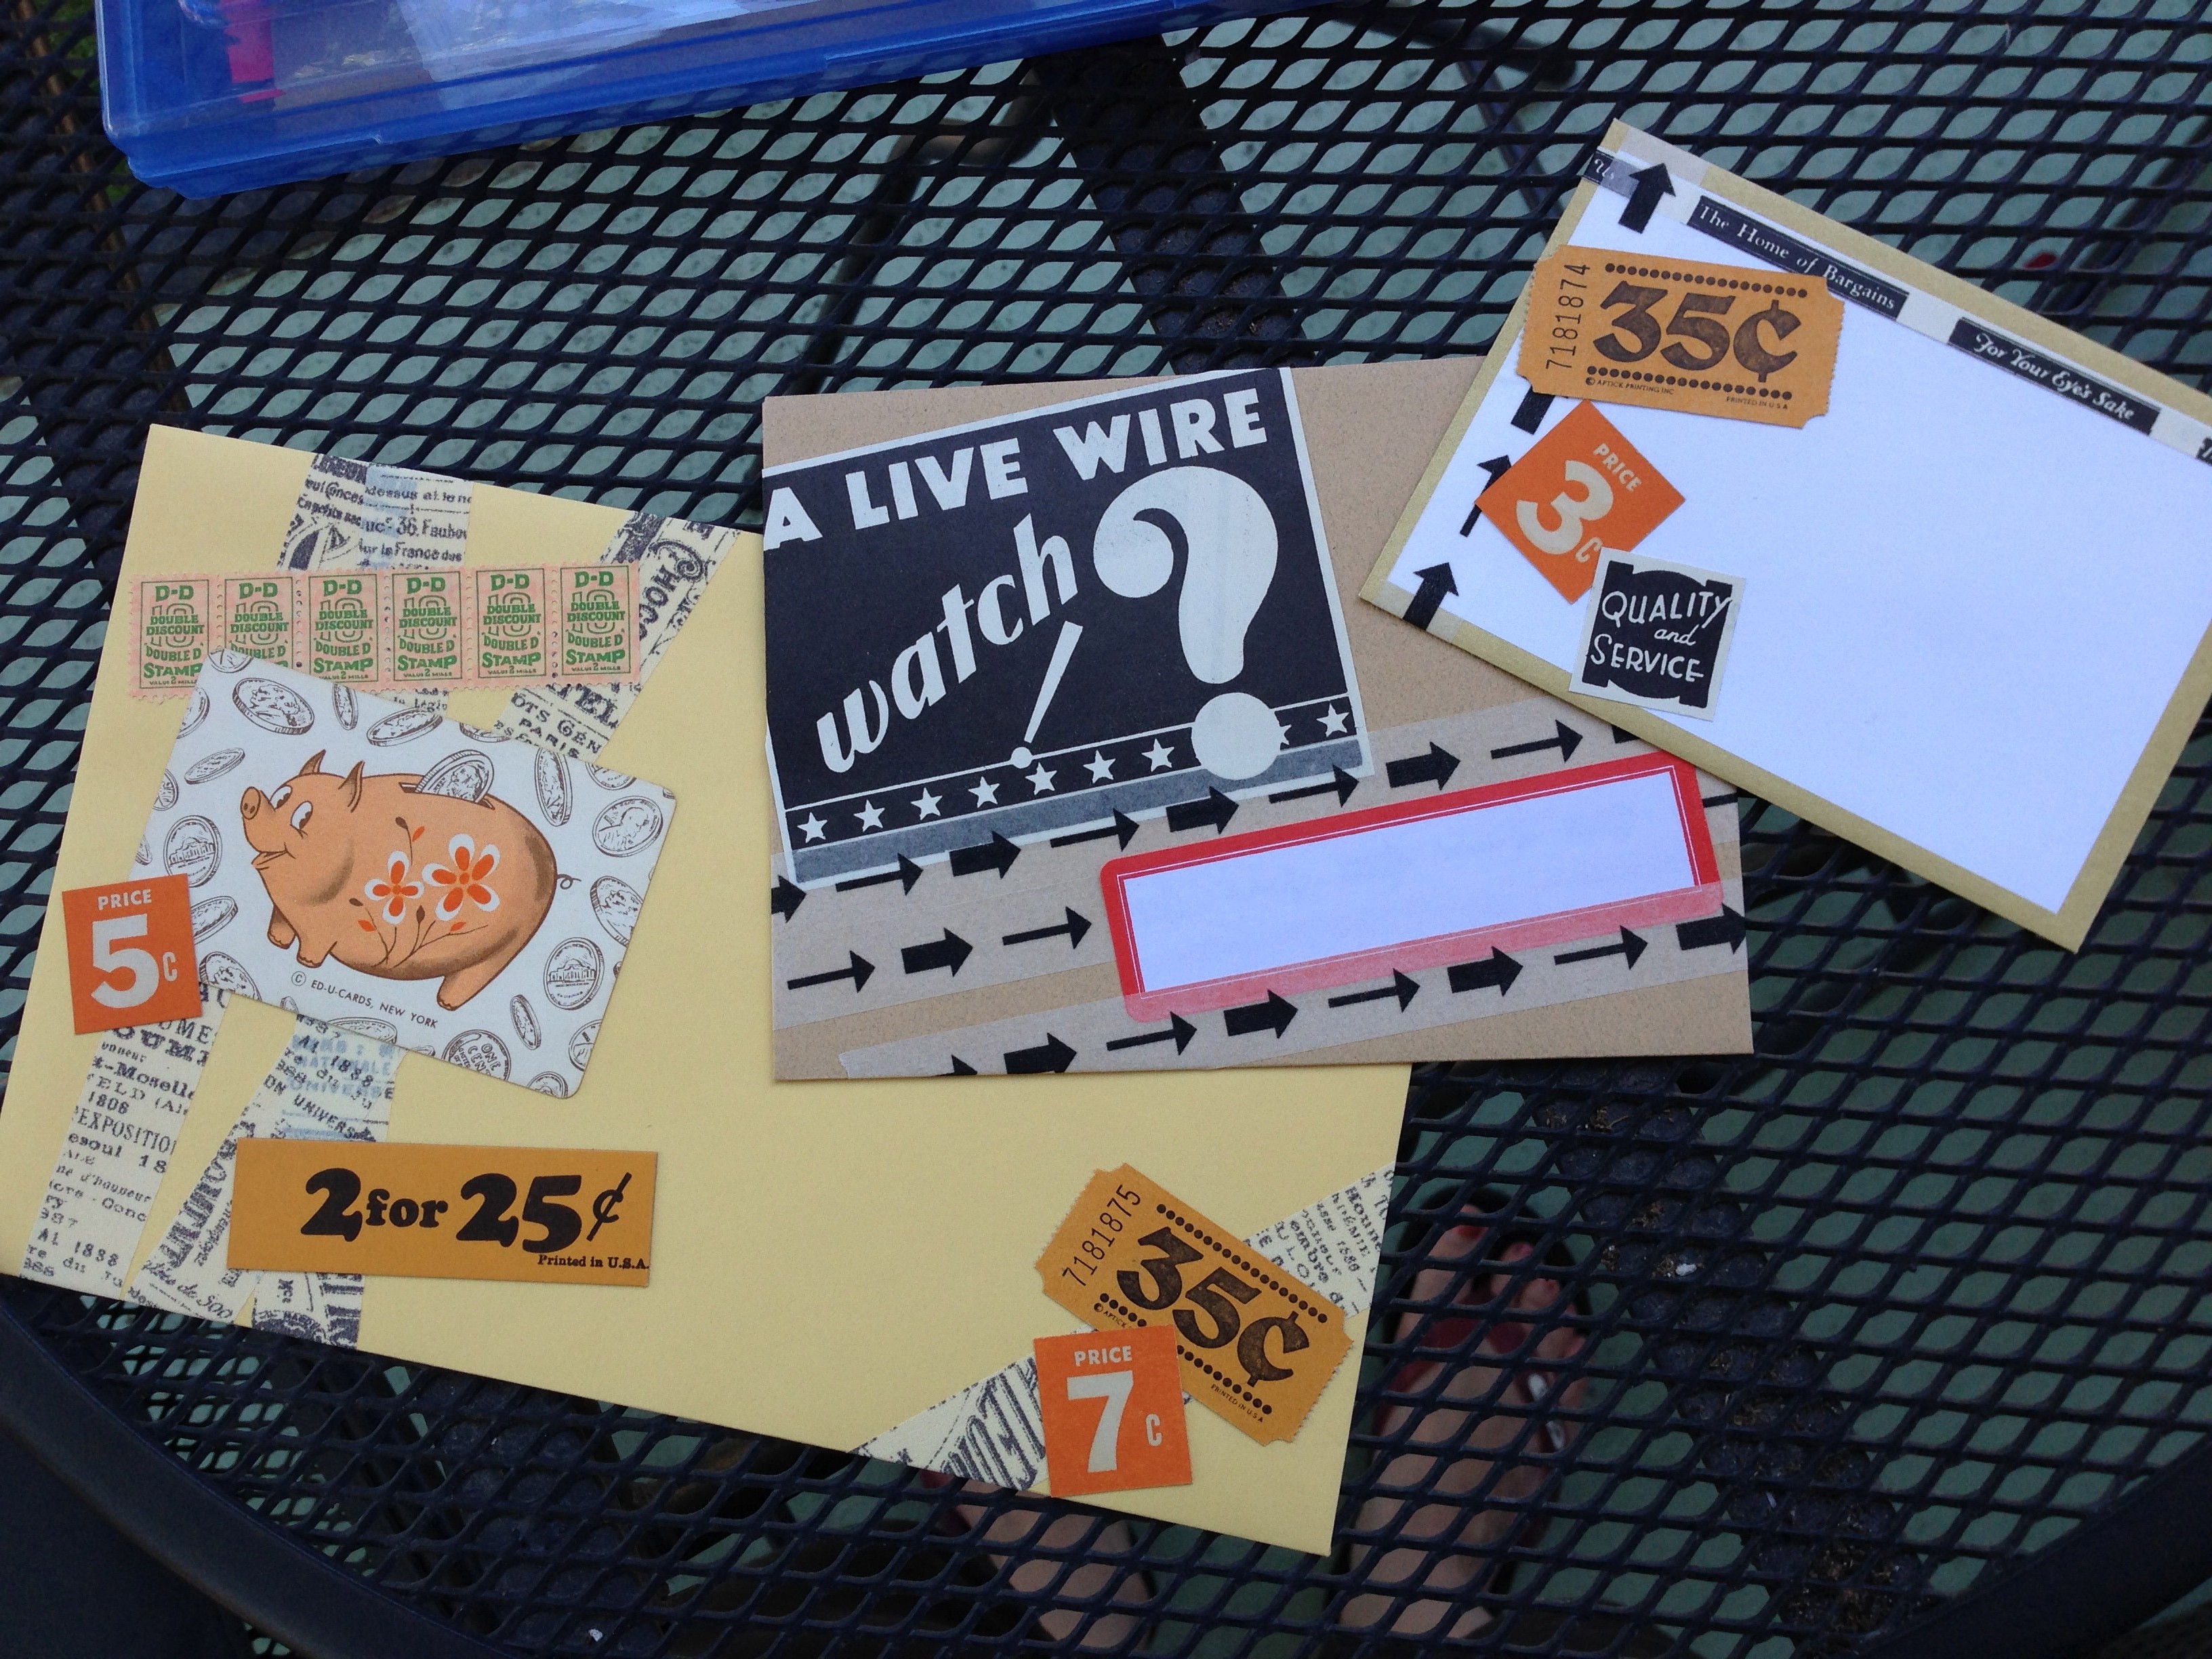
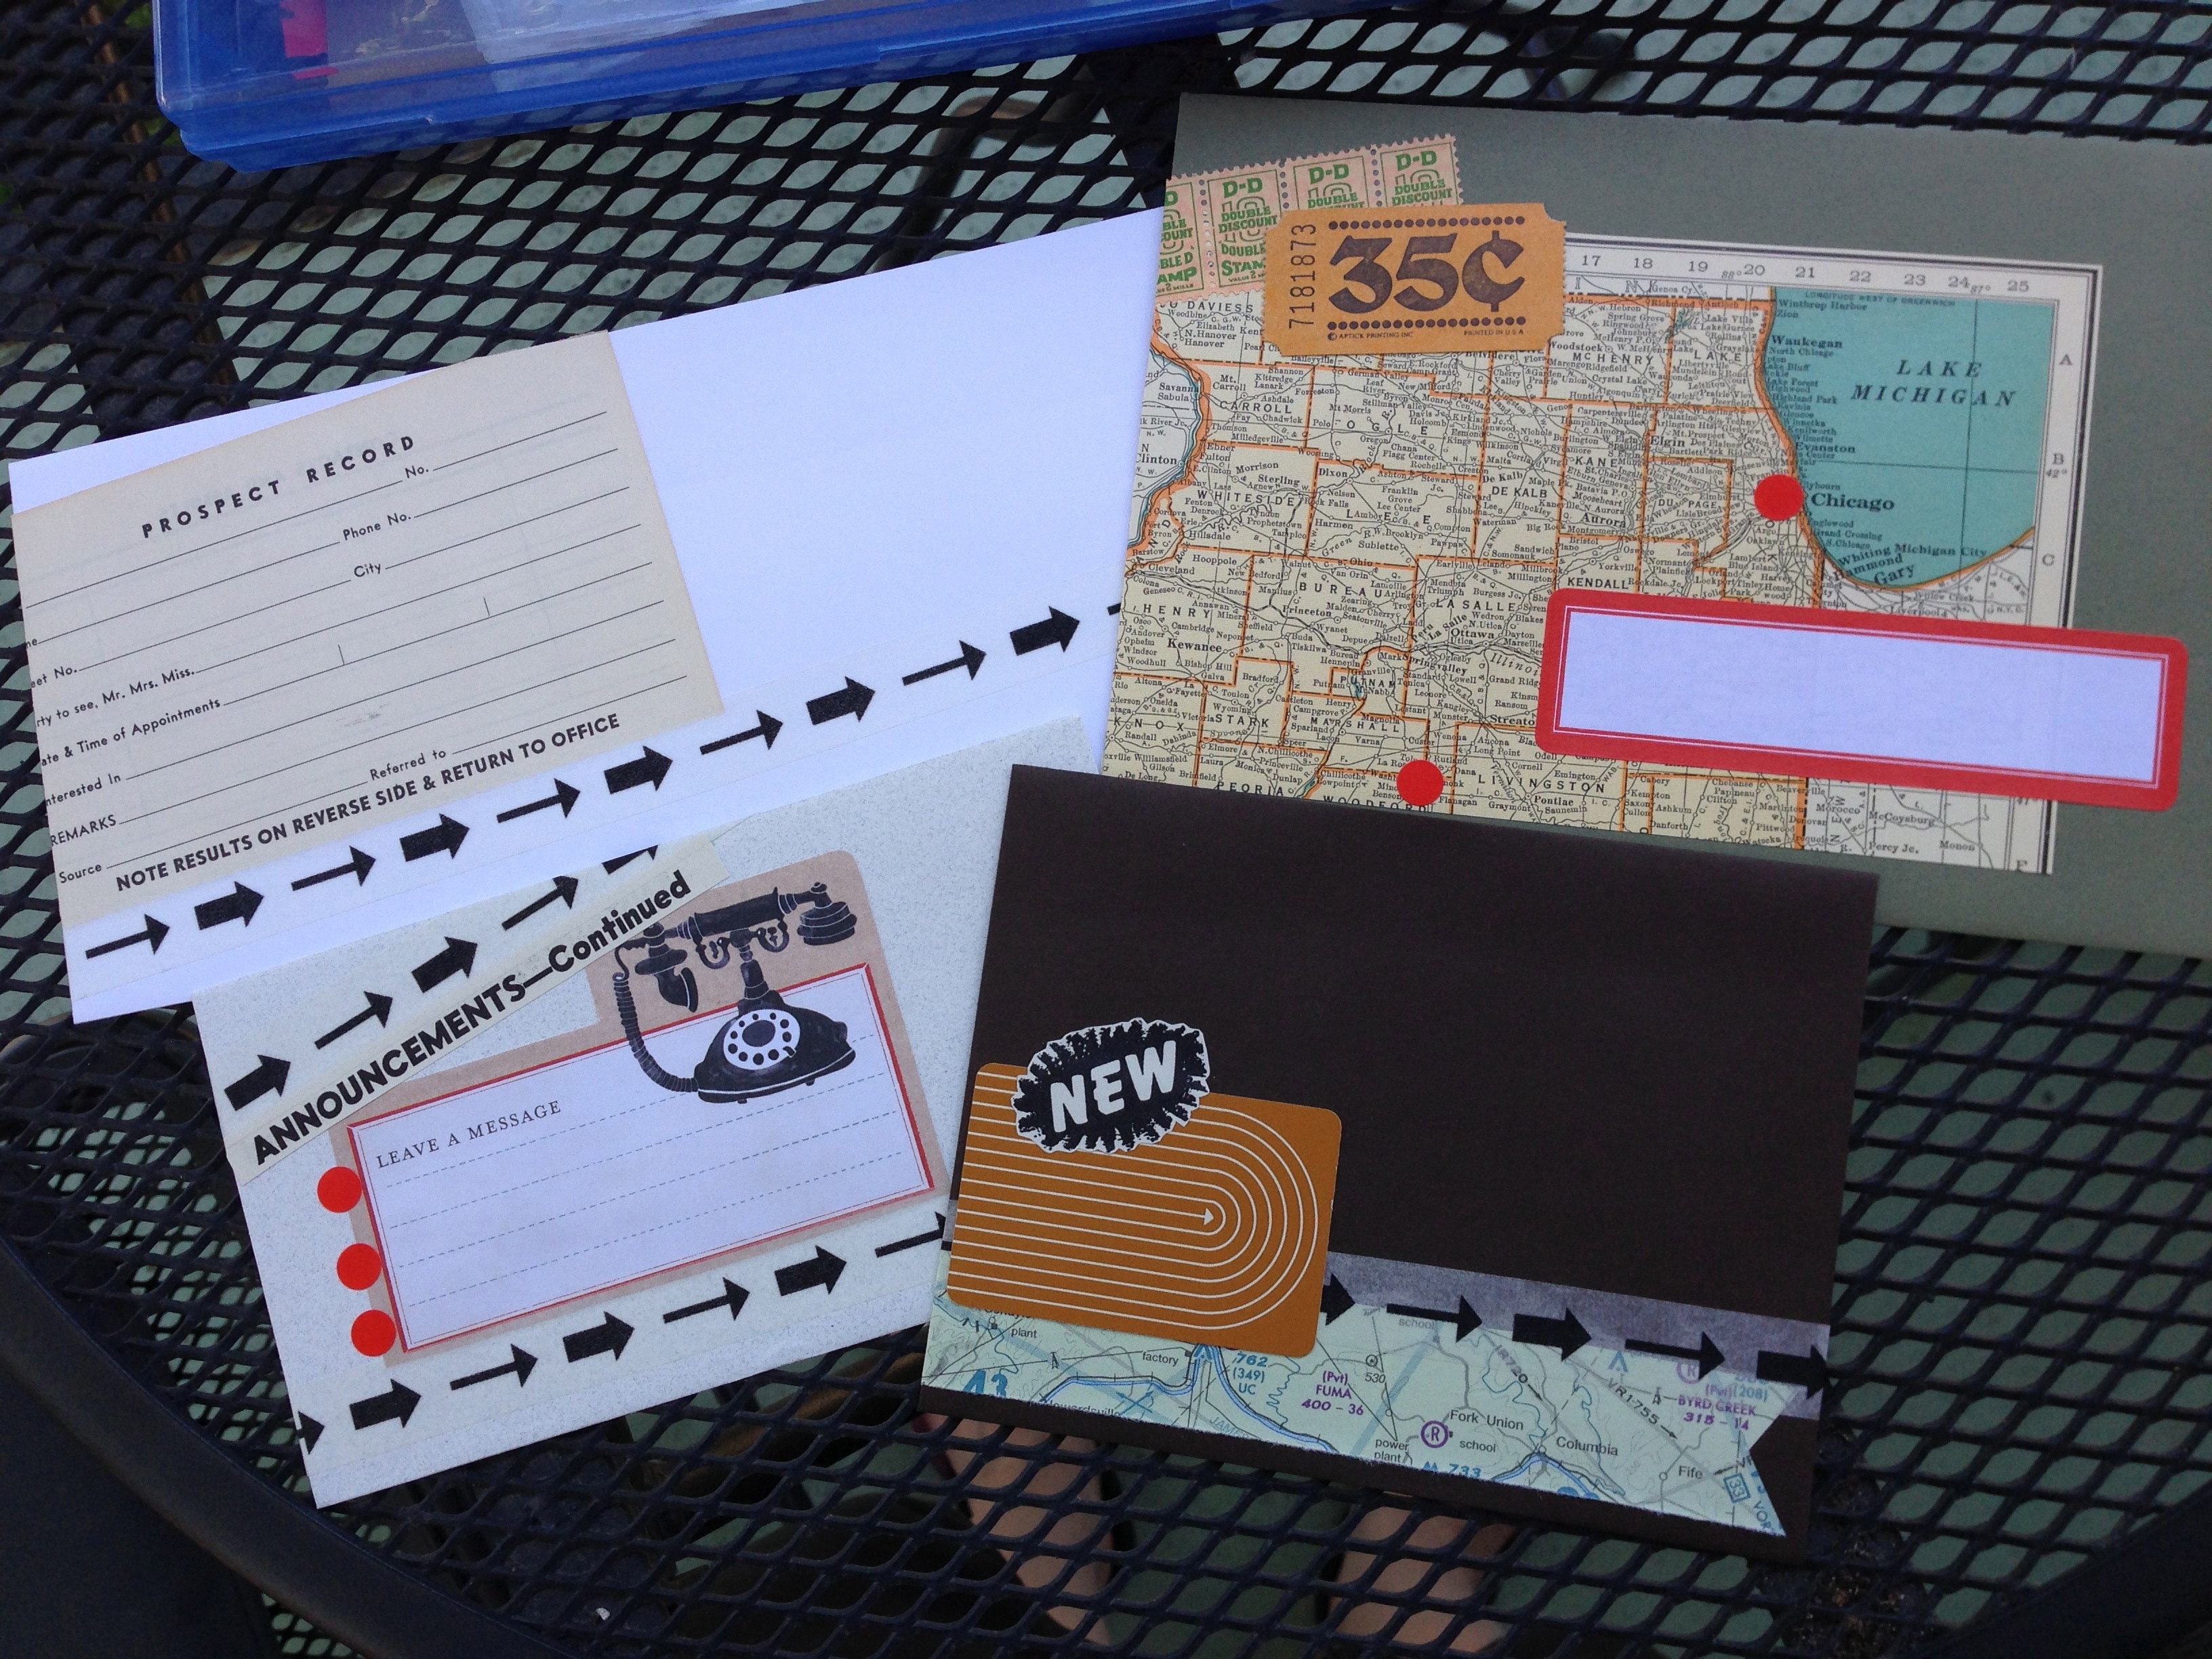
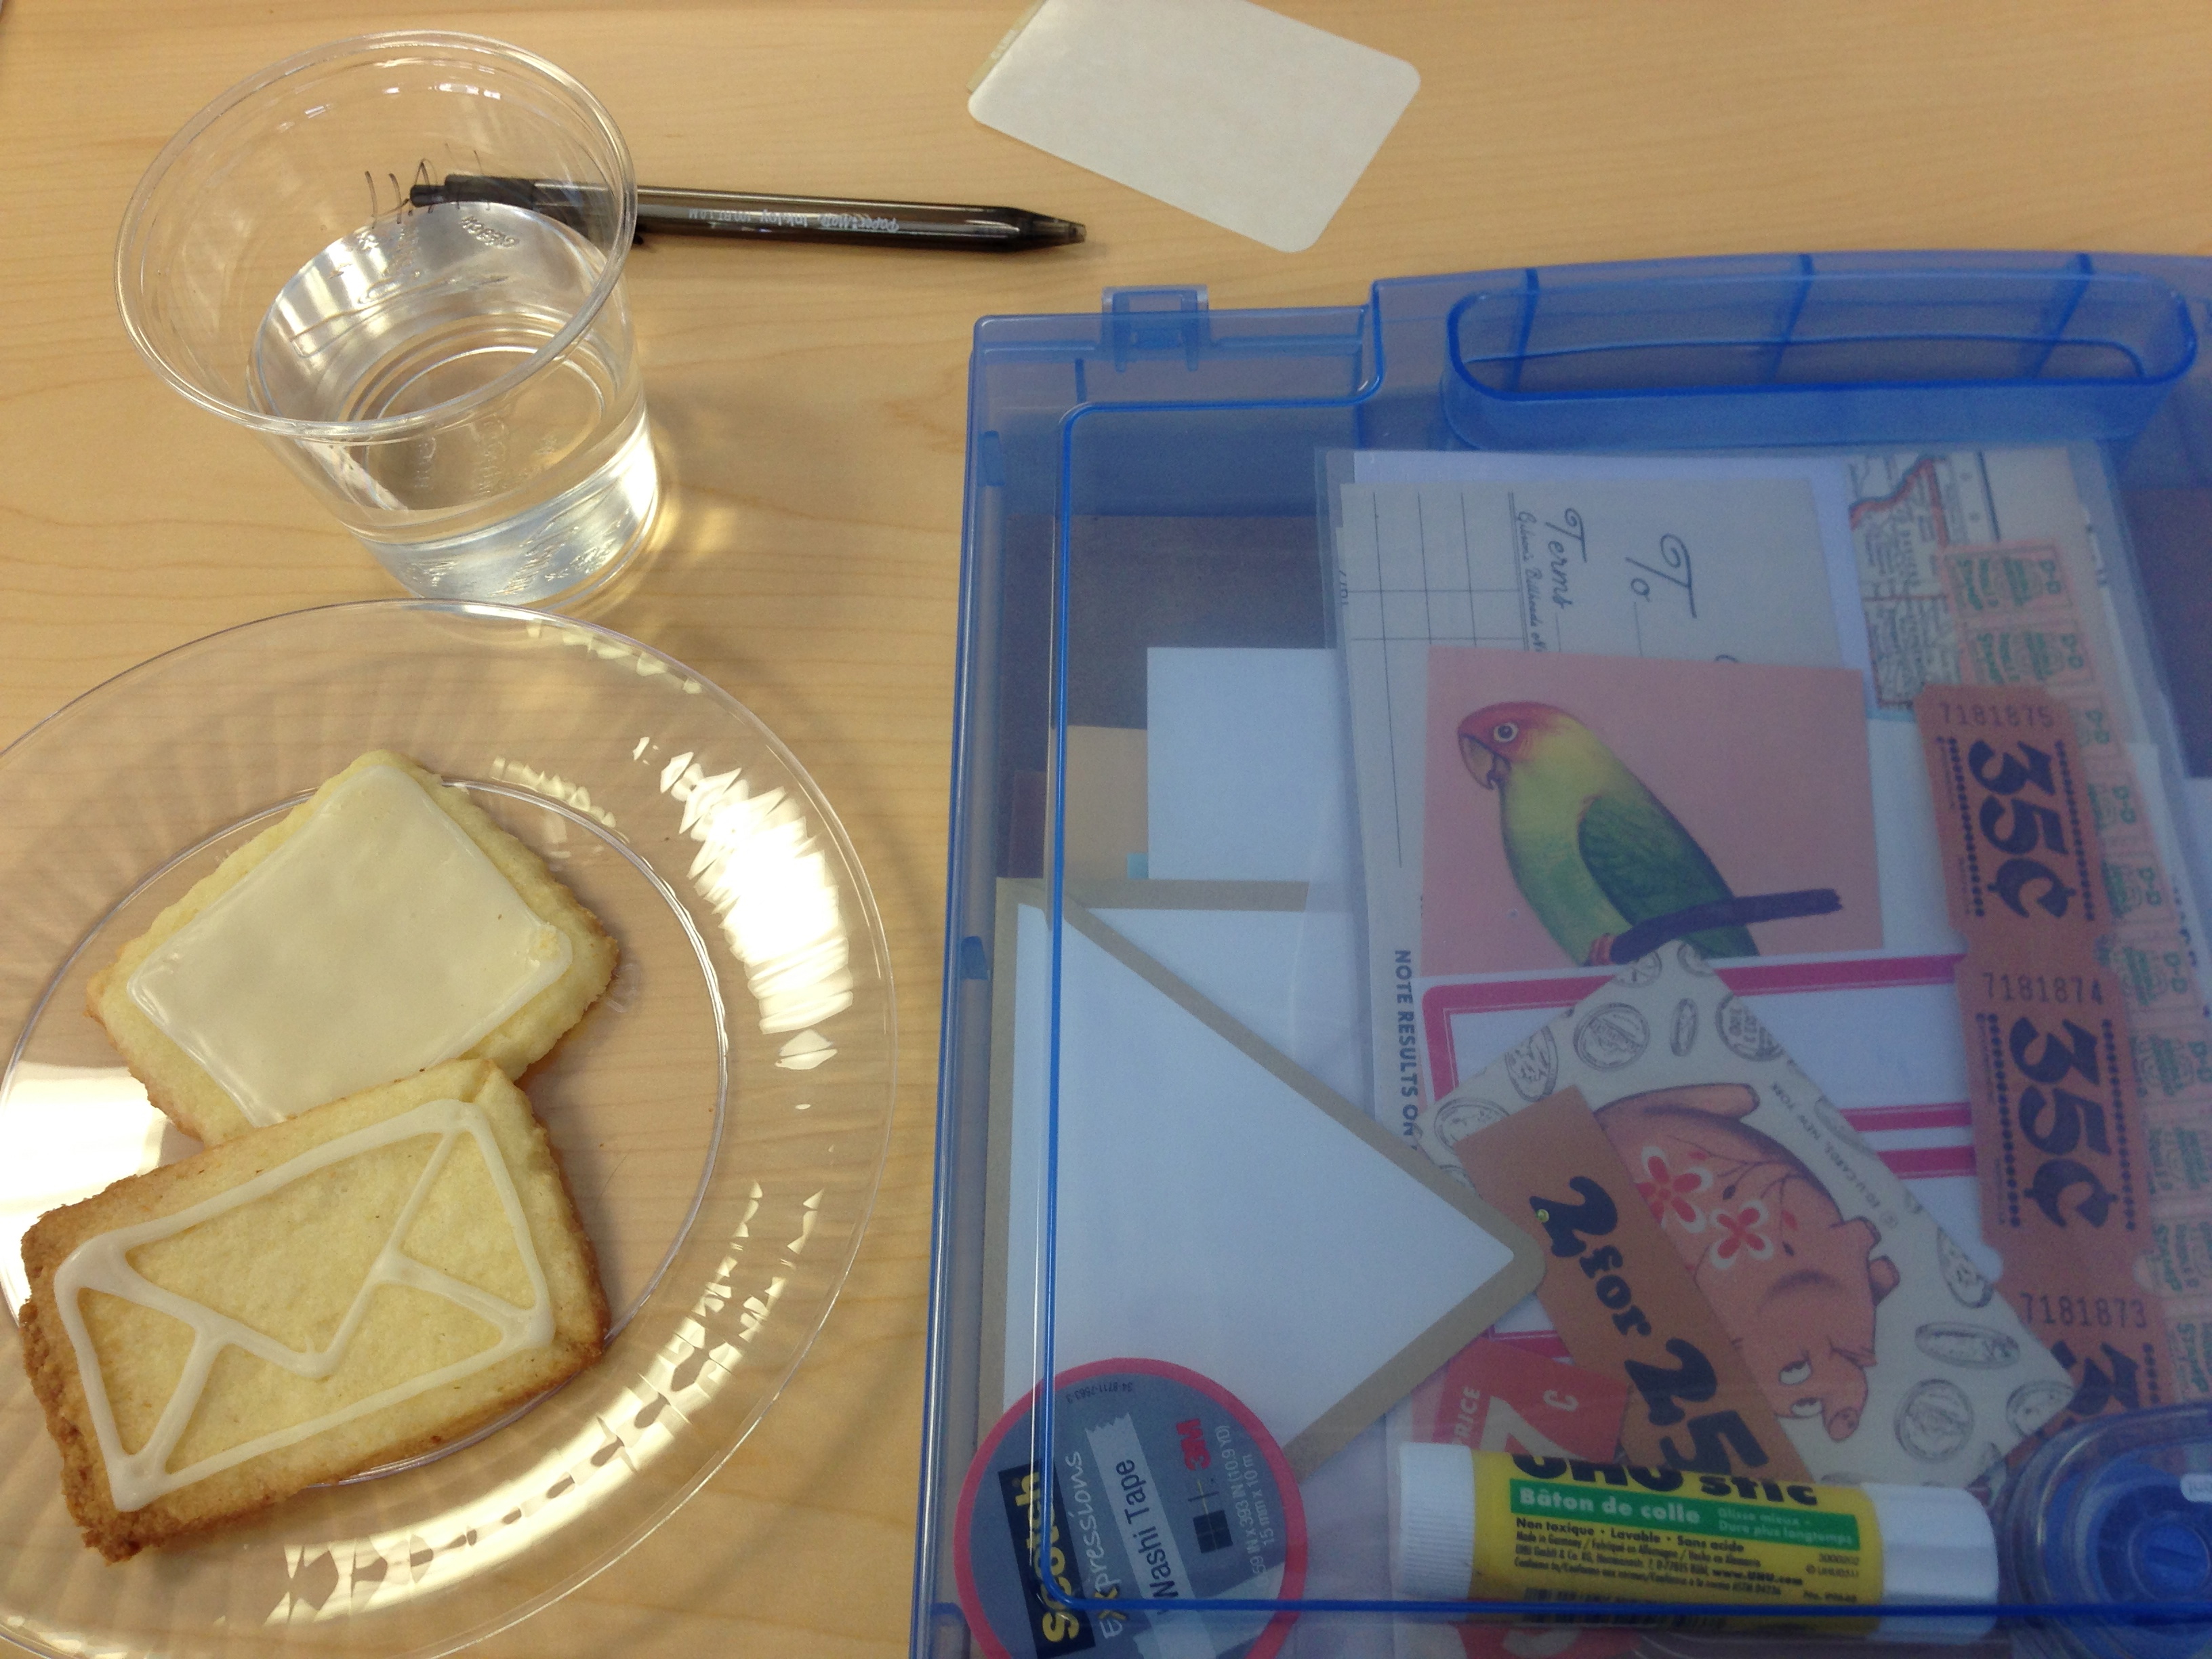
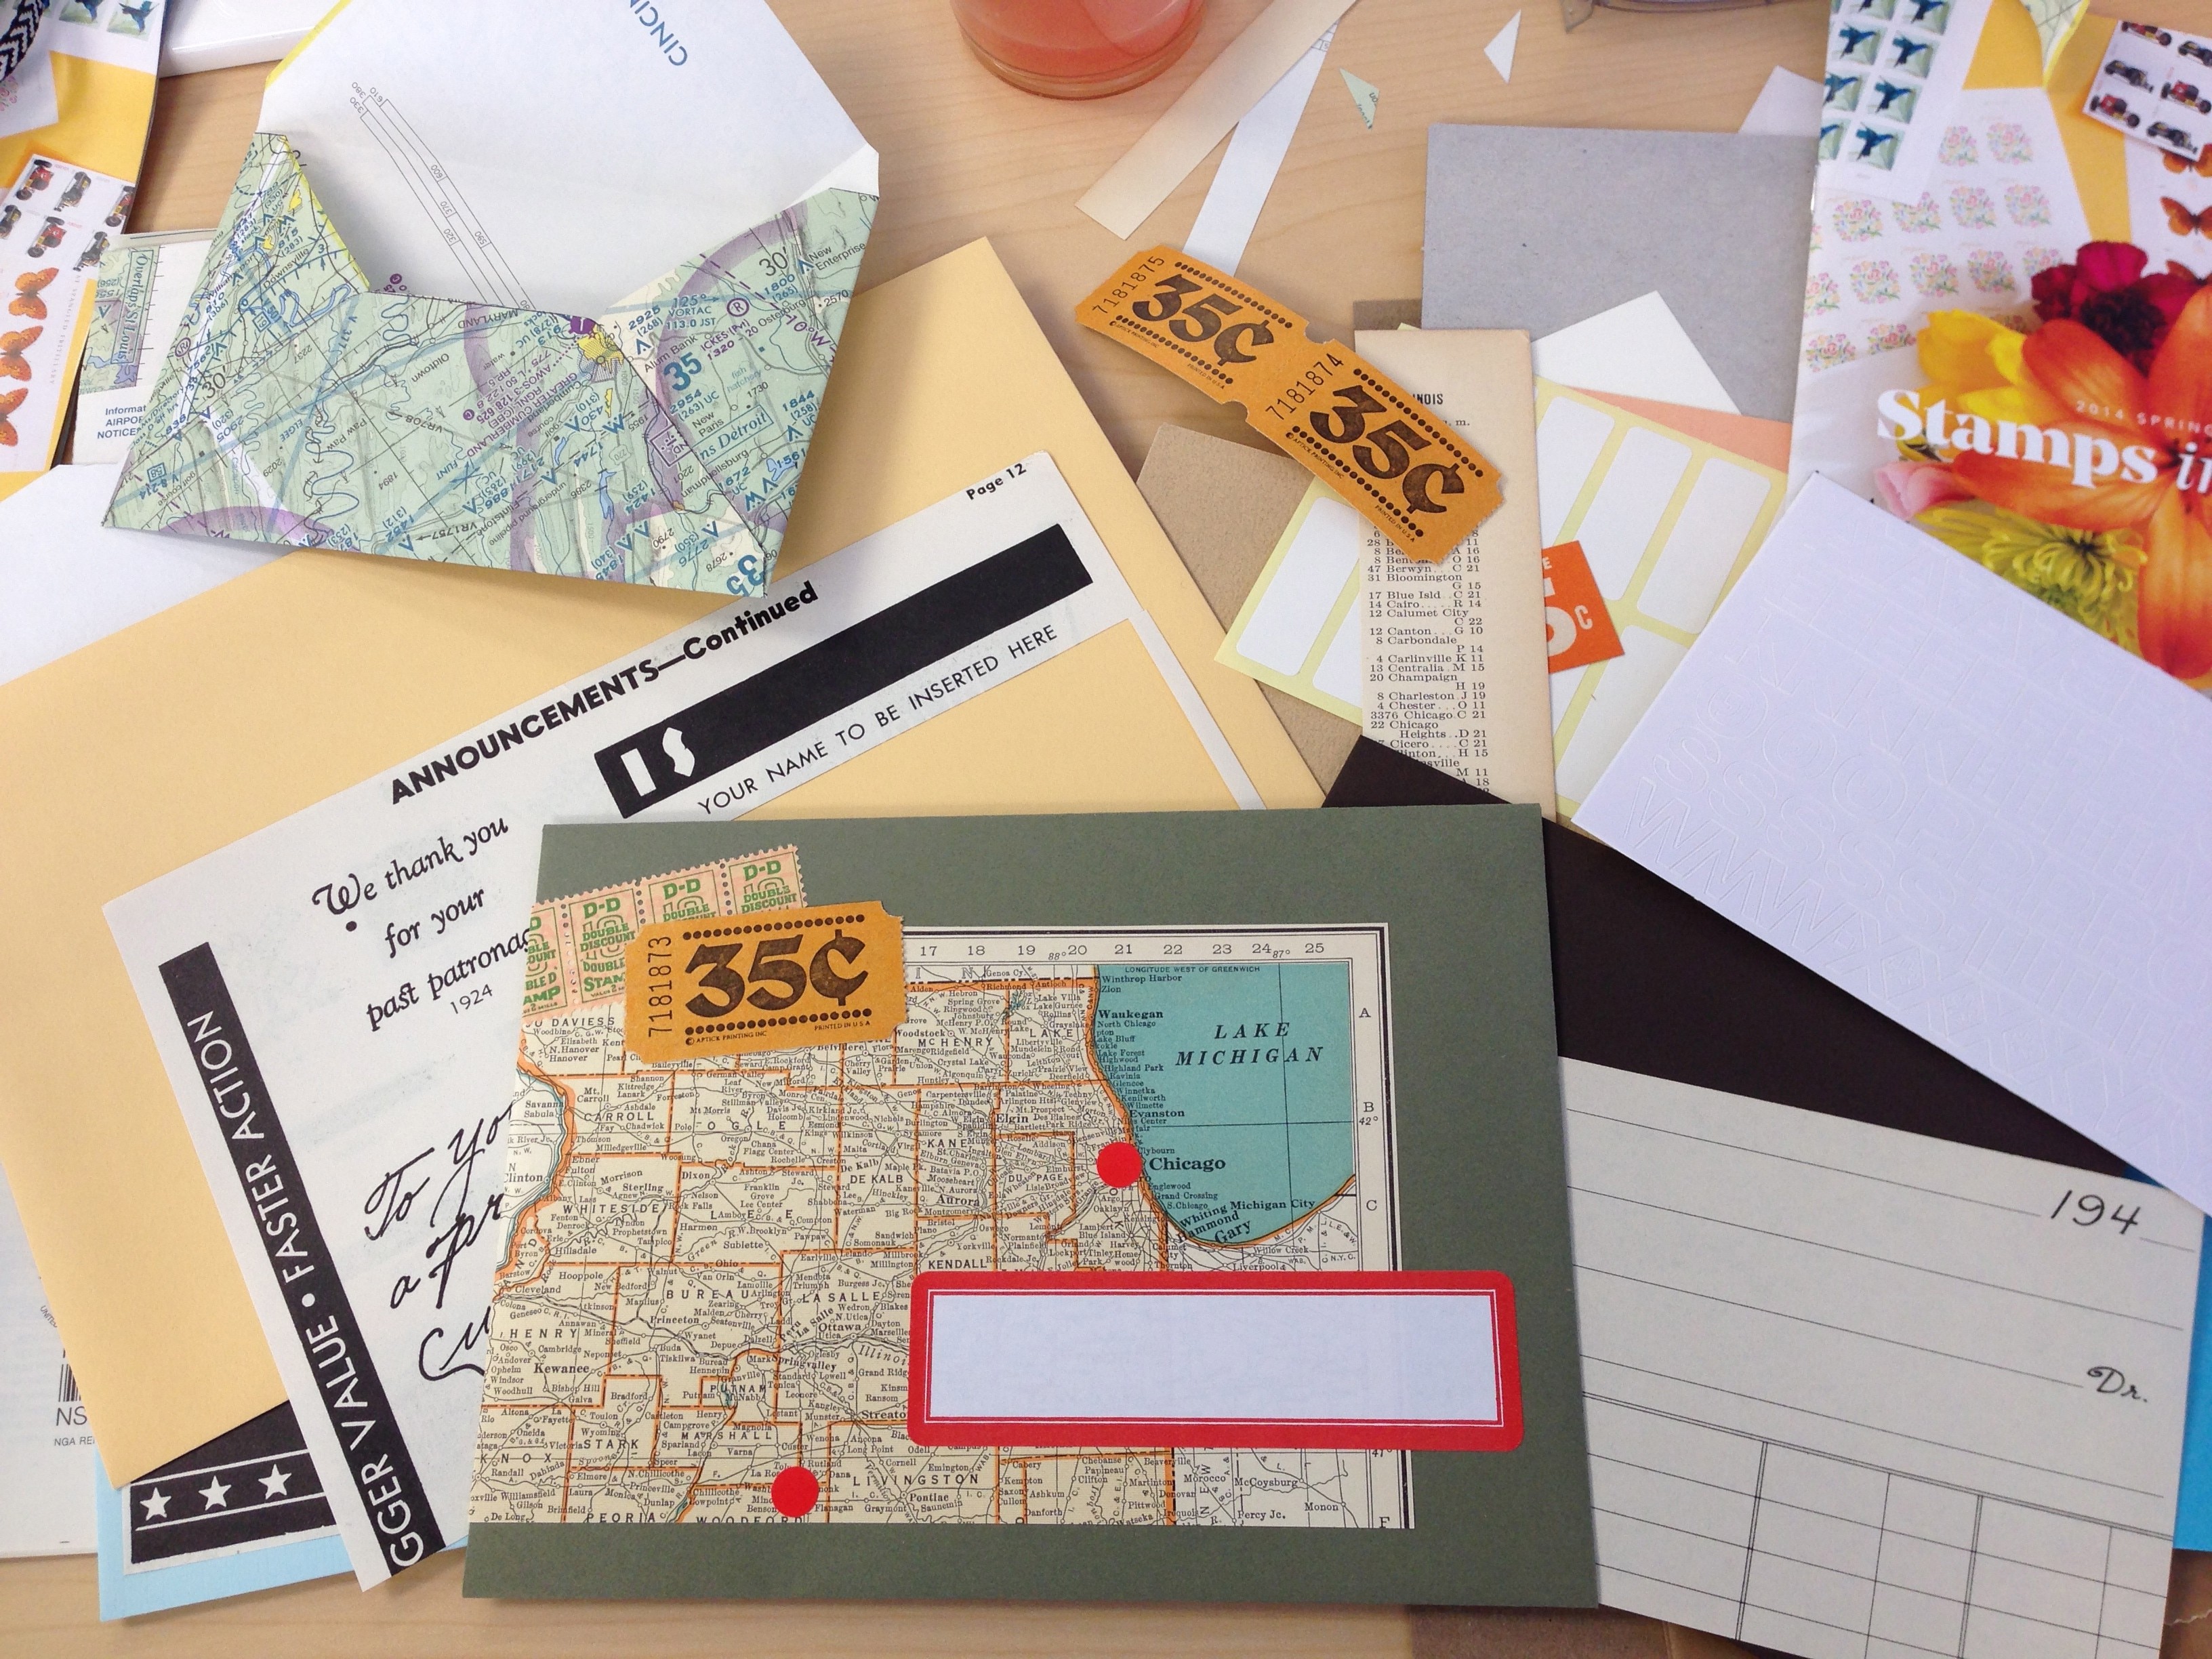
One of the most exciting things about cleaning up around here is that we added another, final piece to our desk set-up in the living room. (You can see the beginnings of the office area here and here.) The two desks kind of looked lonely so we added a third piece from the Martha Stewart Craft Collection at Home Decorators. It’s a flat file and I am thrilled to be able to have more space for some of my mail art and craft supplies.

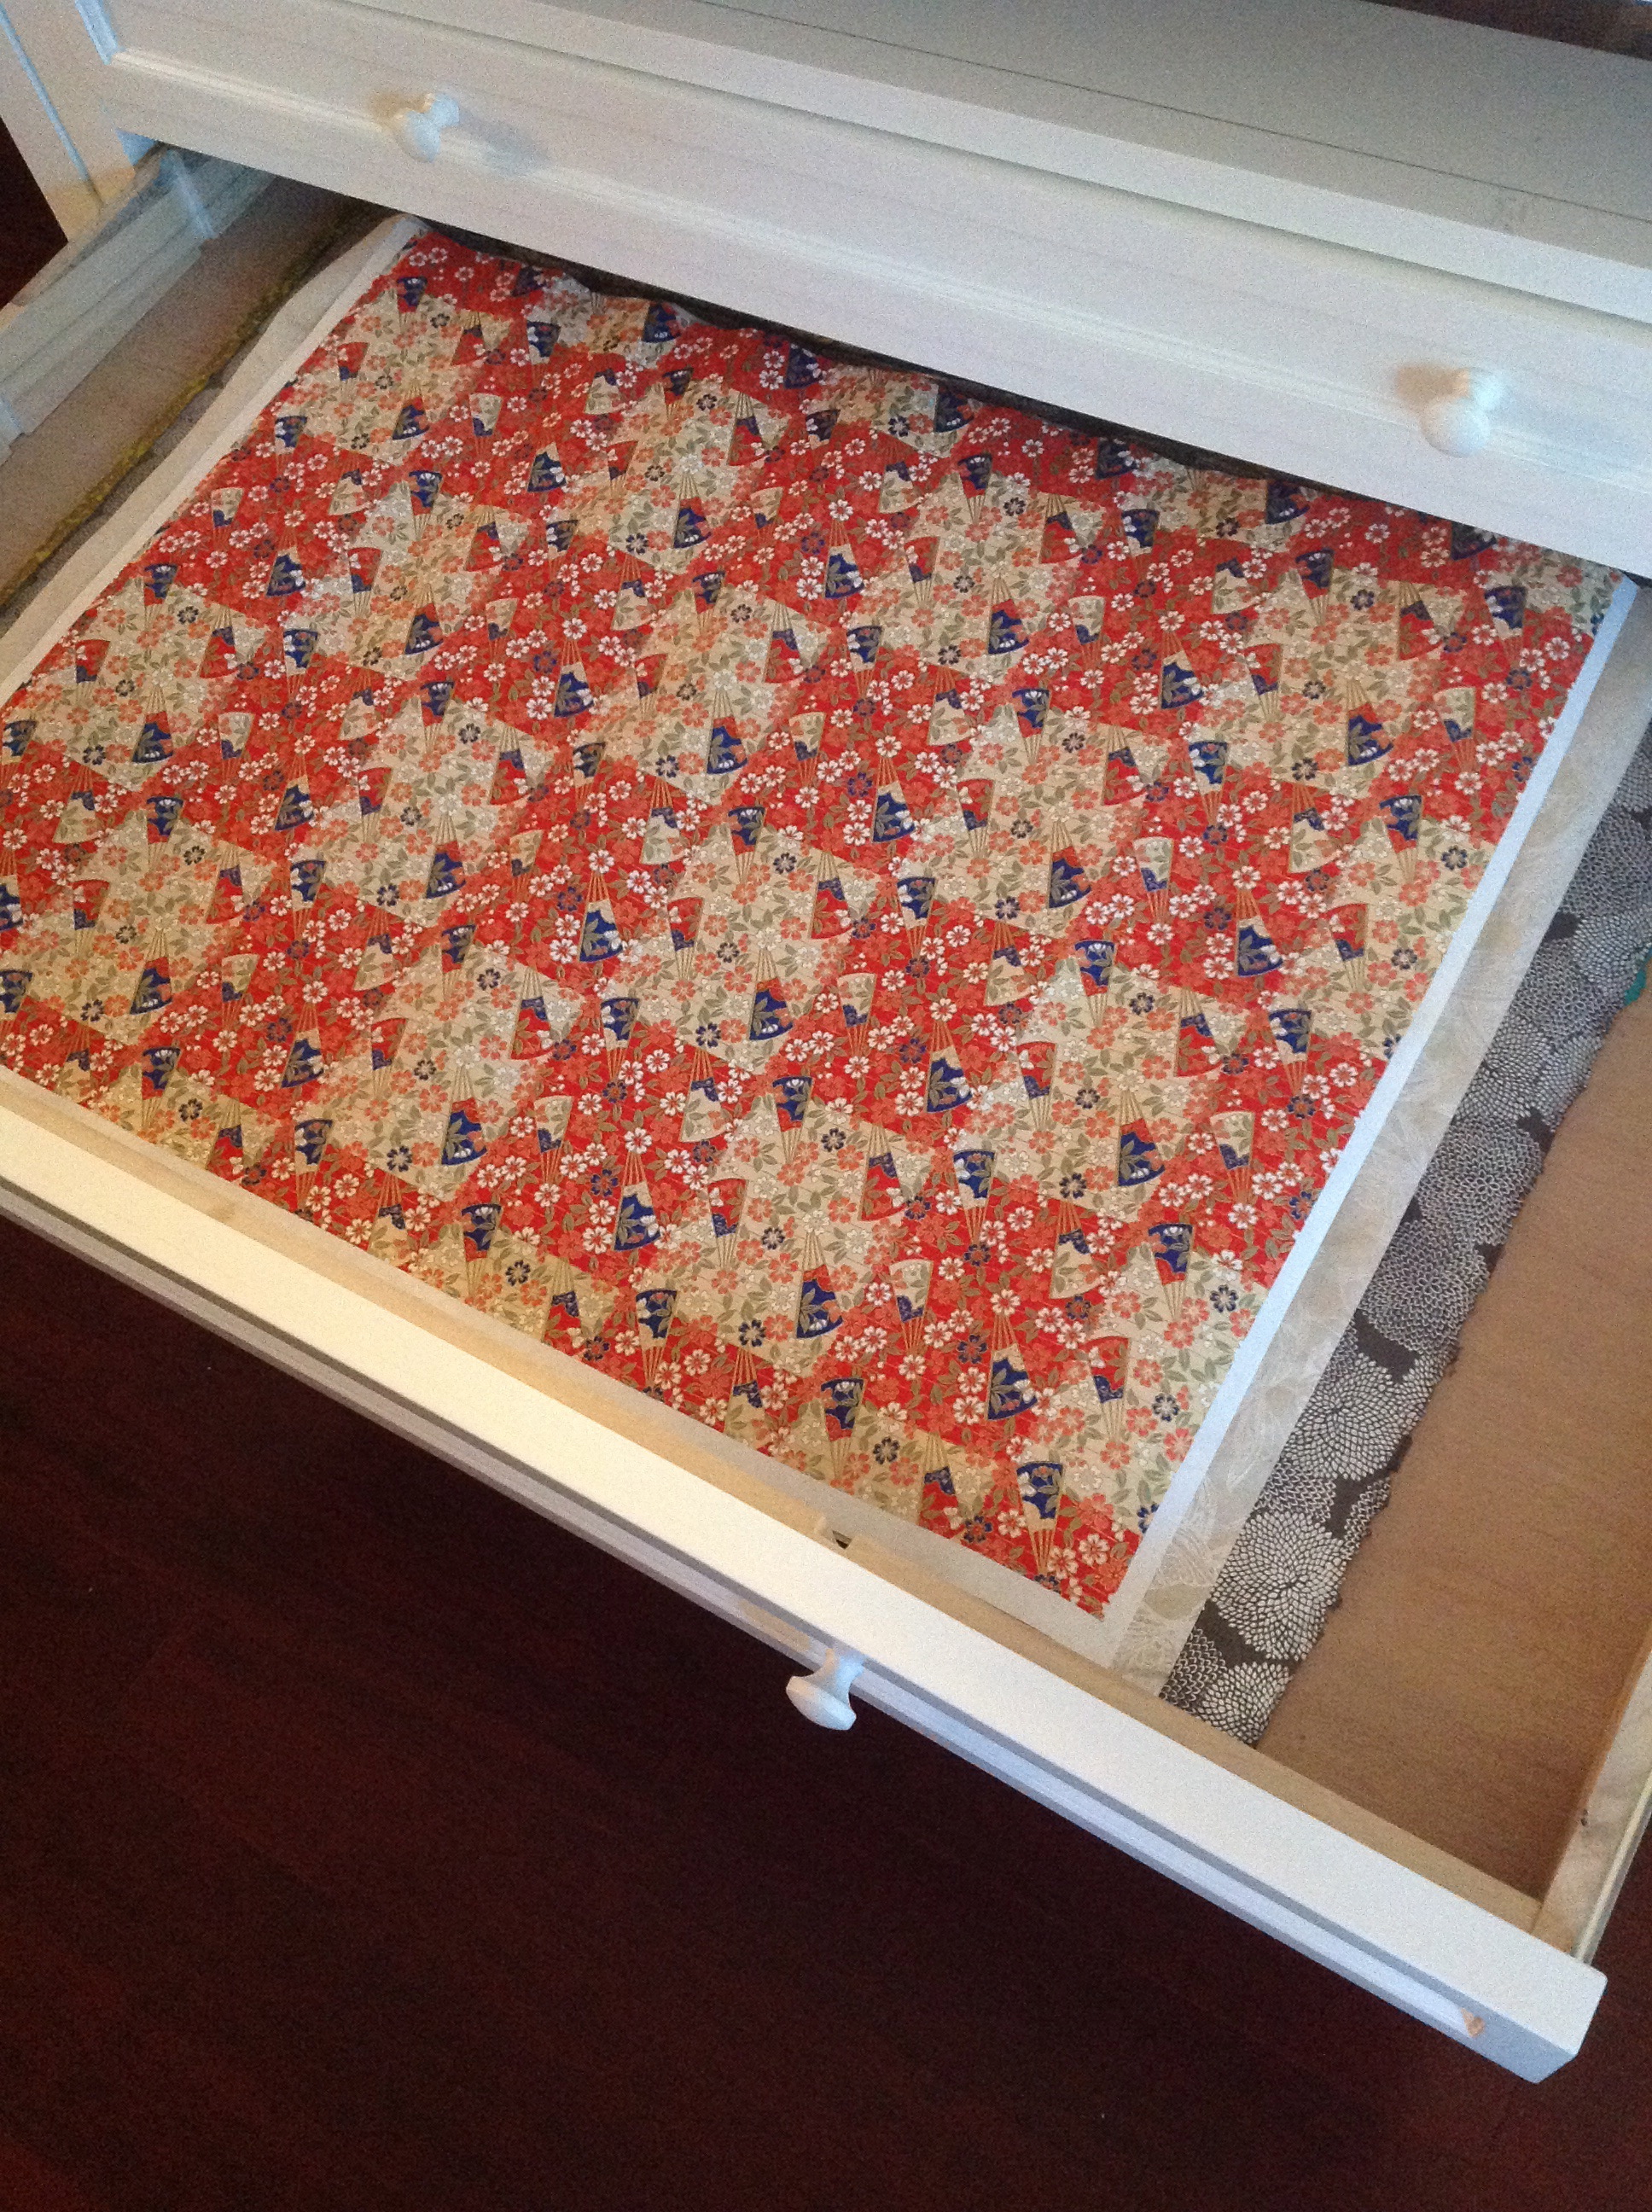
The most exciting part is that two of the drawers are large enough to hold my huge collection of handmade papers. Some of them have been rolled up for years in my trunk and in a drawer and in a spare trash can in the guest room, so it’s amazing to have them all in one place, lying flat and ready to use. Home Decorator's Collection, Martha Stewart flat file
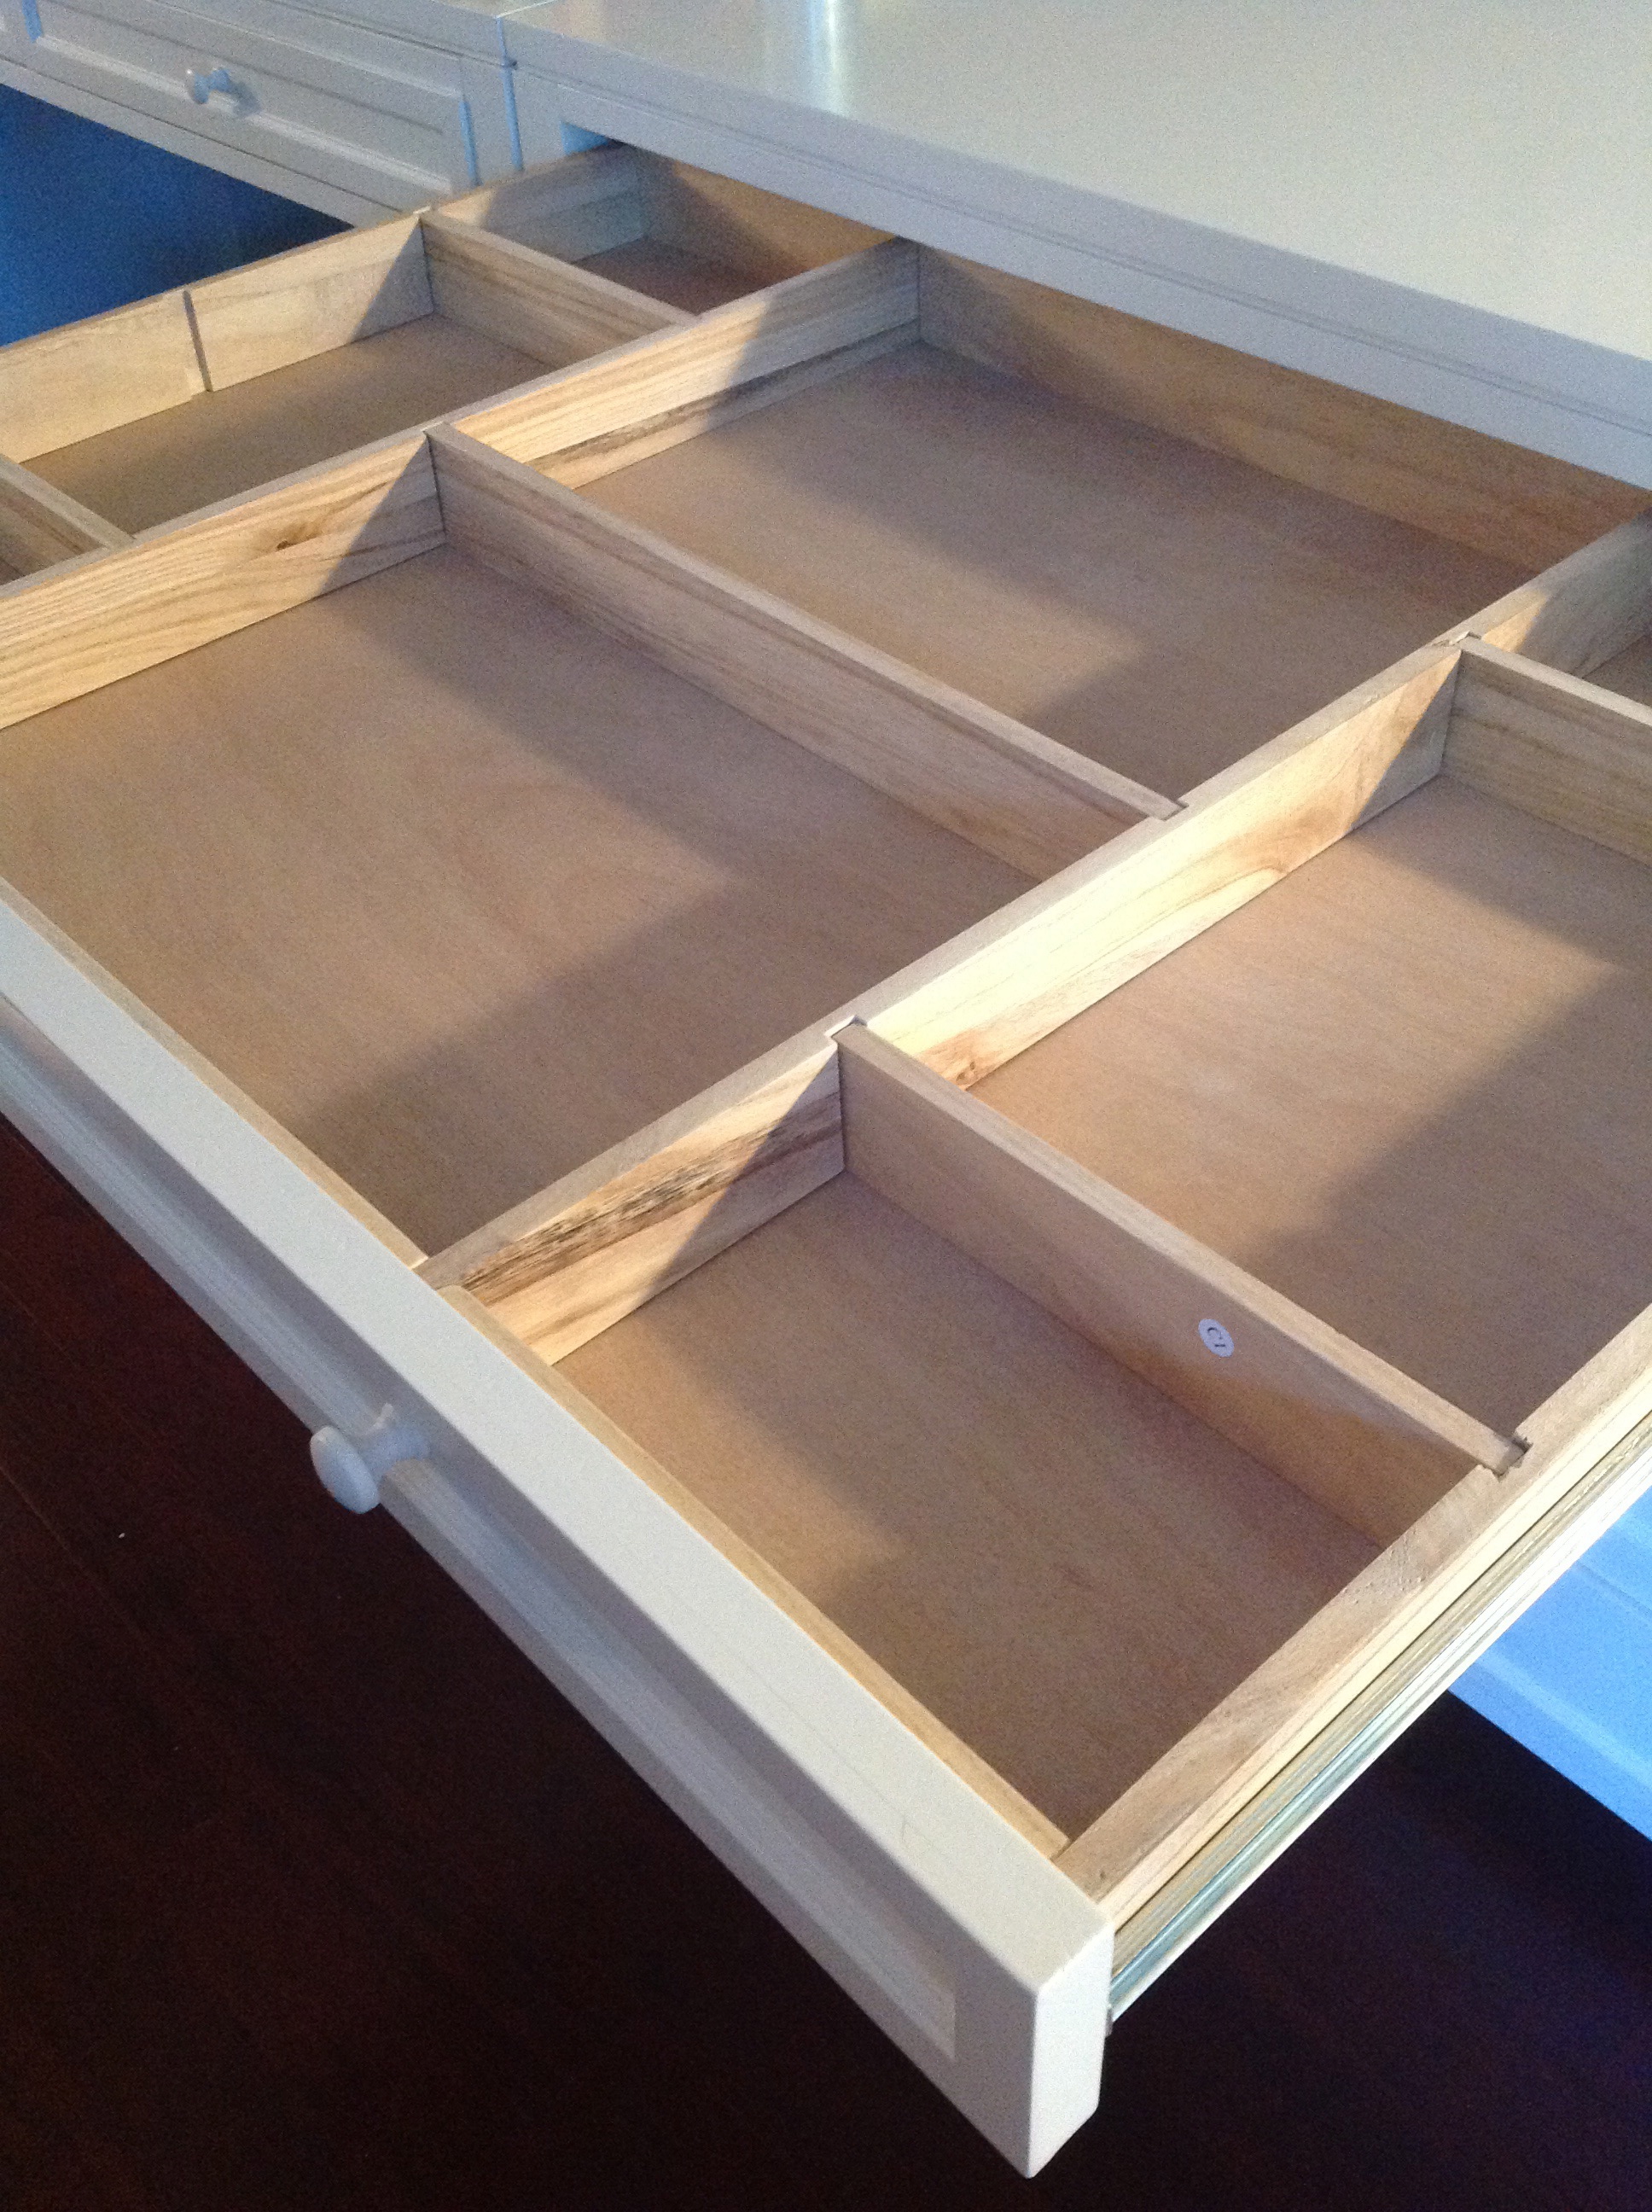
The other exciting part is that the other giant drawers have these little dividers, creating ready-made cubbies for all my stationery things. I’m currently picking patterned papers to line each section. Lining drawers is serious business around here.

We are still waiting for the parts to finish the last drawer in the cabinet. There were a couple of pieces that cracked during shipping, but thankfully we were able to get the whole thing together minus one drawer and that last drawer will be a piece of cake to finish once we get those parts. (Edit: we=Naoto…he did 99% of the work building this.) The furniture is all in place and I’m filling it up quickly. I hope to be able to show you another in-progress shot next week. There is still quite a lot of work to do–I will have to move the artwork and patch some holes in the wall and repaint the wall–before I can call the living room “complete.”

I will be back next week with an update, hopefully, and some more regularly scheduled programming. Have a great weekend!

Tagged , , , , , ,

Balcony Mail Art Afternoon

mail art on the balconyLast week the weather was perfect: low 80s, sun shining, breeze blowing… On Tuesday I had my morning coffee on the balcony and decided to stay outside and work on some mail art. I grabbed a big sunhat and my mail art kit from the LWA Lab and decided to use all of the components up and make as many envelopes as I could. I brought out part of my washi tape collection to supplement, but otherwise almost everything I used was from the kit. Here’s what I came up with…mail art on the balcony mail art on the balcony mail art on the balconyThere were so many great vintage papers in my kit. I was tempted to hoard some of the bits, but making myself use them up was quite satisfying. One of Donovan’s mail art tips was to limit yourself on supplies so you’re not overwhelmed with choices. I think limiting myself to the kit and a few rolls of washi tape made this mail art afternoon more fun and productive than some of my other mail art making sessions. The weather didn’t hurt either… I still have a couple of leftover envelopes and a huge map to work with on later mail art projects. Now…I just need to write some letters to fill those envelopes!!

Tagged , , , ,

LWA Lab: Mail Art Master

LWA LabOn Sunday, my friend Karen and I went to the very first ever Letter Writers Alliance Laboratory. We drank and ate envelope-shaped cookies and an array of other snacks while Donovan and Kathy wore lab coats and went over the basics and tips and tricks about mail art, encouraging us to push the envelope (pun intended) when it comes to sending mail. As part of the class, we each got a mail art kit, complete with loads of envelopes and vintage paper bits, washi tape, adhesives, a map, an envelope template all in a handy carrying case. LWA labYou can see some of my bits above. I sat at the seat with the orange mail art kit. (Everyone got a different color.) All of the kits were amazing, but I’m so glad I picked mine. So many of the pieces inside were perfect for certain pen pals  and  I got the map of Illinois (shown on the envelope above) which has both my current town and my hometown included in it! (My hometown has a tiny population of 1100…it never shows up on maps!!) I only made one envelope from the template and decorated one envelope during our free time…I was too busy talking and listening to everyone’s fun mail ideas. It’s so much fun gathering with fellow mail lovers outside of my mailbox! LWA LabFor our last mail art project, we each received a giant pencil to mail. We wrote our recipients’ addresses right on the pencil, posted it with stamps and then later dropped it into a neighboring mailbox.  LWA labOur pencils dropped into the mailbox with a thump, mingling with all the other pencils from the workshop. I think the letter carrier who empties this box is going to have quite a surprise today!

Thanks for a fantastic afternoon, LWA!

(To see more pictures from the workshop, you can look under #LWALab on Instagram.)

P.S. Remember when I mailed a pigeon?


Tagged , , , , , ,

All Caught Up On Mail

packages with gifts from JapanAs of today, I am all caught up with my mail. If there was an open entry in my Letter Ledger, it was filled. This never happens. I’ve totally blown my resolution to return mail within one week of receiving it. But now that my inbox is empty, I feel like I can reset and have another try at responding more quickly.

I also took some time last week to finally pack up and send off some Japanese treats (of the stationery, snack and hand towel varieties) for friends far and near. I had a great time decorating the packages with some stamps, stickers and washi tape I picked up during my trip. mail artFor the most part, I kept my mail art simple with washi tapes and random bits of paper and stickers. mail artOf course, now that I’m all caught up on mail, I’m behind on laundry, sweeping the floors and reading for book club this weekend. One thing at a time, right?

Tagged , , , ,

My Japanese Calligraphy Class

Japanese calligraphy classFor my birthday, Naoto signed me up for a Japanese calligraphy class. After an online search he found Koomon, located in Tokyo’s Nihonbashi neighborhood. Koomon offers several classes to sample traditional Japanese culture: calligraphy, tea ceremony, flower arrangement, kimono, origami and other traditional skills. The staff and Koomon was warm and welcoming and my lesson was a lot of fun. Japanese calligraphy classThe lesson started out with Yukiko, our English speaking guide at Koomon, giving us an explanation of the tools and techniques of Japanese calligraphy. Then we watched a master calligrapher demonstrate the different styles of Japanese writing. She showed block style and script and also how a calligrapher can add their own artistic elements to the writing. Her calligraphy was gorgeous as you can tell from above. Yukiko and the calligrapher spoke a lot about the beauties of imperfection in the art of Japanese calligraphy and how special it is that no stroke can ever be recreated exactly. Japanese calligraphy classOur calligraphy teacher demonstrated character-by-character the phrase that I chose to write, “Fall down seven times, stand up eight.” In hindsight, I wish I had just focused on a single word instead of a phrase so I could focus on mastering a character or two instead of six. But I love that proverb, so I’m glad I tried it. Japanese calligraphy classJapanese calligraphy classWe all decided that the script calligraphy was a little bit too challenging, so I focused on the block-style. It was really difficult for me to get super comfortable with the brush because I was focusing on learning the shape of the characters and the proper stroke order all at the same time. Yukiko and the calligraphy teacher watched me and gave me pointers throughout my practice. One major thing I learned is to really load up the brush with ink. I tend to only put ink on the tip of the brush, but to make beautiful characters, you need to use the entire brush to get variety in your strokes. Japanese calligraphy classBecause Naoto was with me (and maybe because he had trouble translating some script calligraphy for me when asked) the Koomon ladies encouraged Naoto to practice calligraphy too. I requested the word “sakura” because we were there in the spring.Japanese calligraphy classI practiced my phrase and specific challenging characters several times and when I was comfortable, I got to work on my “final project” in the tatami room. It felt very special to wear the little apron and write with the progressional calligraphy tools. Japanese calligraphy classJapanese calligraphy classWhen I was finished, all I could see was the “mistakes” and imperfections in my writing, but the calligraphy teacher pointed out that those are what make the calligraphy special. Japanese calligraphy classAlong the left side of the proverb is my name and if you look closely, there are three red seals (two on the lower left and one on the top right). There were several seals to choose from, each representing a Japanese phrase. I chose ones that said “May your joys be as deep as the ocean and your happiness as high as the mountain.” and “Fortune comes in a merry gate.” and “A carefree life ensures longevity.” Japanese calligraphy classIsn’t Naoto’s “sakura” calligraphy wonderful?Japanese calligraphy classThank you, Naoto, for my excellent birthday gift and thank you to Koomon for a wonderful morning of calligraphy! Taking the class has made me want to practice more so I can paint the characters with reckless abandon!

Tagged , , ,

Hasegawa Happy Hour Mail

constellation cardA couple of weeks ago, I got this beautiful letter from Xenia of Saturday Morning Vintage. Even if it had just been a quick note, I would have been over the moon. What a creative envelope!

vintage bar tenderBut when I opened the envelope, a few pieces fell out of the card. You can see them above. They are vintage liquor labels and slips from a bartender’s order pad. Aren’t they amazing? In her note, Xenia mentioned seeing my Hasegawa Happy Hour posts and pictures on Instagram, so she thought I might enjoy these vintage bits. They made me super happy and inspired me to get started on a mini-book of our happy hour adventures for 2014. I’m picturing a tiny something with paper bits, photographs and some recipes (both cocktails and snacks). Hmmm…maybe a complete one for us and a well-edited one can be made into a zine…

Thank you, Xenia, for the mail and the inspiration!

Tagged , , ,

The Four Treasures: Ink Stone

japanese calligraphyThe last of the four treasures is the ink stone. Handmade from slate, ink stones are smooth, very heavy and made to last forever. The ink stone is designed for ink making in batches. There is a raised part that slopes downward into a well. Ink is mixed at the top and pushed down into the well.japanese calligraphy inkstone To make the ink, you start with a bit of water at the top of the stone. japanese calligraphy, inkstone, grinding inkThen, place the ink stick in the water and “grind” the ink. Grinding the ink is a slow, meditative act. Passing the smooth ink stick across the smooth ink stone is soothing and repetitive. The earthy scent of the ink permeates the air. It’s extremely relaxing and calming. This slow preparation allows the mind and the body to become centered and ready to write. calligraphy inkIt takes a lot of time and experience to know when the ink is ready. (Our ink was not the right consistency when we had our practice session. You can tell it wasn’t mixed long enough because it was gray and a bit watery. We need more practice!)

When the first small batch of ink is ready, you push it down (using the end of the ink stick) into the well of the ink stone. Then, add a bit more water to the top of the ink stone and continue mixing more with your ink stick. Repeat this process until you have enough for your project. japanese calligraphy brushIf the ink is prepared correctly, it will be a deep black with a light, almost oily sheen and it will be slightly thicker than water. I’m no expert, but I could feel the difference between our hastily mixed ink last week and this ink, which I ground ten times longer. You really can’t take shortcuts.  calligraphy inkI have a small ink stone that I bought for my class, but the ink stone pictured today is from Naoto’s aunt’s collection. It is six by nine inches large and it is heavy. (We carried it all over Japan on the train after his mom gave it to us. Actually, I should say Naoto carried at all over Japan.) Because it is in such a lovely wooden box, I keep it on the table in the living room. But I have to admit it is much more fun to actually use the ink stone. Hopefully when I get back from Japan I will be a little bit more skilled at using these family treasures.

Tagged , , , ,

The Four Treasures: Ink

japanese calligraphyThe third treasure is ink. Traditionally, ink is ground from an ink stick before each calligraphy session. The stick (shown above on the right) is mixed with water and ground on an ink stone (spoiler alert: that’s the fourth treasure and I’ll be talking about it on Monday). Just like paper, the ink stick is made from natural materials. Pine branches are burned with natural oils and the soot is blended by hand with animal bone glue and made into the ink sticks. The kneading of the soot and glue requires great strength and the process has been handed down through generations. The sticks are dried and aged, then polished and decorated, like the one you see above. It is a slow process and, just like with paper, the seasons play a role in the creation of the ink. The humidity and temperature are critical to the drying and aging processes. japanese calligraphyThe ink sticks have a very earthy scent. They remind me of spring when the earth thaws and you can smell the soil again. I’ll talk more on Monday about grinding the ink stick and making the ink. japanese calligraphyAll of the ink sticks I’m sharing on today’s post are from Naoto’s aunt’s collection. I do not believe any of them have been used. (I’ve been using an ink stick I picked up at Blick’s when I took the art class.) The one above is my absolute favorite. There is a gorgeous scene on both sides. japanese calligraphyjapanese calligraphy, sumi-eI really want to display that one in our home somehow. It seems like a shame to leave it in the closet it its box… I would like to use the ink stick in the middle to see how it compares with my current ink stick.

You can also buy bottled ink for sumi-e painting and calligraphy. The bottled ink is convenient because you don’t have to make your own ink every time you want to write. It is also more consistent since the bottlers are using a “recipe” that you could never perfect by grinding your own ink at home. However, by buying bottled ink, you lose some of the sheen and nuance that come from the ink stick. And, as I’ll talk more about on Monday, there is a mental preparation that comes only from grinding the ink. Sometimes it pays to take the long road.

Tagged , , , ,

The Four Treasures: Paper

Mulberry paperMost calligraphy paper is made from mulberry, though some are made with gampi or mitsumata (both Japanese bushes). Paper makers use the seasons to guide their making because temperature and humidity affect the fibers of the paper, which in turn affects the way the ink absorbs into the paper. I love that the process is so reliant upon nature…

Since paper is natural and doesn’t last forever, it adds a bit of wabi-sabi, beauty in impermanence and imperfection, to the practice of calligraphy.

This paper is from Naoto’s aunt’s collection. It is washi paper, but it is not so precious that it needs to be saved for special occasions. When we did our calligraphy practice last week, we used plain printer paper (just because we have an endless supply of that and no printer). Once I got a little bit better, I tried writing on the washi…the brush moves more beautifully and the ink absorbs much differently than on printer paper.

Update: Naoto found a calligraphy class in Tokyo for me! I am so excited! Hopefully I will have a follow-up to the Four Treasures series soon!  

Tagged , , , ,

The Four Treasures: Brushes

Japanese Calligraphy BrushesThe first and most important of the “four treasures” of calligraphy is the brush. The brush is an extension of the calligrapher. It is said that the writing comes from the calligrapher’s soul, rather than from the stroke of the brush. I think this is a crazy beautiful sentiment, even though, from looking at my brushstrokes, you can tell my soul is intensely nervous and unsure about calligraphy. A calligraphy brush is held much higher on the handle than a “normal” paintbrush. The thinking behind this is that the calligrapher isn’t controlling the brush, but kind of letting the image or the strokes come from within. So much about Japanese calligraphy and sumi-e is about centering the inner self and being at peace and not having control. I think this is why I find it so beautiful yet so frustrating. (I like control.)Japanese calligraphy brushesNaoto’s mom gave us several brushes from his aunt’s collection. Some of them are very worn…the ones with bushy bristles aren’t really useful anymore because to do calligraphy well, the brush ends need to come to a nice point. I still use the bushy brushes to do color washes when I’m playing around with watercolors. (Although, I’ve recently learned a calligraphy brush should never be used with anything but calligraphy ink because the bristles are chosen and made to work with those specific inks. Other inks can spoil the bristles. But, since these particular brushes are no longer useful in the calligraphy world, I think it’s nice to use them for something else.) japanese calligraphy brushThis particular brush is my favorite. I love its dark wooden handle. It’s a lovely brush that has never been used. Naoto discouraged me from using it (he and I both suffer from a fear of using lovely things) until now. I’ve been doing some research on how to prepare a new brush and how to care for a brush properly so I can make sure this one can be used for a long time. Once I feel properly informed and responsible, I’ll start using it.

Tagged , , , , ,