Tag Archives: crafts

#30DOC Week 1

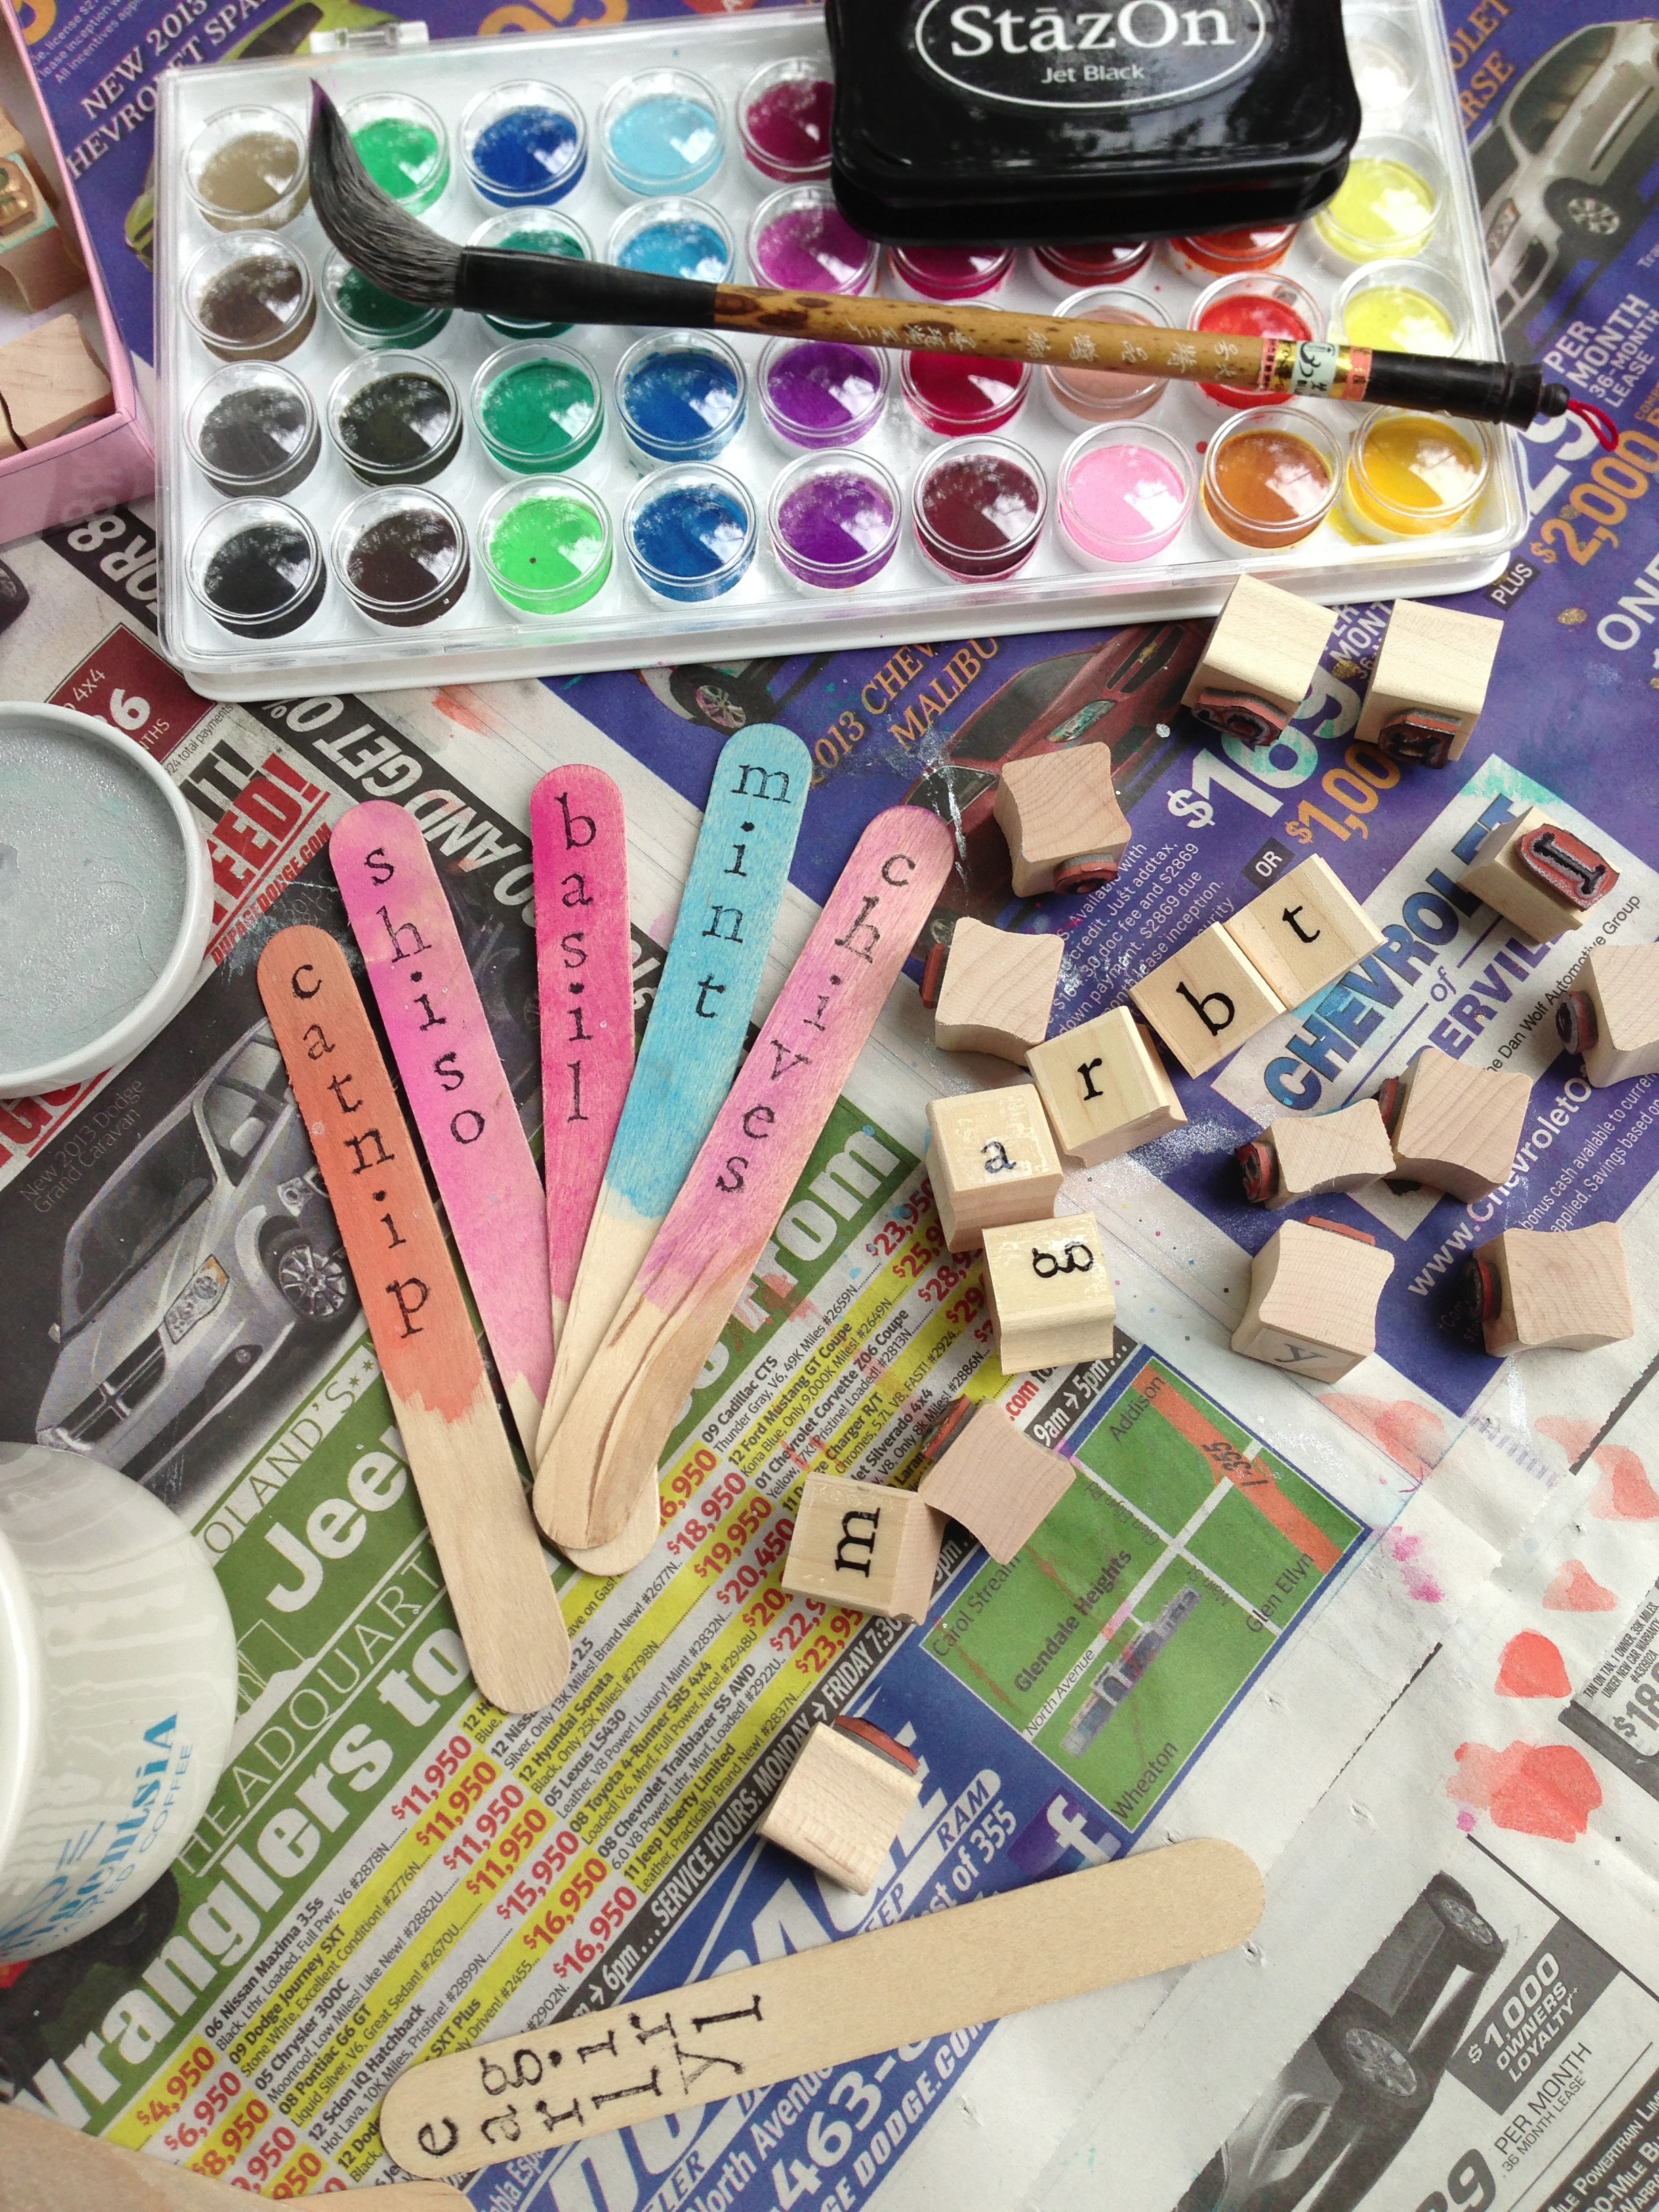
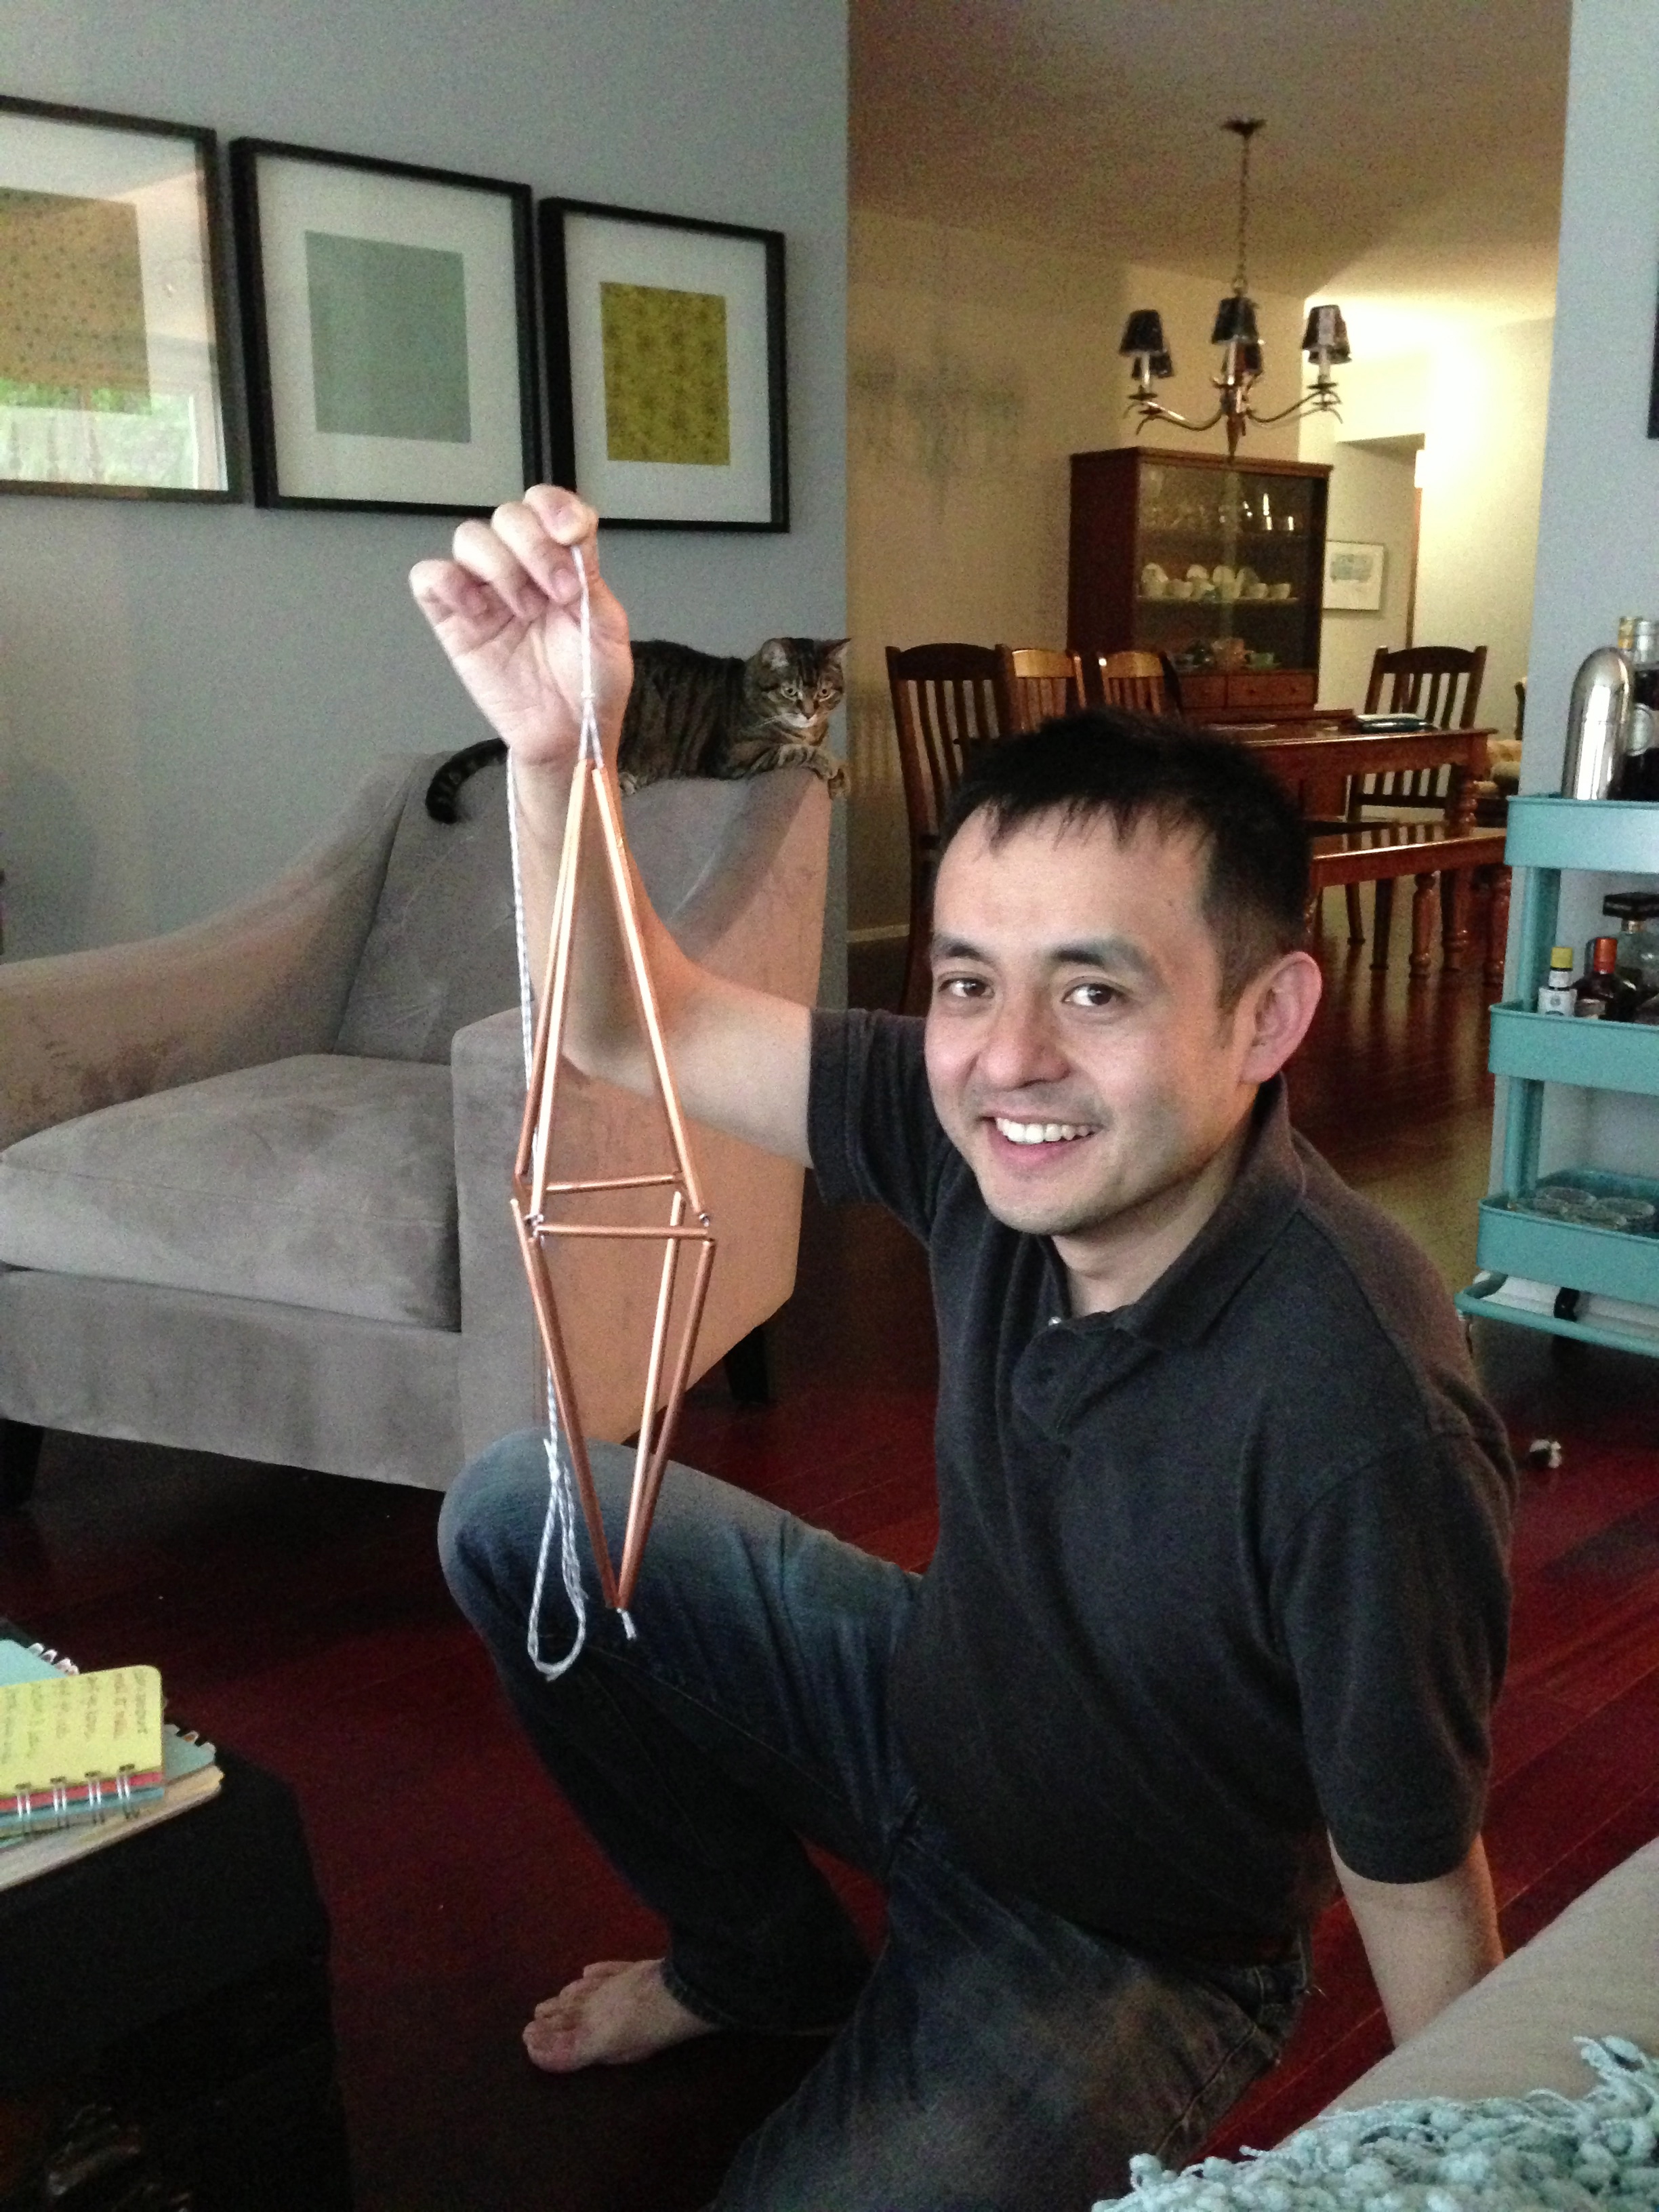
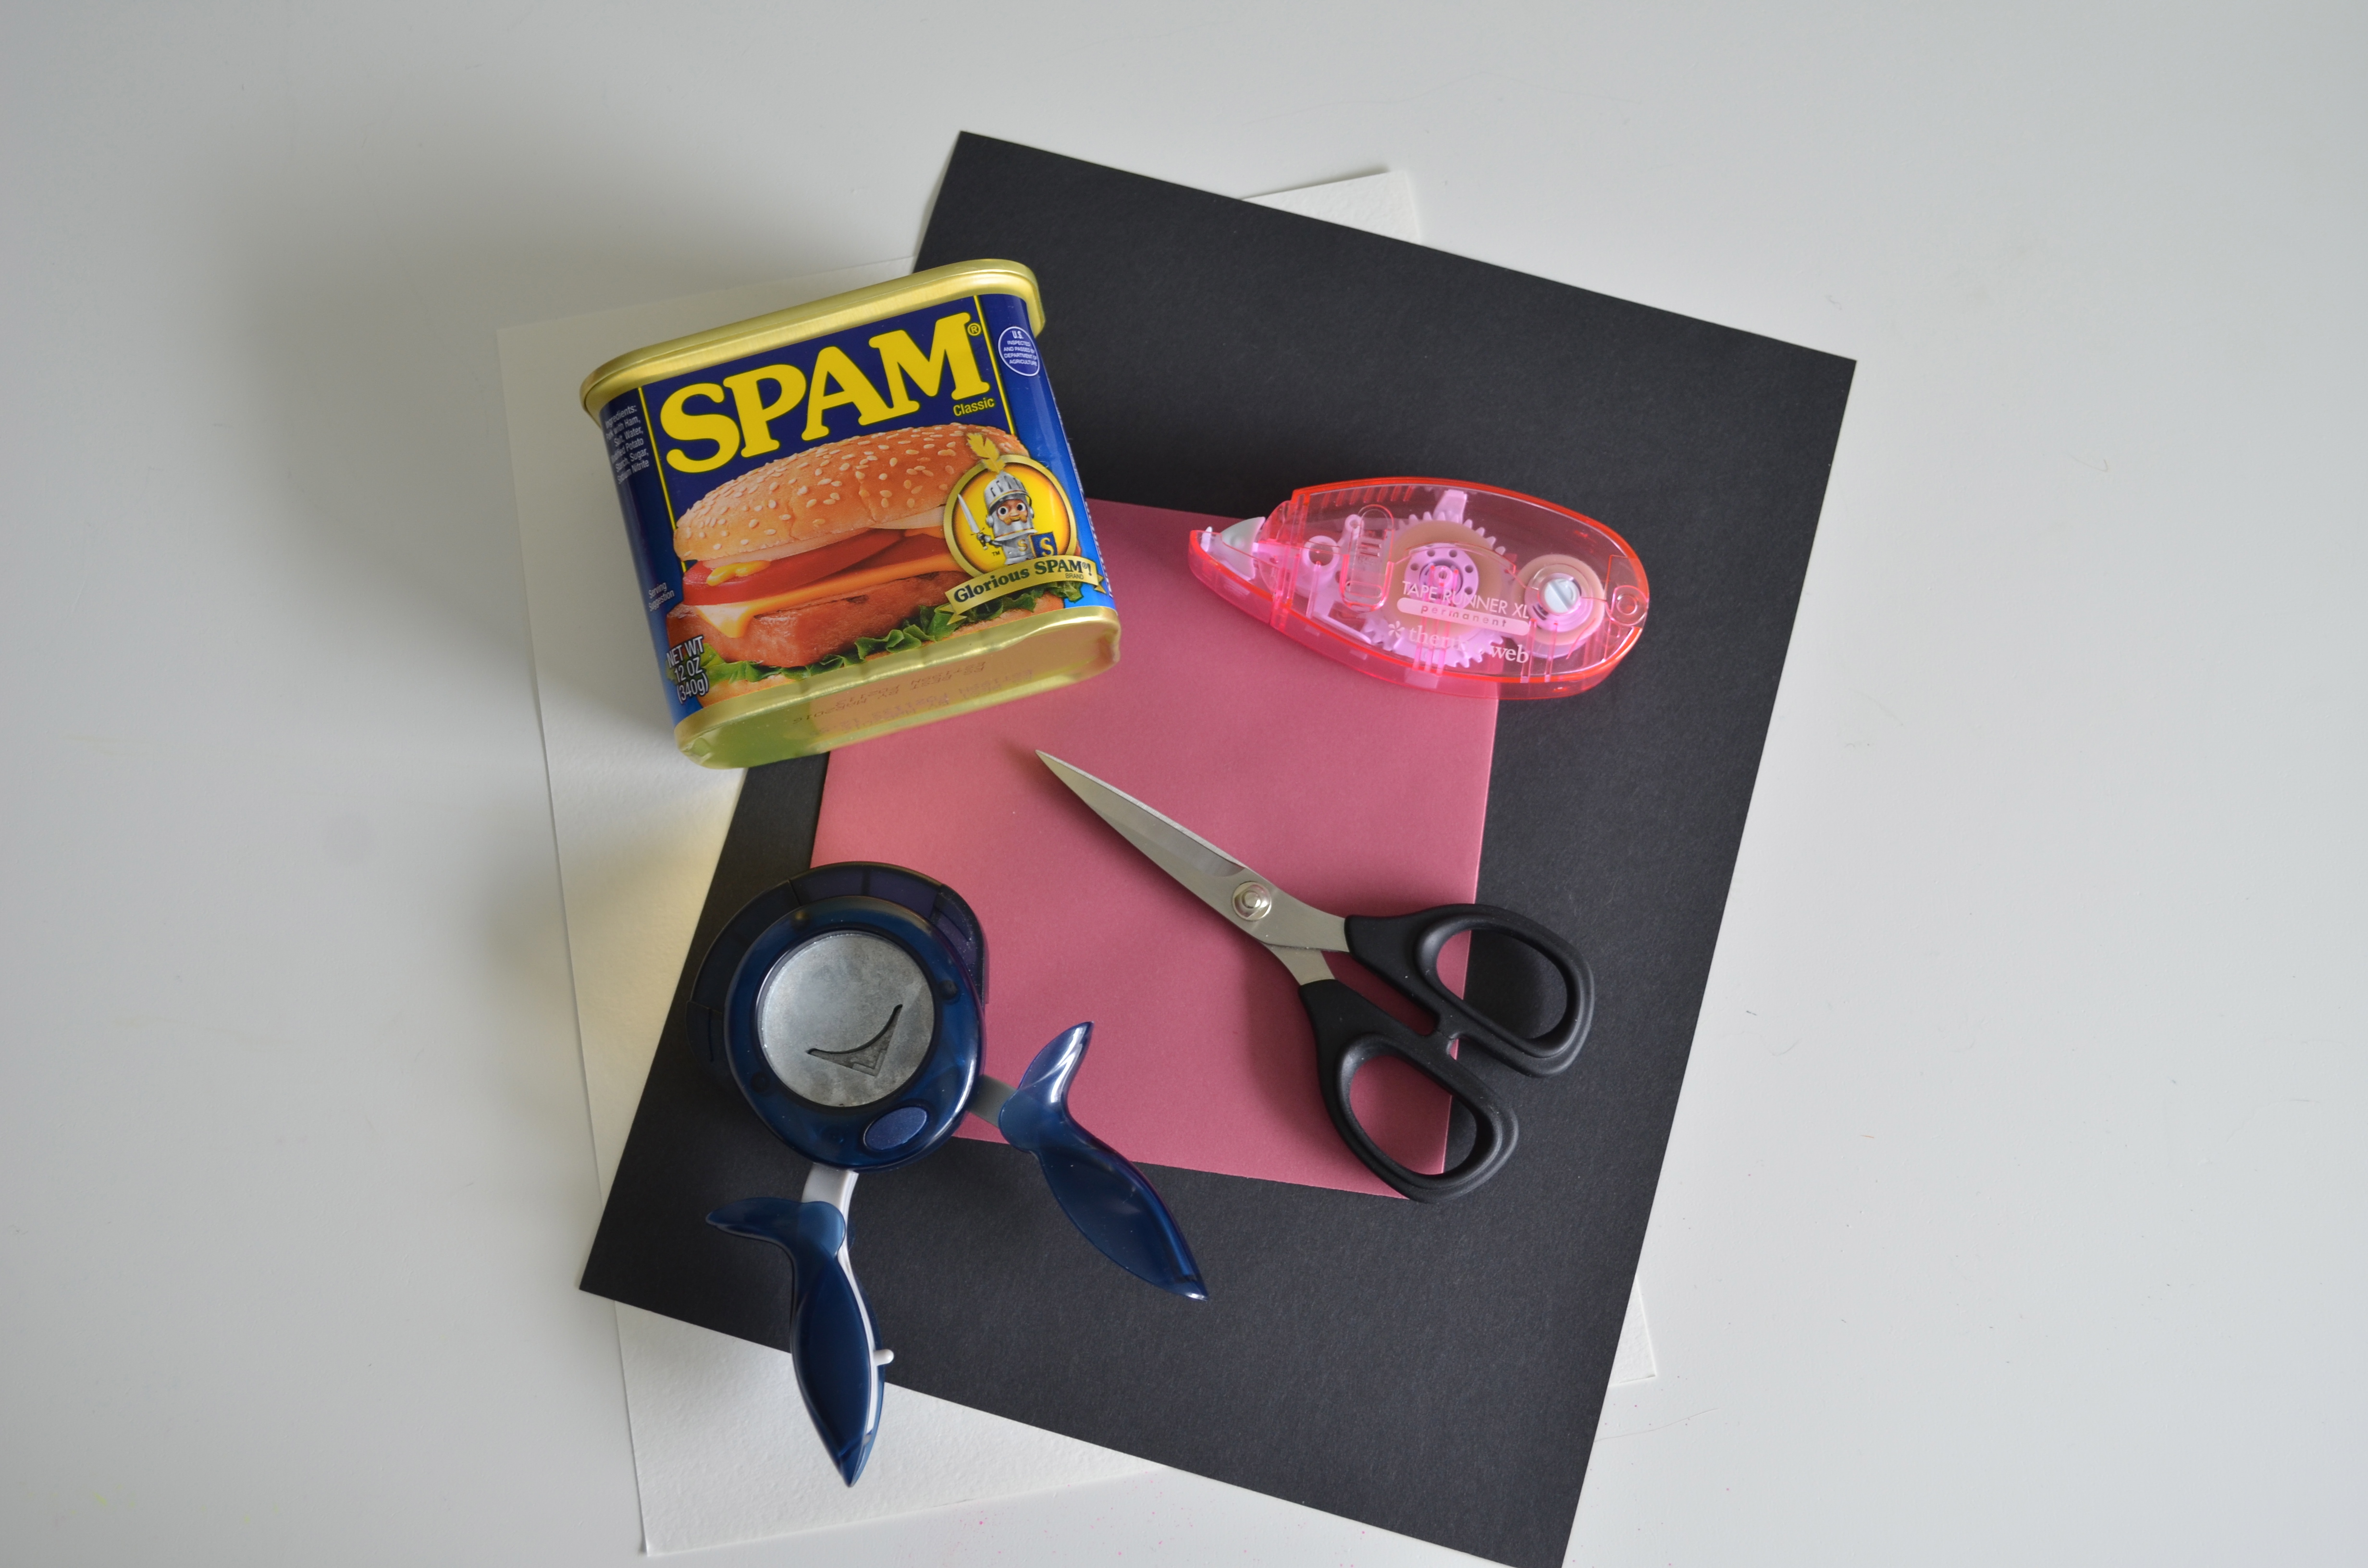
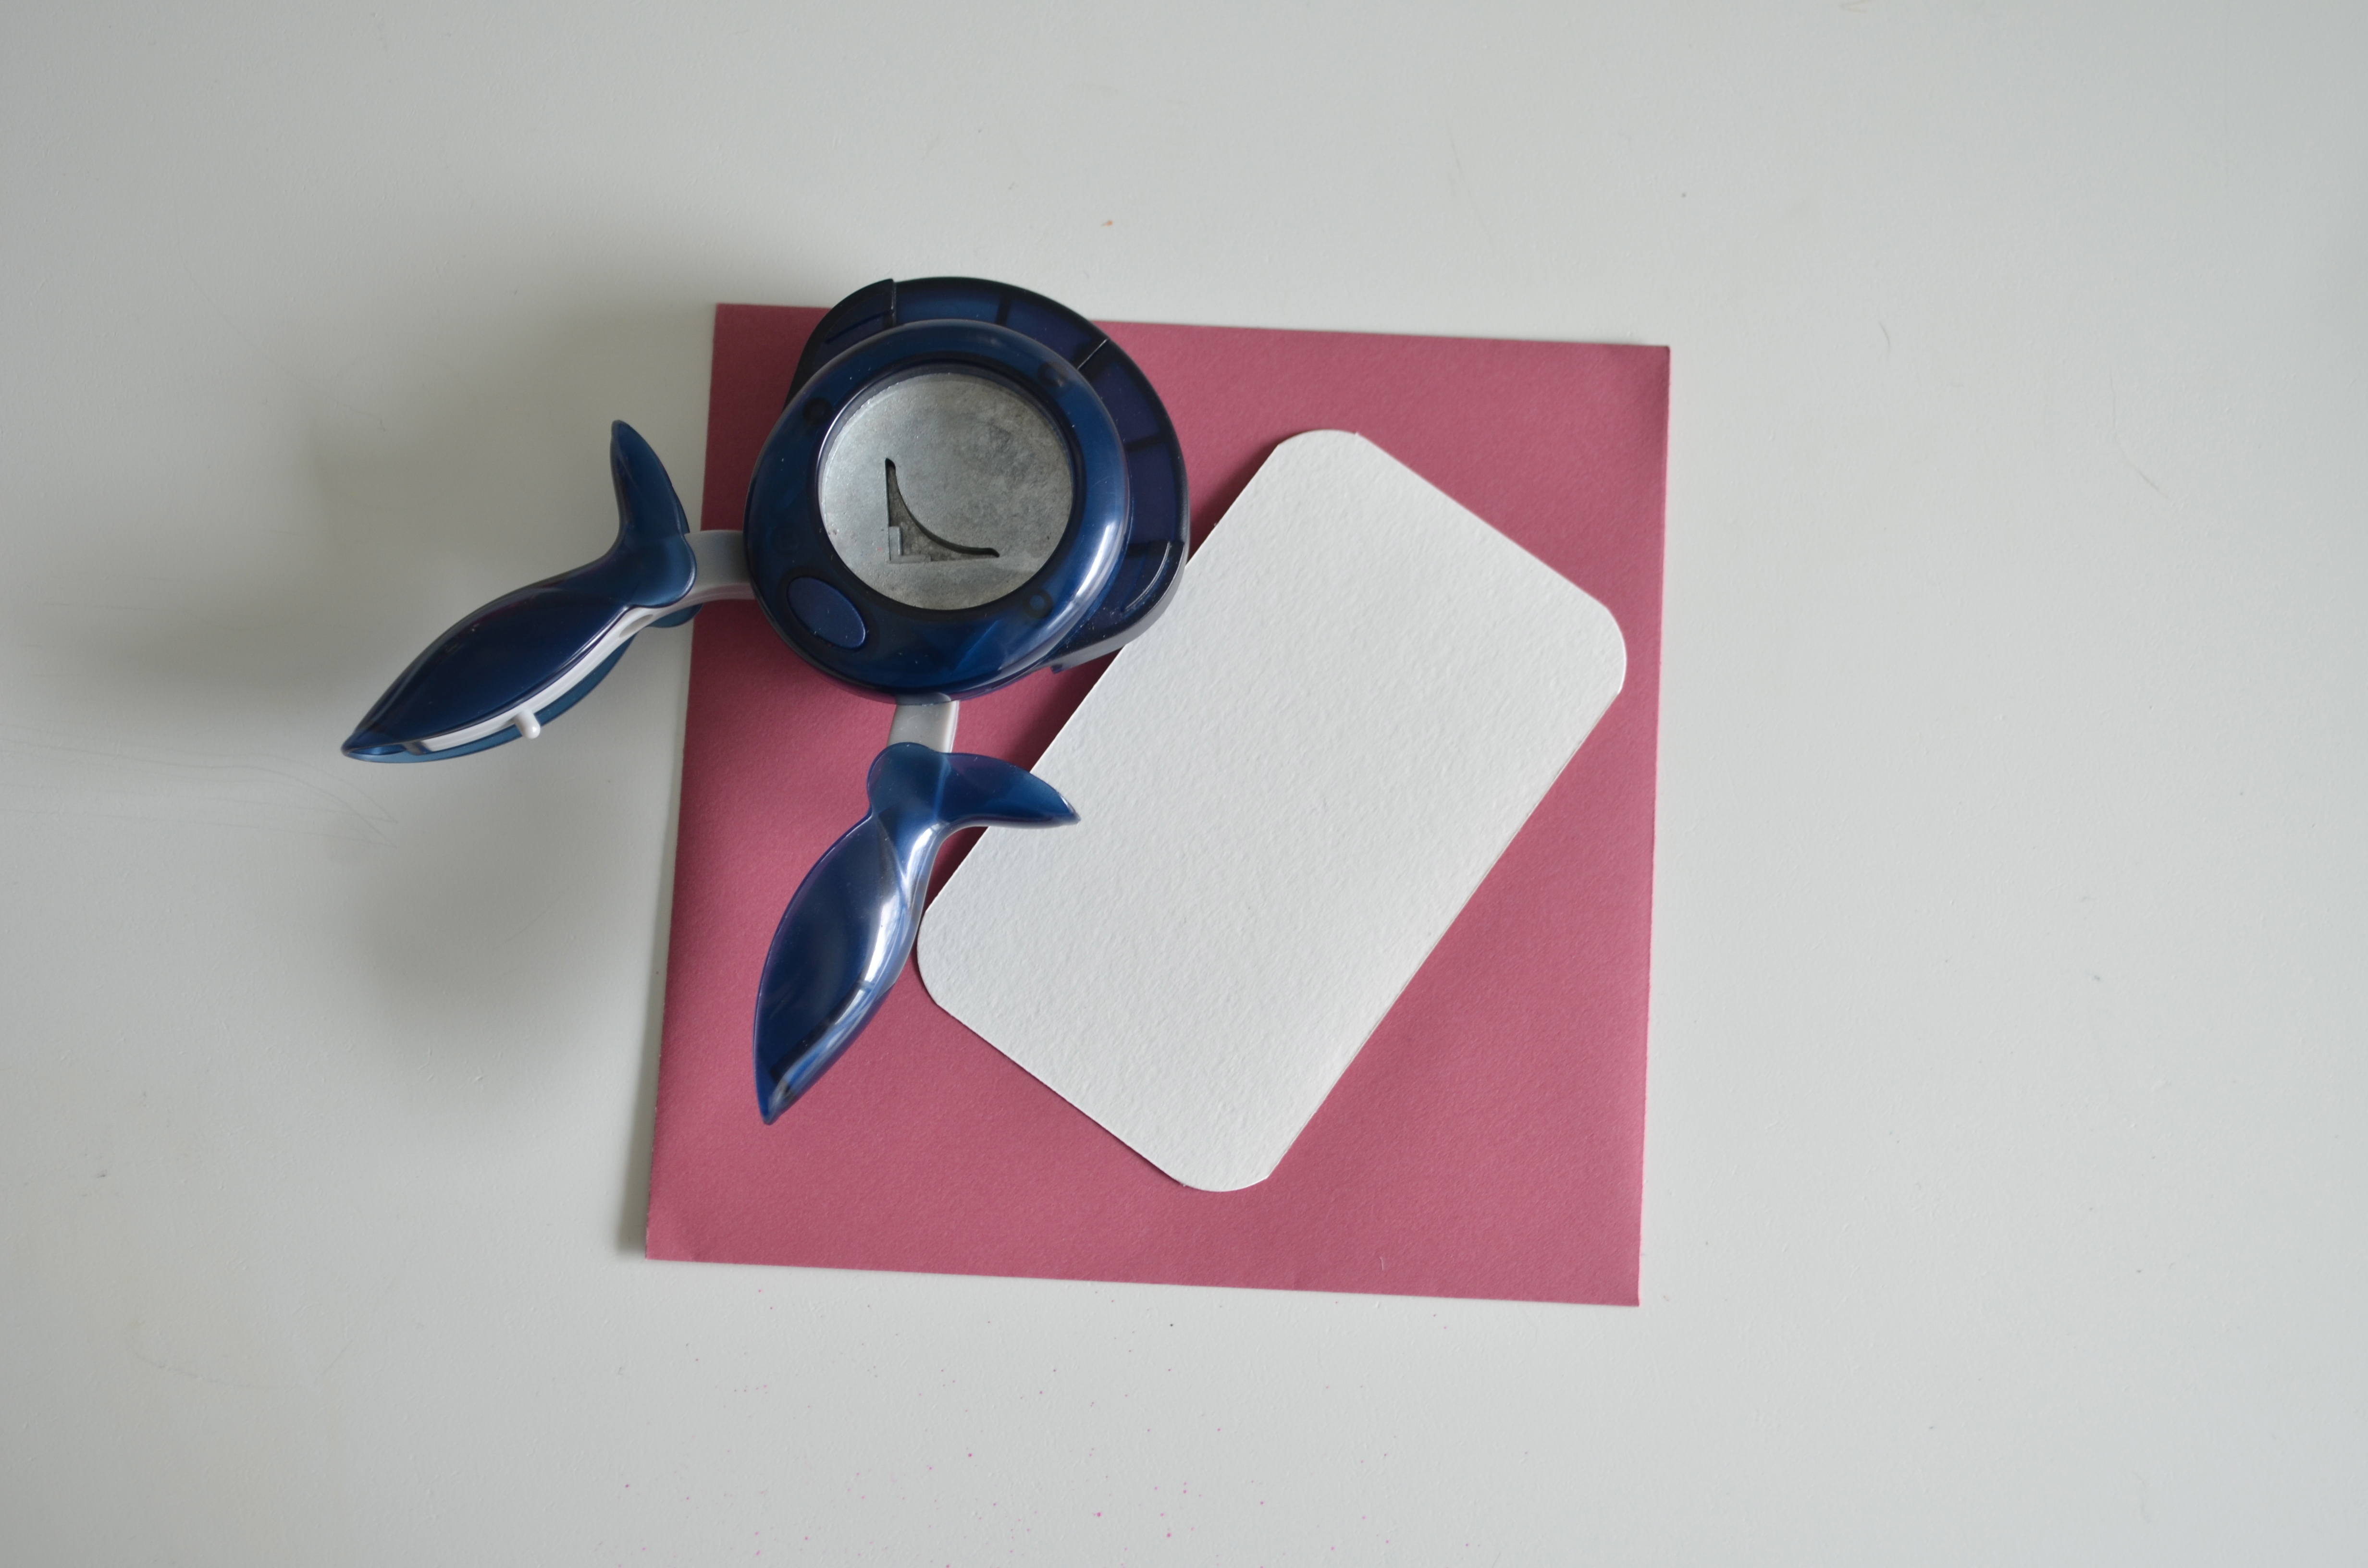
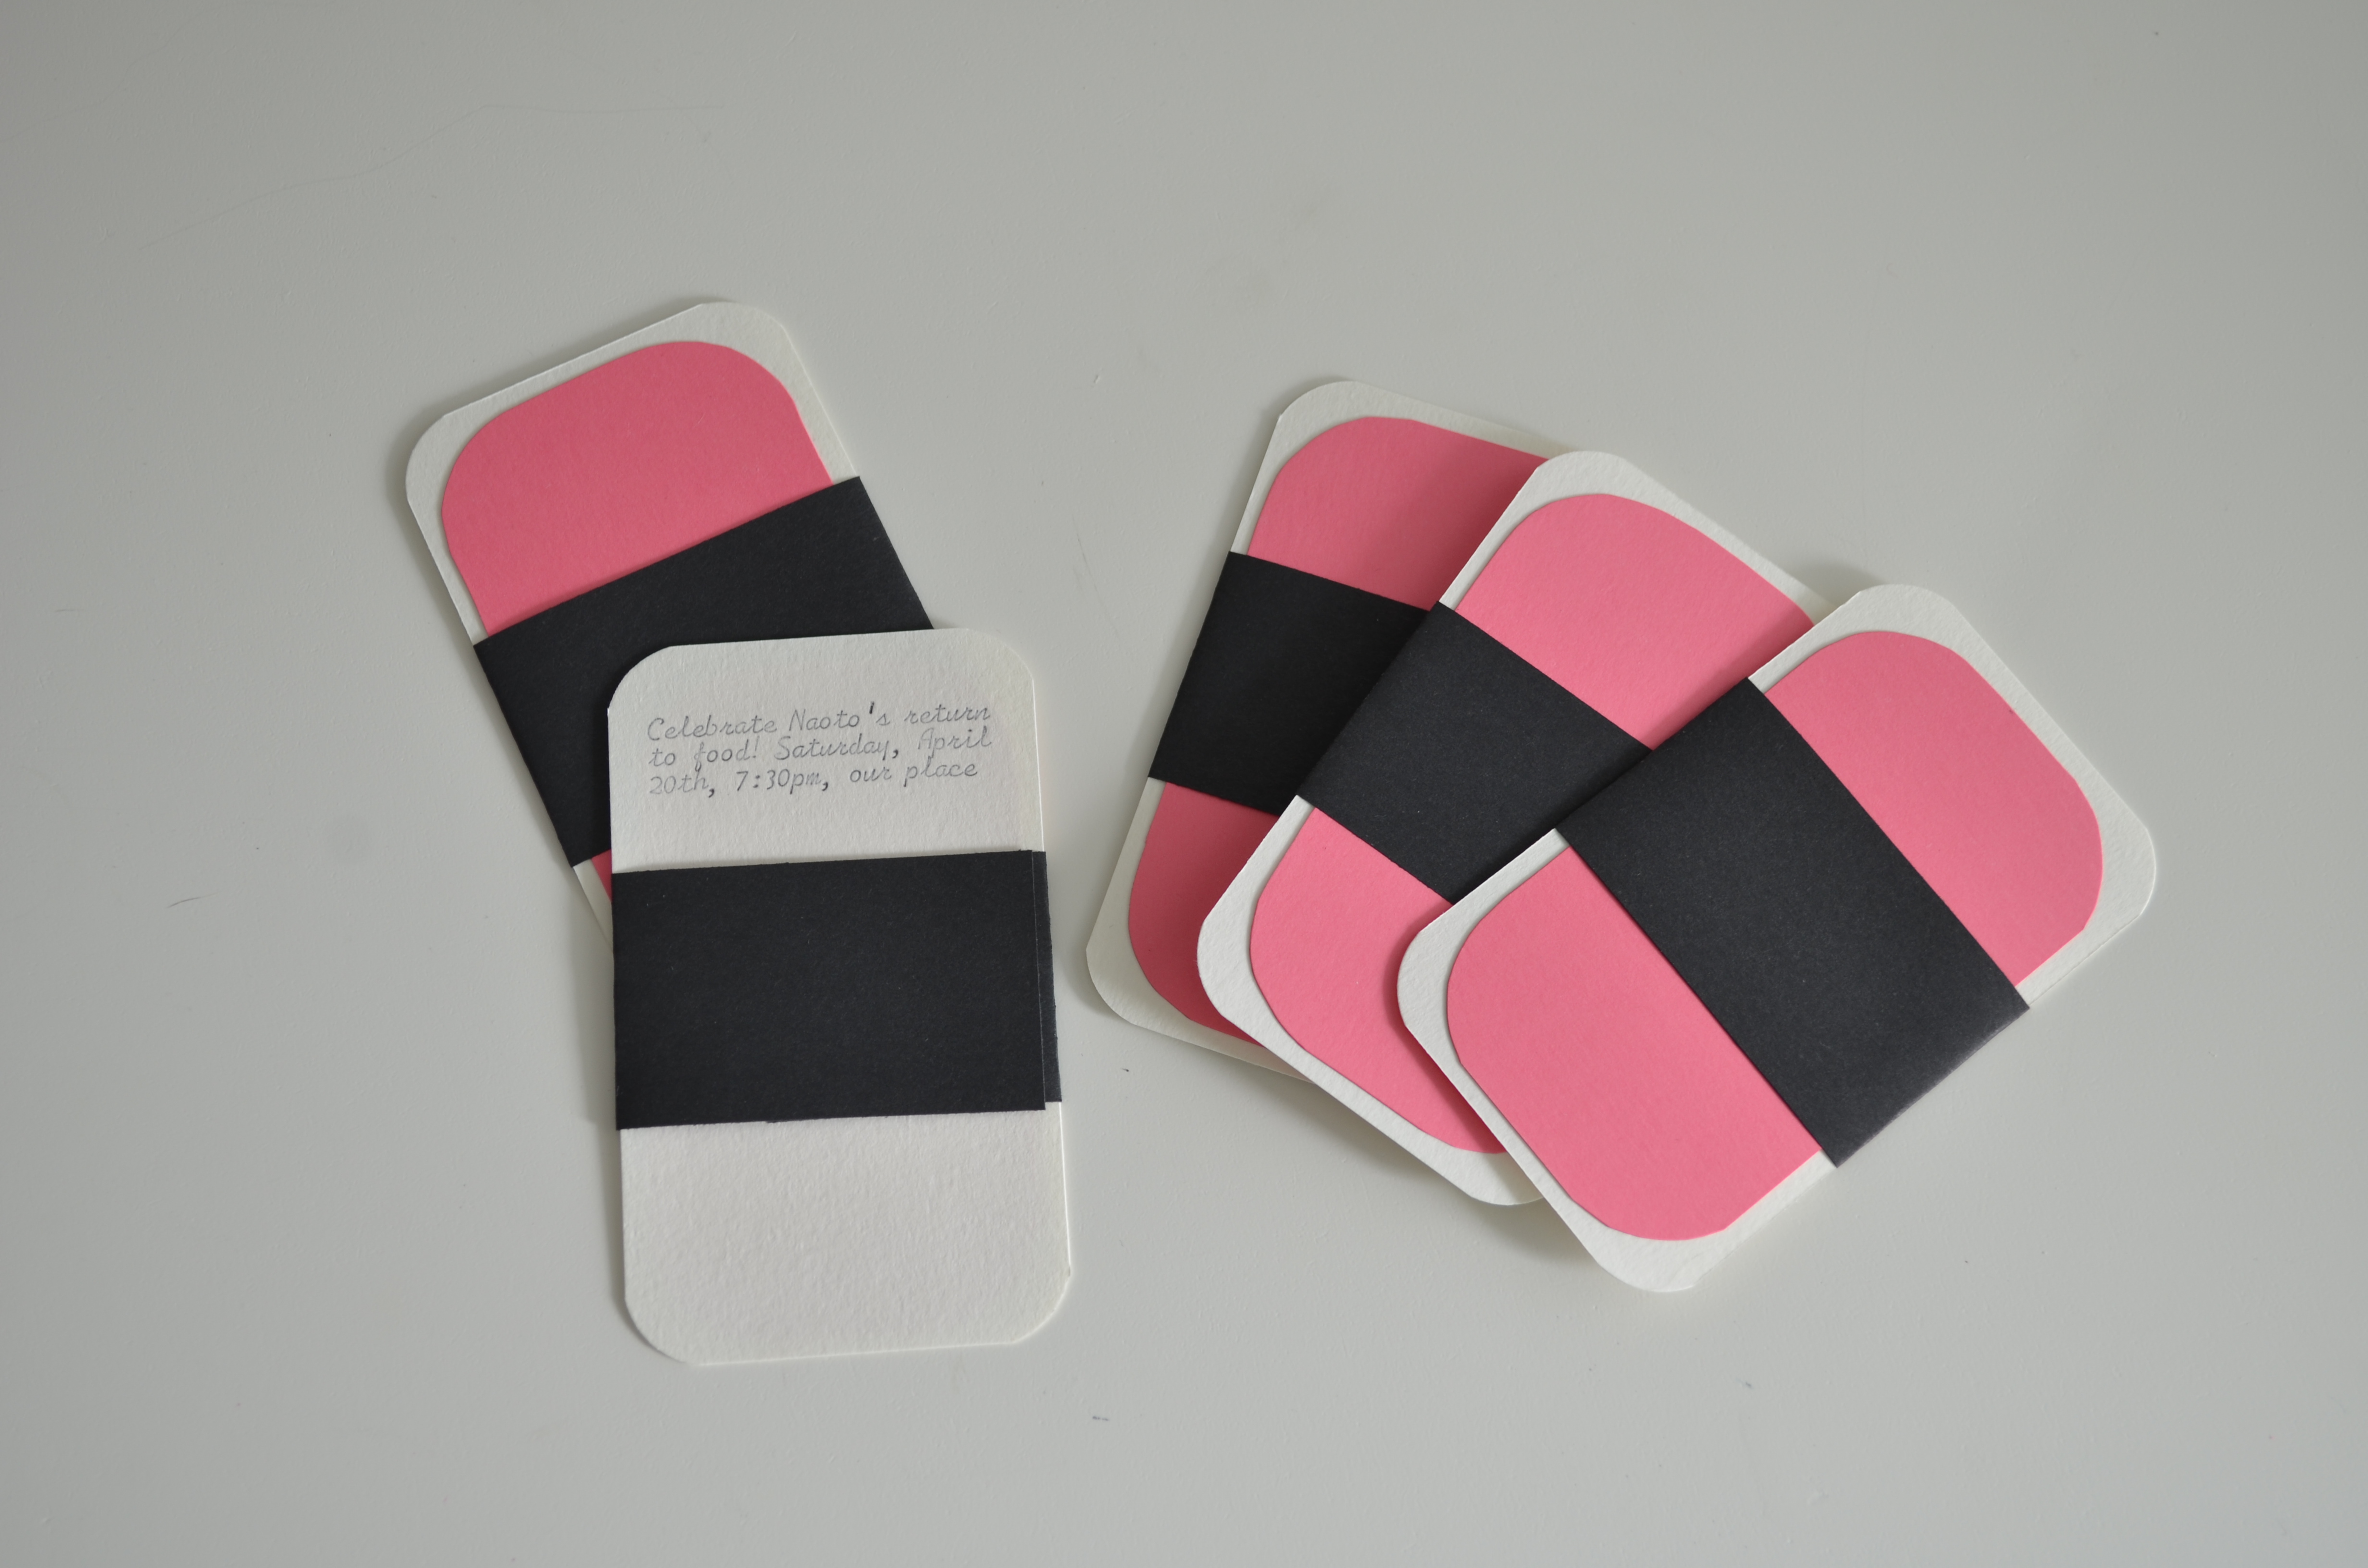
I’ve been working through my 30 Days of Creativity Challenge all week. Like a champ. Of course, it’s only the first week–the real challenge will be keeping up the momentum all month. Here’s what I’ve been working on:

IMG_2263

IMG_0771

IMG_2315

IMG_2317

IMG_2336

IMG_2353

IMG_2363

From the top: 6/1 plant markers, 6/2 handcrafted cocktails, 6/3 two handmade thank yous, 6/4 one handmade envelope and three more pieces of mail art, 6/5 this (free) pattern from Wild Olive (I loved making this! Thanks, Mollie!), 6/6 water colored stationery & envelope (I’m really enjoying playing around with water coloring things lately!) and 6/7 a kitty donut in honor of National Donut Day (from this Wild Olive Donut Shop pattern) I’m a little disappointed in my execution of the kitty pattern…I think I might need to re-do some of the stitches…I don’t feel like my interpretation is fulfilling kitty’s cuteness potential!

I’ve just been winging it each day, but the next two weeks are looking much busier, so I might have to plan out my creative projects to ensure I’m carving out the right amount of time for them. Also, I’m finding myself sticking in my comfort zone and not stretching myself…the whole purpose of this project (for me) is to get a jump start on a few artsy things on my Summer Manifesto…I must try harder!

Tagged , , , , ,

Plant Markers for the Balcony

IMG_2262We still have a few herbs growing on the balcony this year. It’s easier to use the herbs in our “daily” cooking when we can just pop outside to harvest them, plus we wanted to save all of our space in the garden plot for vegetables.

I wanted to make some plant markers for the herbs, similar to those I made for the garden. For the balcony herb makers, I gave the craft sticks a simple watercolor wash (using my cheap set of watercolors from Michaels), let them dry, and then stamped them with my letter stamps in StazOn ink. I love how they look so “official” poking out in the pots!

IMG_2265


Tagged , , , , ,

7th Anniversary Gifts: Copper & Desk Sets

DSC_0045

When Naoto & I exchange anniversary gifts, we use the traditional and modern gift ideas as guidelines. I buy or make something for Naoto from the traditional list, and he buys me something from the modern list. (I wish I could tell you what we’ve gotten for each other in year’s past, but I don’t remember all of the gifts…we should have written them down.)

So since it was our 7th anniversary I got to work with wool or copper (ah, if I only knew how to knit!) and Naoto had desk sets for me…seriously…could he have HAD an easier gift for me?! (I even have a Pinterest Board dedicated to desk stuff!)

I really like to make things for Naoto. He never has a wishlist (I married the least materialistic person on the planet.) and I like to try out new things. My first embroidery project was an anniversary gift (year two is cotton). I’ve been wanting some more art for our home and have been looking online for different mobile type ideas. Through my search, I found this tutorial from Smile and Wave for a copper pipe himmeli. I was a little bit intimidated by the project at first. I don’t make a habit of poking around the plumbing section and I’ve never cut a pipe before. And parts of the tutorial didn’t make sense to me until I actually started working with the materials. But I have to say, Rachel’s tutorial ended up being perfect. Locating the materials was the hardest part (mostly because they didn’t have the right pipe size at Menards and then Lowes put my paid order back on the shelves) but once I got started, I really enjoyed this project–so much so that I plan to make a few more. I’d love to have a little cluster of them with a plant or two in the corner of the bedroom. I’m going to make that happen. (Because one looks lonely and ridiculous.)

DSC_0048

I used a slightly different pipe than Rachel used. Because Lowe’s put my original order back on the shelves (I guess that was a happy accident), I had a chance to poke around the copper pipe section and I found a skinnier pipe–1/4″ Type OD. I have no idea what that means, but it’s skinnier than the 1/4″ Type L (even though they are both 1/4″…don’t ask me, I’m not a plumber). It worked like a charm. Also, it was very satisfying to cut the pipes with the little pipe cutter. It took some practice and some patience. (First I smooshed the end of the pipe because I was too impatient and tightened things too quickly. Then, I didn’t feel like I was getting anywhere as I turned the pipe cutter round and round, but then one last little twist and the pipe was cut–like magic.) I think the whole project took around an hour and the hardest part was threading the twine through and then getting it all lined up at the end. Mine is quite imperfect, but I hope to get better as I make a couple more. I think Naoto liked it. (Or is that his what-the-heck-is-this-well-she-made-it-so-I’d-better-smile face?)

IMG_2288And I know Presley finds it quite intriguing…

DSC_0051(Maybe hanging it at the side of the bed was a bad idea??)

DSC_0005For my gift, Naoto got this sweet wooden cat pencil holder and this planner from Paper & Type. I think I’m going to use the planner for scheduling blog posts because I don’t want to wait until 2014 to put it to use! My Letter Ledger is from Paper & Type and I just think her products are so unique and useful. Thanks for the lovely choices, Naoto!

Tagged , , , , ,

The End of Mays…

DSC_0020

I’m just going to say it: May FLEW! (I know you’re thinking it, too.) I’m excited for June, I’m excited for summer (even though I’m currently melting from the heat because I’m trying to be a hero by refusing to turn on the air conditioning!) and I’m excited for the weekend. Our anniversary is Sunday and we have no solid plans for the entire weekend except for our traditional anniversary dinner at Golden Steer, Forest Park’s most famous steakhouse.

Today I finished  Naoto’s gift. It is imperfect, but filled with love (and a few swear words). I will share it next week.

I also finally made some simple plant markers for our garden. I just stamped some craft sticks with my alphabet stamps and StazOn ink. It took about five minutes (most of that time was spent searching for the elusive R stamp!) in between loads of laundry. We are going to the garden this weekend for sure (it’s been raining again, so I’m dying to see the progress and stay on top of the weed growth!) so I’ll show them “in action” next week.

Have a good weekend!

Tagged , , , , ,

SUMMER MANIFESTO 2013

IMG_2141

Memorial Day marks the unofficial start of summer.

Last year, I created a summer manifesto–a list of activities, projects to accomplish and things to learn during the summer months. I was really happy with my progress! While I didn’t accomplish everything on the list, it was still fun to keep the manifesto in mind as I made summer plans. It made me prioritize the important things of summer, like sitting outside and eating fresh fruits and cool popsicles. I had a great time documenting everything in a little photo book (which I completed but never shared the final product here…would it be weird to share it a year later?) I plan to do the same thing this year. I’ve already purchased this book in neon pink so I’m ready to get started!

This summer I will:

* embrace the mornings (as in, get up and get something done before noon!)

* tend to the gardens (balcony & community garden plot)

* take advantage of our Farmers Market in Forest Park (It’s in an inconvenient location & happens on Friday nights, but I want to support it so it sticks around!)

* travel to Boston

* take my camera out more often and practice

* make an anniversary gift (due on Sunday!!)

* master three more cocktails (Summer-y ones with in-season ingredients would be awesome!)

* host a Hawaii-themed party (We thought we were all partied out, but by mid-summer we’ll be itching for something new to plan!)

* paint the bedroom (It’s the last big, nagging thing on my home improvement list!)

* create three pieces of art for our home (I have ideas…it’s the execution I’m lacking…)

* participate fully in 30 Days of Creativity (I love a good month-long challenge.)

* start working on my zine idea (I’ve had the idea floating around for two years now…it’s time to get started. I have no dreams of selling it, I just want to create it.)

And three more from last year…

* find the ice cream truck

* wear sunscreen & sun hats

* document summer & finish my summer minibook

Of course, Naoto will be along for the ride, and a real participant in some of the things like traveling to Boston, tending the garden, chasing the ice cream man, drinking the cocktails and painting the bedroom (ahem…)

I can’t wait to get started!

How about you? Any summer have-tos on your list?


Tagged , ,

Screen Printing at the Library

DSC_0014

Last night I went to a screen printing workshop at the Forest Park Public Library. I’ve always wanted to learn about screen printing and what better place to get a taste of something than the library?

Because it would have taken a lot of time, materials and a dark room to create our own screens, Maureen-the-librarian had two screens prepared for us. One, a fist with the word “READ” tattooed on the fingers and the other, an image of Maureen’s cat reading Moby Dick. I’m sure it will come as no surprise which design I chose!

IMG_1844

There were six of us in the class and we all took turns printing on paper and on little totes. It was actually pretty easy to print on paper as long as someone held the screen steady and you squeegeed the ink on with enough force. It was harder to achieve “perfection” on the bag because the fabric absorbs more ink, but I’m pretty happy with how it all turned out. I’m going to frame my print and continue hanging artwork above the desk on the right side.

I love library events. They are a great, low-pressure way to learn a little bit about something new. In this case, it made me want to learn a lot more about screen printing. I picked up a copy of Christine Schmidt’s Print Workshop book so I could read about more projects and ideas. I hope this isn’t the last time for screen printing and me! Thanks to Maureen and the Forest Park Library for hosting such a great workshop!

To see other fun library adventures, go here.


And P.S. That was my 200th post!

Tagged , , ,

Naoto Eats

Image

We celebrated Naoto’s return to food last weekend with our Naoto Eats party…and I have to admit, everyone loved the Spam musubis…Naoto was thrilled to share his favorite Hawaiian snack with such a receptive audience. (It made me happy, too, because that meant more leftover meatballs for dinner on Sunday!)

DSC_0017

I went simple (or lazy?) with decorations. I turned my paper musubis into a garland  for the wall and I littered the table with some Spam postcards from the Spam store (yes, it exists and I have shopped there more times than I’d like to admit). As usual, I took zero pictures of the party, but I think I can say everyone had a blast and Naoto was a happy little Spam clam.

IMG_1806


Next week, Naoto & I will be sharing his Spam musubi recipe…I’m just waiting for some daylight for clearer pictures, and Naoto is just waiting for another excuse to make a batch of musubis!


*Thanks, Karen, for sending along a picture of us in party-prep mode!

Tagged , , , ,

How To: Paper Spam Musubi

DSC_0020

I realize this little how-to might not be of interest to most of the population.

Spam musubi is a Hawaiian snack food that is made with grilled Spam (yes, that canned meat that no one in the continental U.S. really eats) on a bed of rice, wrapped in seaweed. It looks like an extra large sushi.

Full disclosure: I do not eat Spam musubi. It’s a Naoto thing. (He grew up in Hawaii…but really, he just eats pretty much everything.)

Making the paper version is quite fun though, and maybe some people in Hawaii would like to make a little paper version of their favorite local treat? Maybe there are other Spam musubi fans out there?

DSC_0003

To make a paper Spam musubi, you’ll need:

black paper

white card stock (I used Paper Source Luxe white, because it has some texture, like rice)

pinkish paper (I used Paper Source rhubarb, a discontinued color, but a very “canned ham” shade of pink)

tape or glue (I used this tape runner)

scissors

pencil

corner rounder (optional, but I used this)

a can of Spam

1. Trace the top of the Spam can onto your pinkish paper and cut it out

DSC_0007

2. Cut your white paper into a 2.5 x 4.25 inch rectangle.

DSC_0010

3. Round the corners of your white rectangle.

DSC_0011

4. Cut a 1.5 inch strip from the black paper.

DSC_0012

5. Assemble. Tape your pink “Spam” onto the white “rice” and then wrap the black “seaweed” around the “musubi” and tape it in the back.

DSC_0013

And there you have it…a paper Spam musubi.

DSC_0017

I made Spam musubi invitations for Naoto’s party tomorrow night. We don’t have a printer, so I just typed up the information on the back of the musubi. (I also used other pink paper for the Spam.)

DSC_0028

We are serving Spam musubis and a Hawaiian-style potato salad, along with meatballs, cheese and other snacks for non-Spam lovers. I can’t wait to share more next week.

Tagged , , , ,

Garden Stamp

DSC_0004

Shortly after I decided I had to sign up for the community garden (application still pending…) I came across this “From the Garden of” Stamp Activity Kit from Yellow Owl Workshop. I immediately bought it (which is very unlike me…I firmly follow the one day waiting period for all online purchases). I already have two Stamp Activity Kits (the Gift Tag and the Place Card, both gifts from Naoto) and I love them, so I figured having a garden stamp on hand might come in handy if I get to grow vegetables this summer. I optimistically imagined Naoto & I giving some fresh tomatoes and cucumbers to our friends in a brown paper sack complete with a hand-stamped tag. (Realistically–or pessimistically as Naoto calls it, I fear we will grow a garden of weeds and have nothing to offer anyone.)

My parents, on the other hand, are veteran gardeners with many years of success in their gardening gloves. My dad’s vegetable garden is enormous and overflows with produce throughout the summer. They give away a ton and can several vegetables each year. And he and my mom have quite the collection of perennials throughout their yard. Just when they think they don’t have any room for another plant, they fall in love with a new variety and magically find a place for it. (I talked my mom into buying an anemone just yesterday.)

DSC_0008

So naturally with all that extra produce, I figured my dad could use some garden tags this summer. Using the green ink that comes in the kit (which, incidentally, is similar to StazOn because it works on pretty much any surface), I stamped a few tags (Martha Stewart for Avery manilla tags 4 3/4in x 2 3/8in, which are apparently discontinued…) and added them to his birthday gift (pistachios and this). It was a quick little project and one I hope to repeat for my own garden!


Tagged , , , , , , , ,

My Little Red Toolbox | StazOn Ink

DSC_0013

My Little Red Toolbox is back–this time with the one ink I cannot live without–StazOn ink. StazOn is a fast-drying solvent ink and it works on plastic, metal, glass, ceramic, laminated paper, coated paper and leather. Overkill for regular paper and envelopes? Maybe, but I stamp on glossy things like shimmery envelopes, labels, photos and washi tape all the time, and who needs a variety of black inks lying around? (Not me.) StazOn dries almost instantly, which helps when I stamp my return address on a stack of mail and it doesn’t smear all over the other envelopes.

DSC_0012

I bought these notarial seals at Pieritz Bros during the letter social last weekend. They are shiny and gold. Normal ink pads would take a lifetime to dry, or never dry on them. The StazOn ink dries almost immediately so I can use my homemade seals (created with this By Pigeon stamp) right after I stamp them. Instant gratification.

I have StazOn inks in Blazing Red (such a solid, true red) and Teal Blue (a perfect peacock blue), but the black one gets the most use by far. The only downside with StazOn is that it stains your stamps, so if you frequently use different colored ink pads, you’ll need the StazOn cleaner on hand to keep your stamps ink-free.

We’re only about halfway through the Little Red Toolbox, so look for another post soon!

*For more about my little red toolbox, go here.

Tagged , , , , , ,