When I was growing up, we always got a real tree for Christmas. I remember always being cold and annoyed at the tree farm while my parents picked out a tree. I remember being bummed that we couldn’t get our tree right after Thanksgiving. (“It will dry out!”) I was jealous of the families who dragged their fake trees out of the basement and got to decorate for Christmas right away.
When I graduated from college, I bought a cheap fake tree at Kmart. It was fine, but it really did lack pizazz. I had it for years but once Naoto and I got married, I convinced him that we should try a real tree. (If we could turn back time, I bet he would veto that decision.) So, we bought a $9 tree stand (which still serves us very well) and found a tree at Menards. I know it’s less than picturesque to buy a Christmas tree in a home improvement store parking lot, but it works for us. Their trees always go on sale the Sunday after Thanksgiving, the price is right and, at this point in my life, I don’t need to visit a tree farm with an ax to make my Christmas complete.
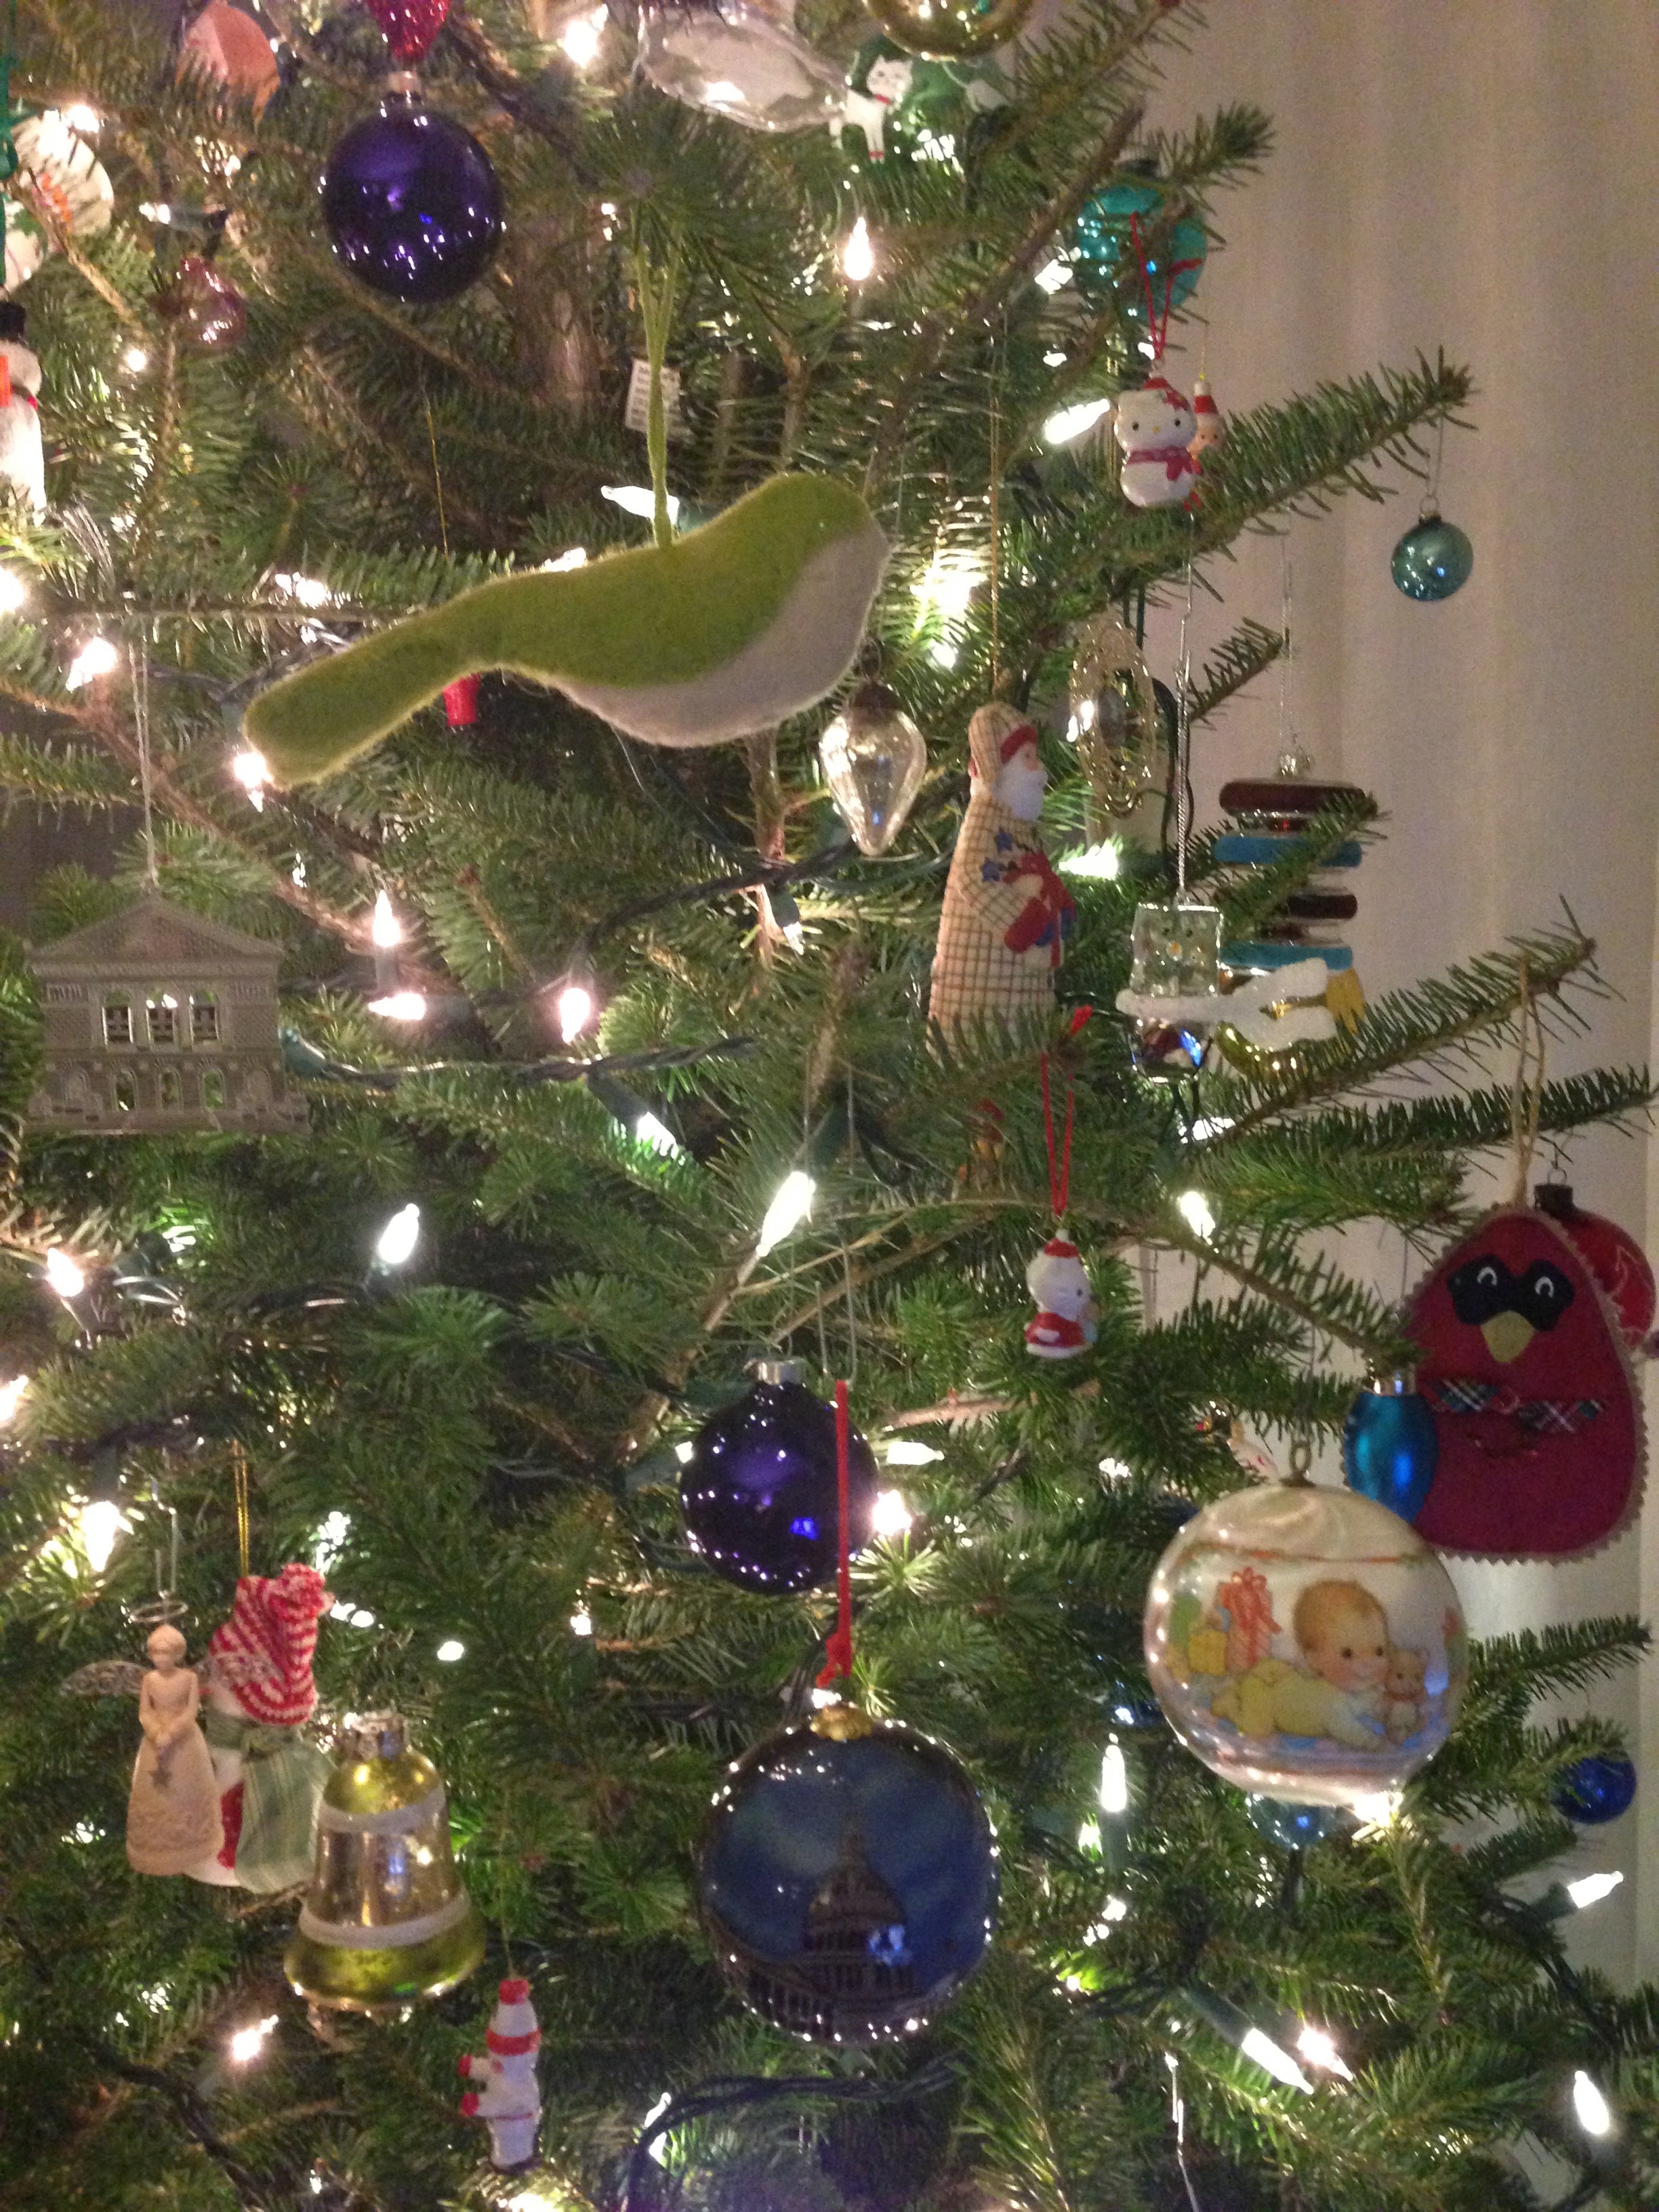
Now, I can’t imagine going back to a fake tree*…even though it can be a lot of work to do the real tree thing, I love that our tree has a different personality every year. I love that fresh pine smell that fills our living room. I love tossing it off the balcony every January and not having to store it in our closet all year. (Our village collects the trees and recycles them as mulch.)
Growing up, I think we always got a Scotch pine. They are very traditional looking Christmas trees, very full, very green. Scotch pine needles are medium length and their branches are really strong, good for heavy ornaments. My issue with Scotch pines–the needles are verrrrry pokey. I guess my dad never minded getting stabbed with thousands of pine needles when he was manhandling the tree into the stand? Naoto and I always alternate between White Pines and Firs, either Balsam or Fraser.
White Pines are one of the least expensive trees ($14.95 on sale at Menards for a 6-7 foot tree, the same price as Scotch pines) and they are really full and lovely with their long, soft, deep-green needles. They also, in my experience, last a really long time, staying green and fresh past the New Year. The big downside to the White Pine is that sometimes the branches are floppy and they don’t support the weight of ornaments as well. And they are so full and the needles are so long that tiny ornaments tend to get lost in the tree. But, the trees are so pretty and traditional looking that I don’t always mind leaving some of my ornaments off for a year.
Balsam Firs and Fraser Firs are my favorites, but maybe that’s because we have a Fraser Fir this year. (Every year’s tree is my favorite.) They are more expensive ($24.95 on sale at Menards for a 6-7 foot tree) but it’s totally worth it. Both are skinnier trees with short needles. Balsams have more olive green needles and Frasers have blue-green needles. The shorter needles allow tiny ornaments to shine. Both trees’ branches are sturdier, so they can handle heavy ornaments. And the branches are more spread out, leaving room for larger ornaments to dangle. Supposedly both retain their needles well, but in my experience, they do dry out a bit faster than the pines…this could just be my luck with trees though. Both Balsam and Fraser Firs have incredible scents…our tree has been around for more than a week and it still smells divine in here.
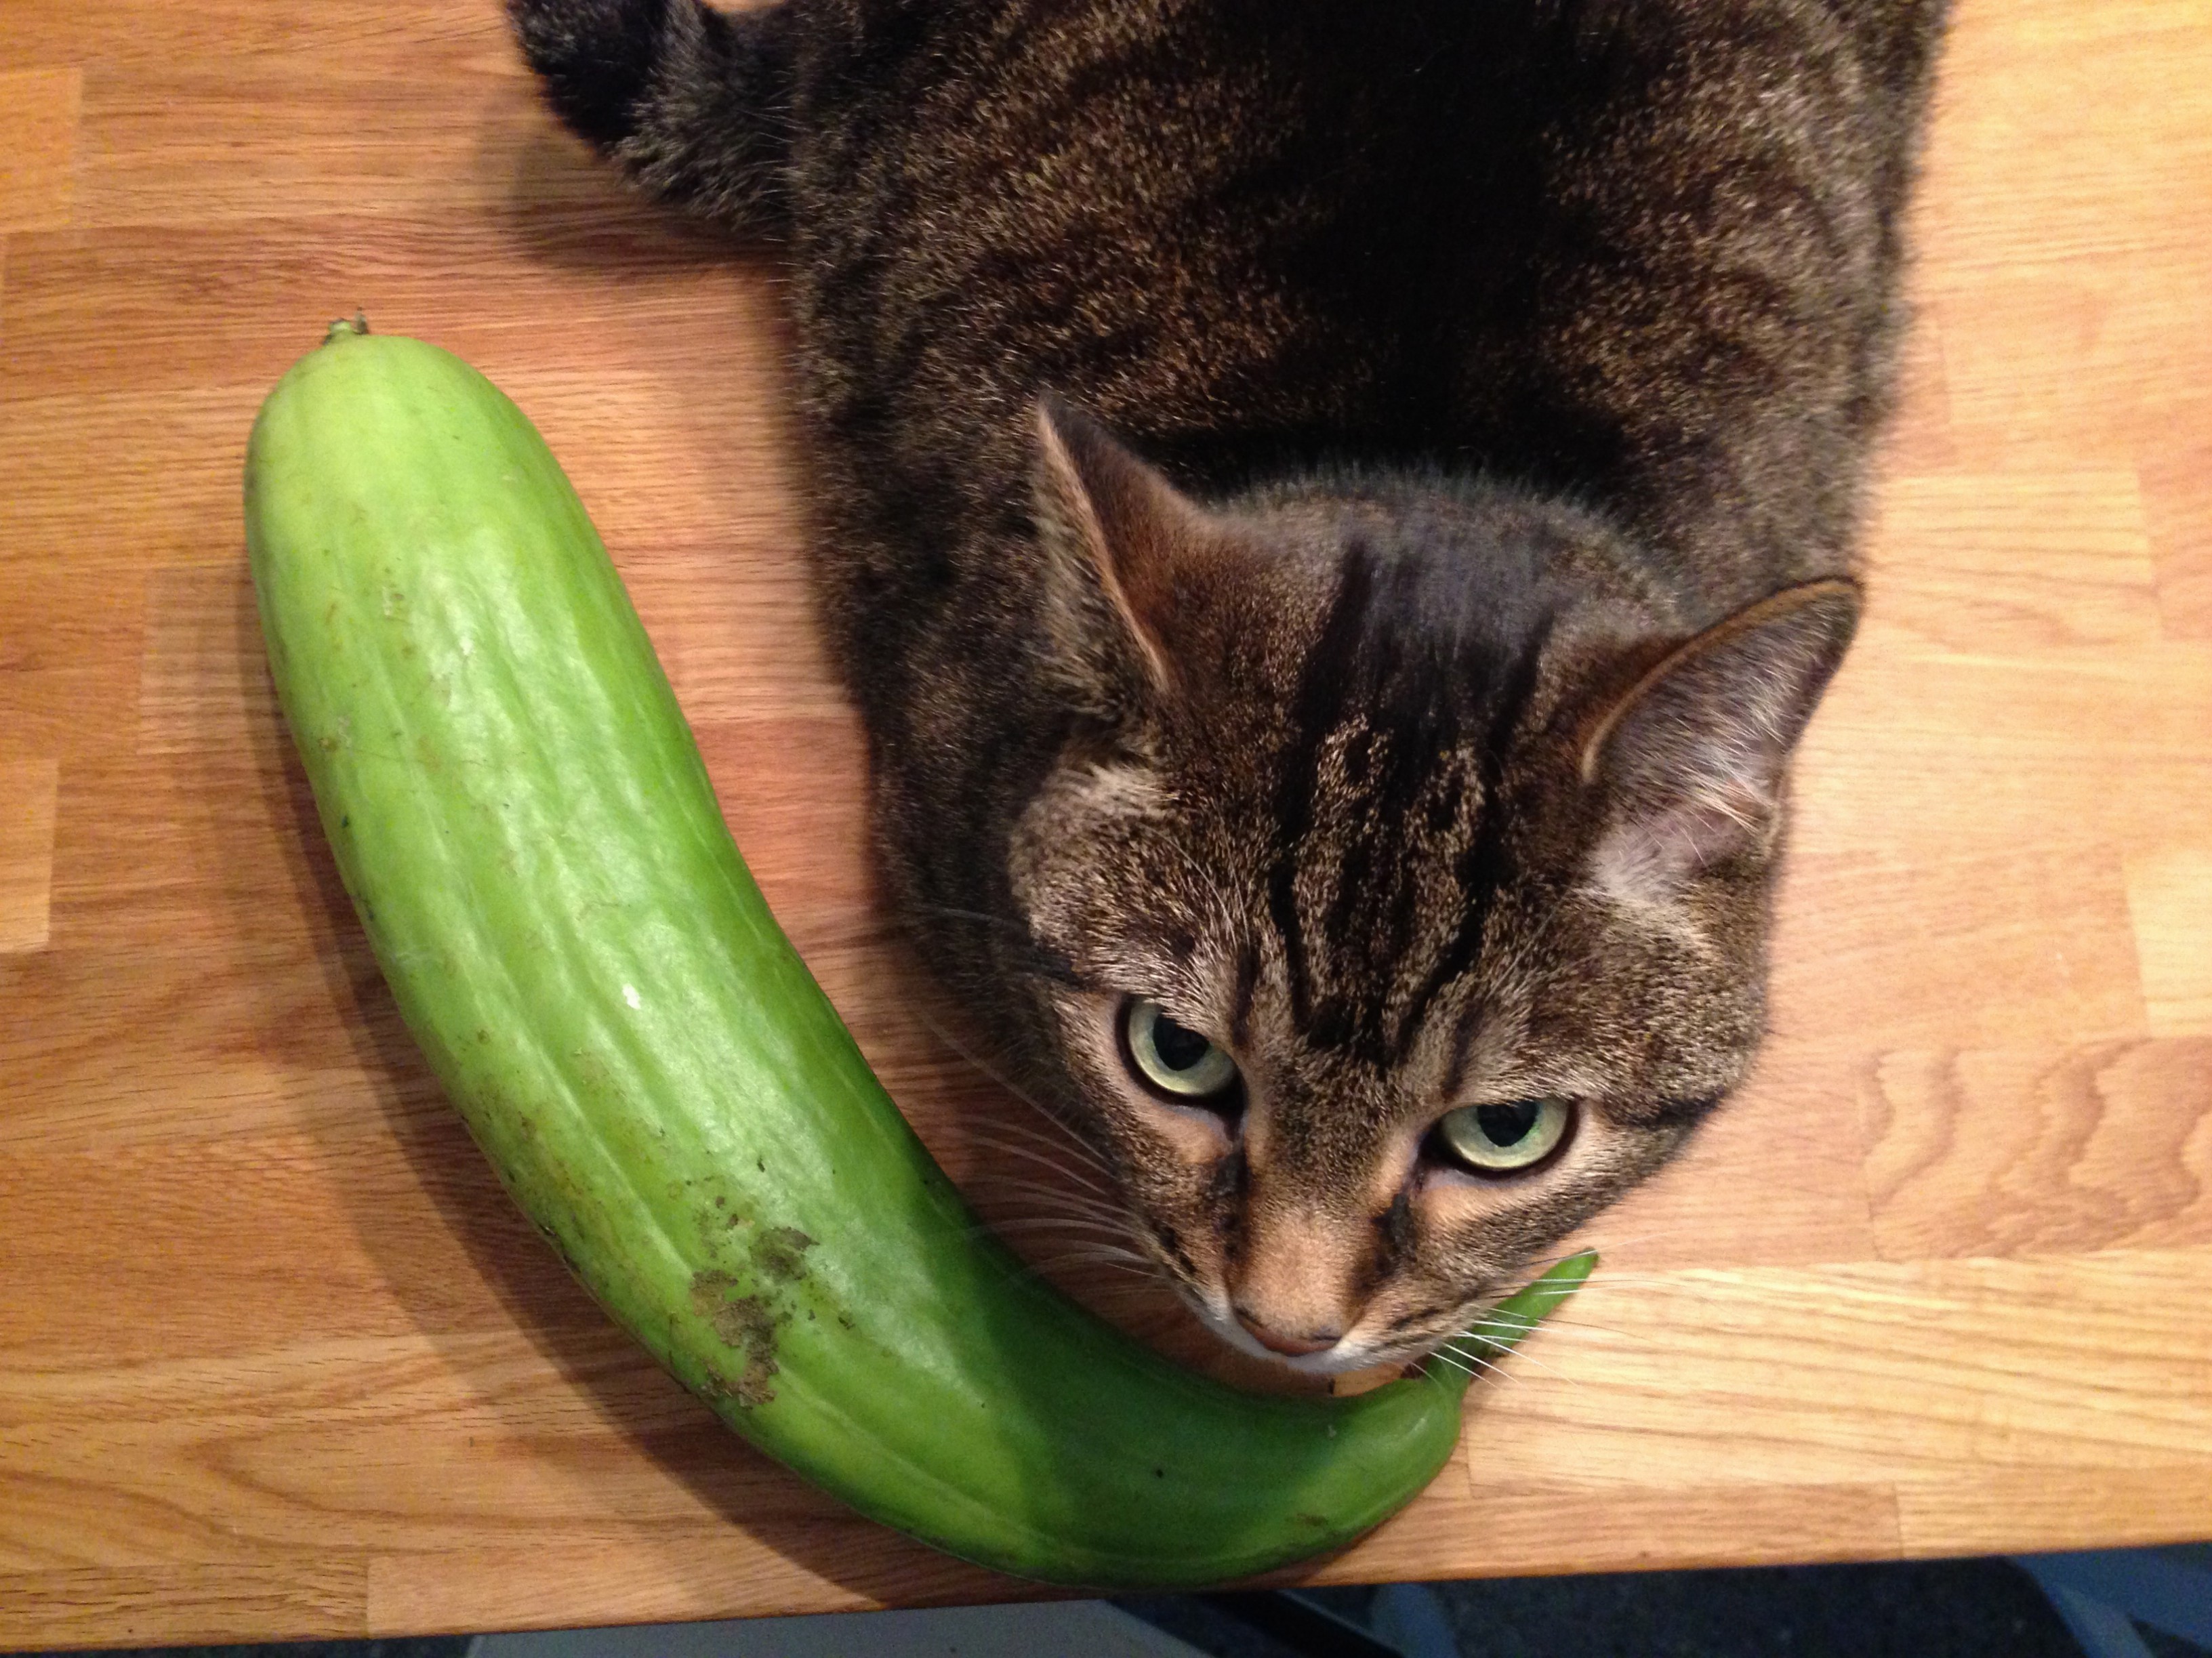
I’ll share more pictures of our actual finished tree tomorrow. It’s all decorated and my ornaments really pop on its skinny branches. Now, I just need to keep Presley from nibbling the lower branches…
P.S. This post is not sponsored by Menards–we just like their trees. For further reading on Christmas trees, I found this interesting, educational website. I feel like someday I need to expand our tree search and try a spruce or a cypress!
*Sometimes when I’m struggling to string the lights (or swearing as I remove the tangled lights from the tree in January) I remember an old friend whose family kept their fake tree in the basement, fully assembled and decorated. Every year, they would just carry it up to the living room and plug it in. Instant Christmas! But honestly…I’d miss bringing out each ornament and remembering its history as I hung it on the tree…
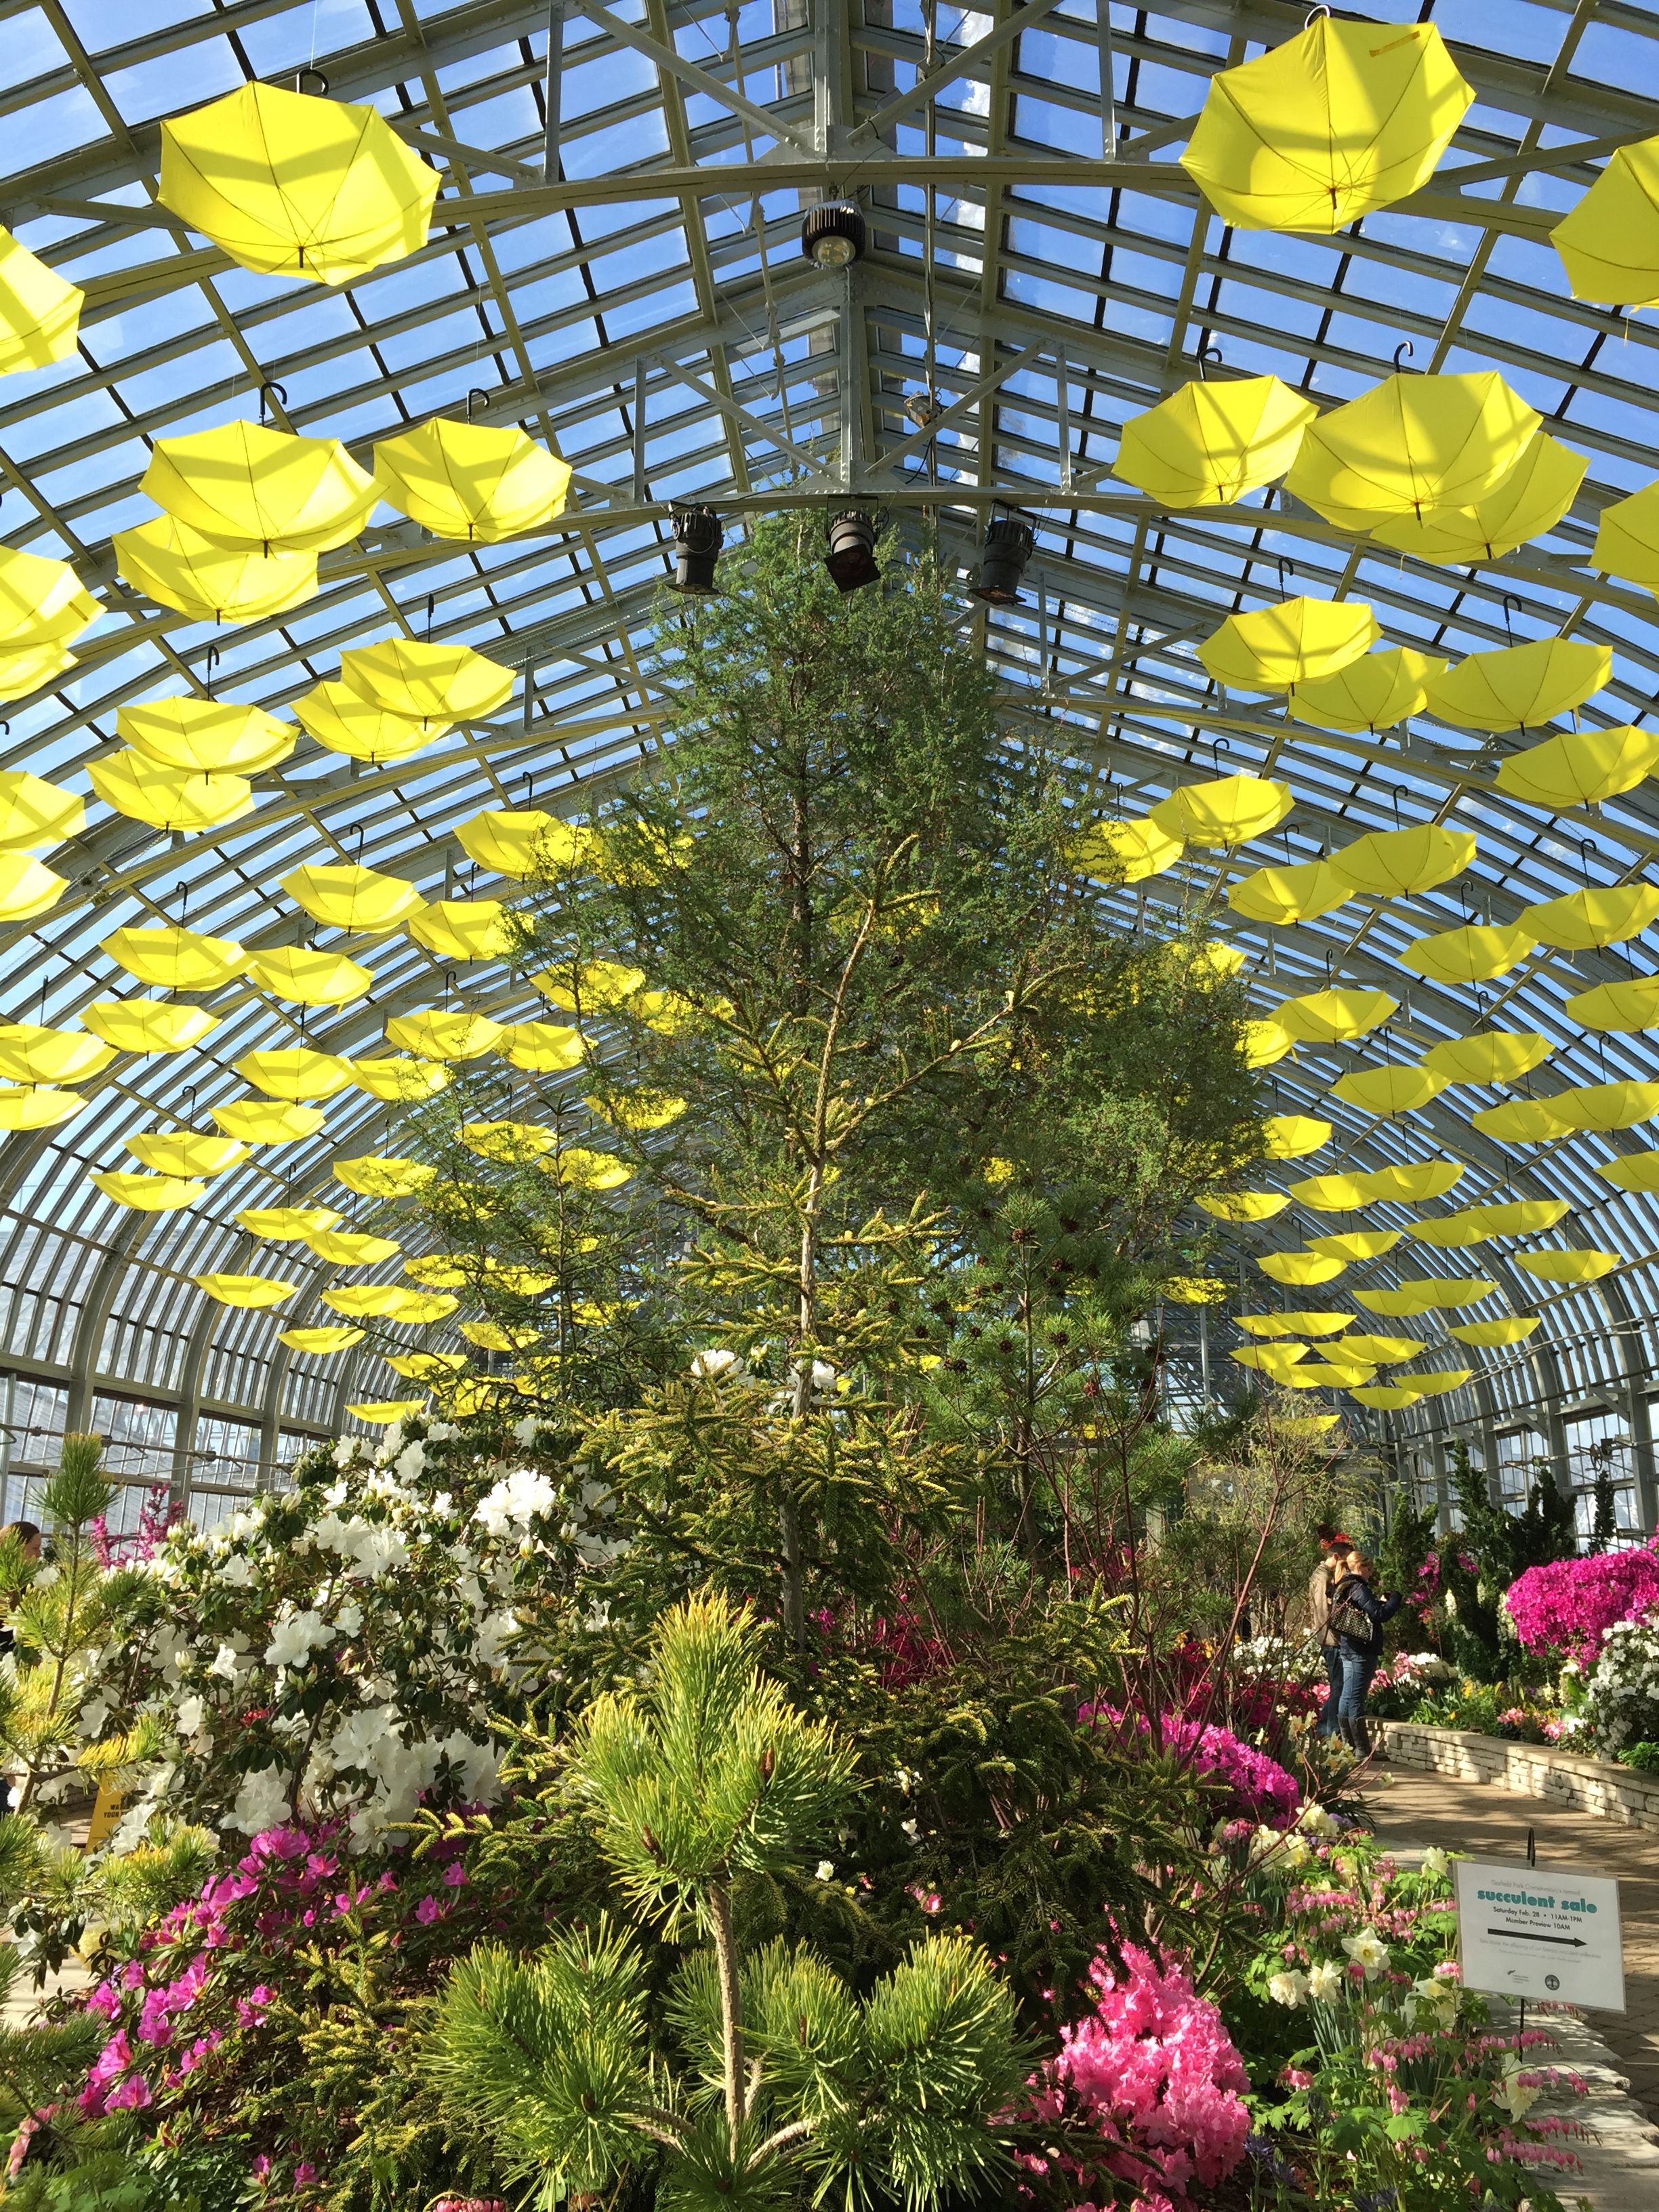
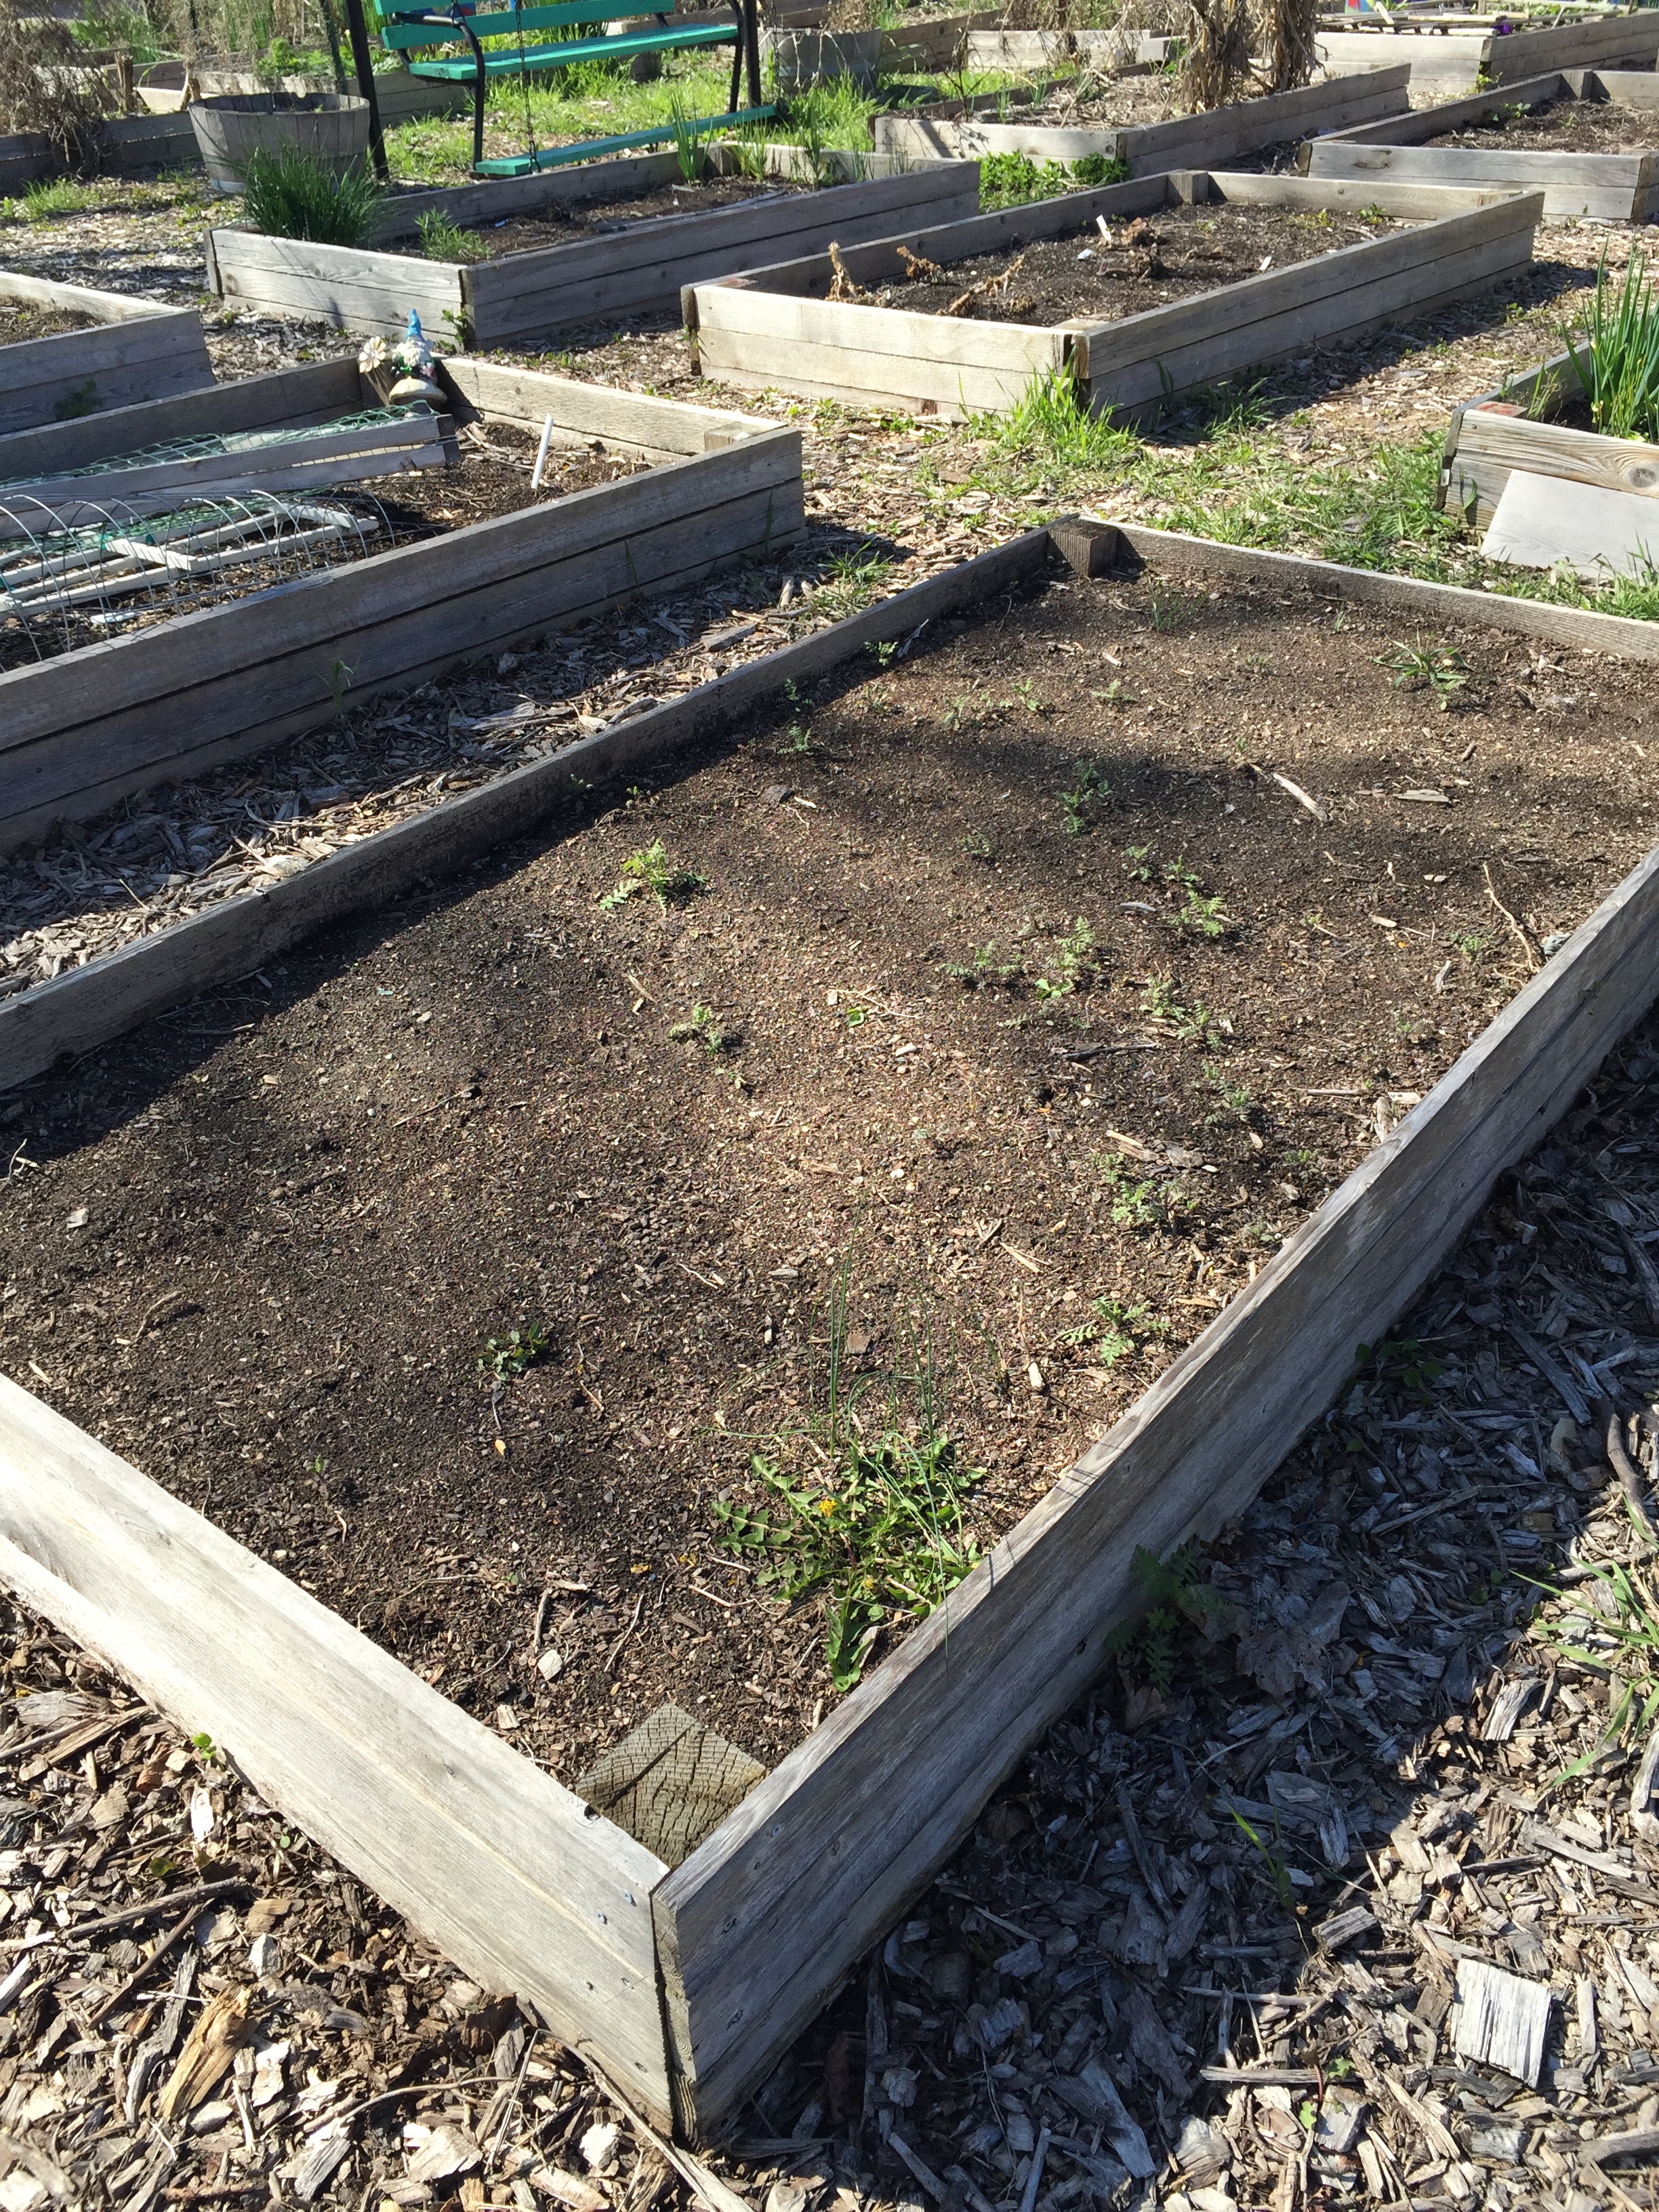 Naoto and I went to the garden for the first time this season on Sunday. We were pleased to find very few weeds in our plot! The soil preparation has gotten so much easier each year. (Here is what it looked like when we inherited the plot.)
  Because it rained on Saturday, weeding was super-easy. (And no, Naoto did not do it alone. I jumped in after this picture was taken!)
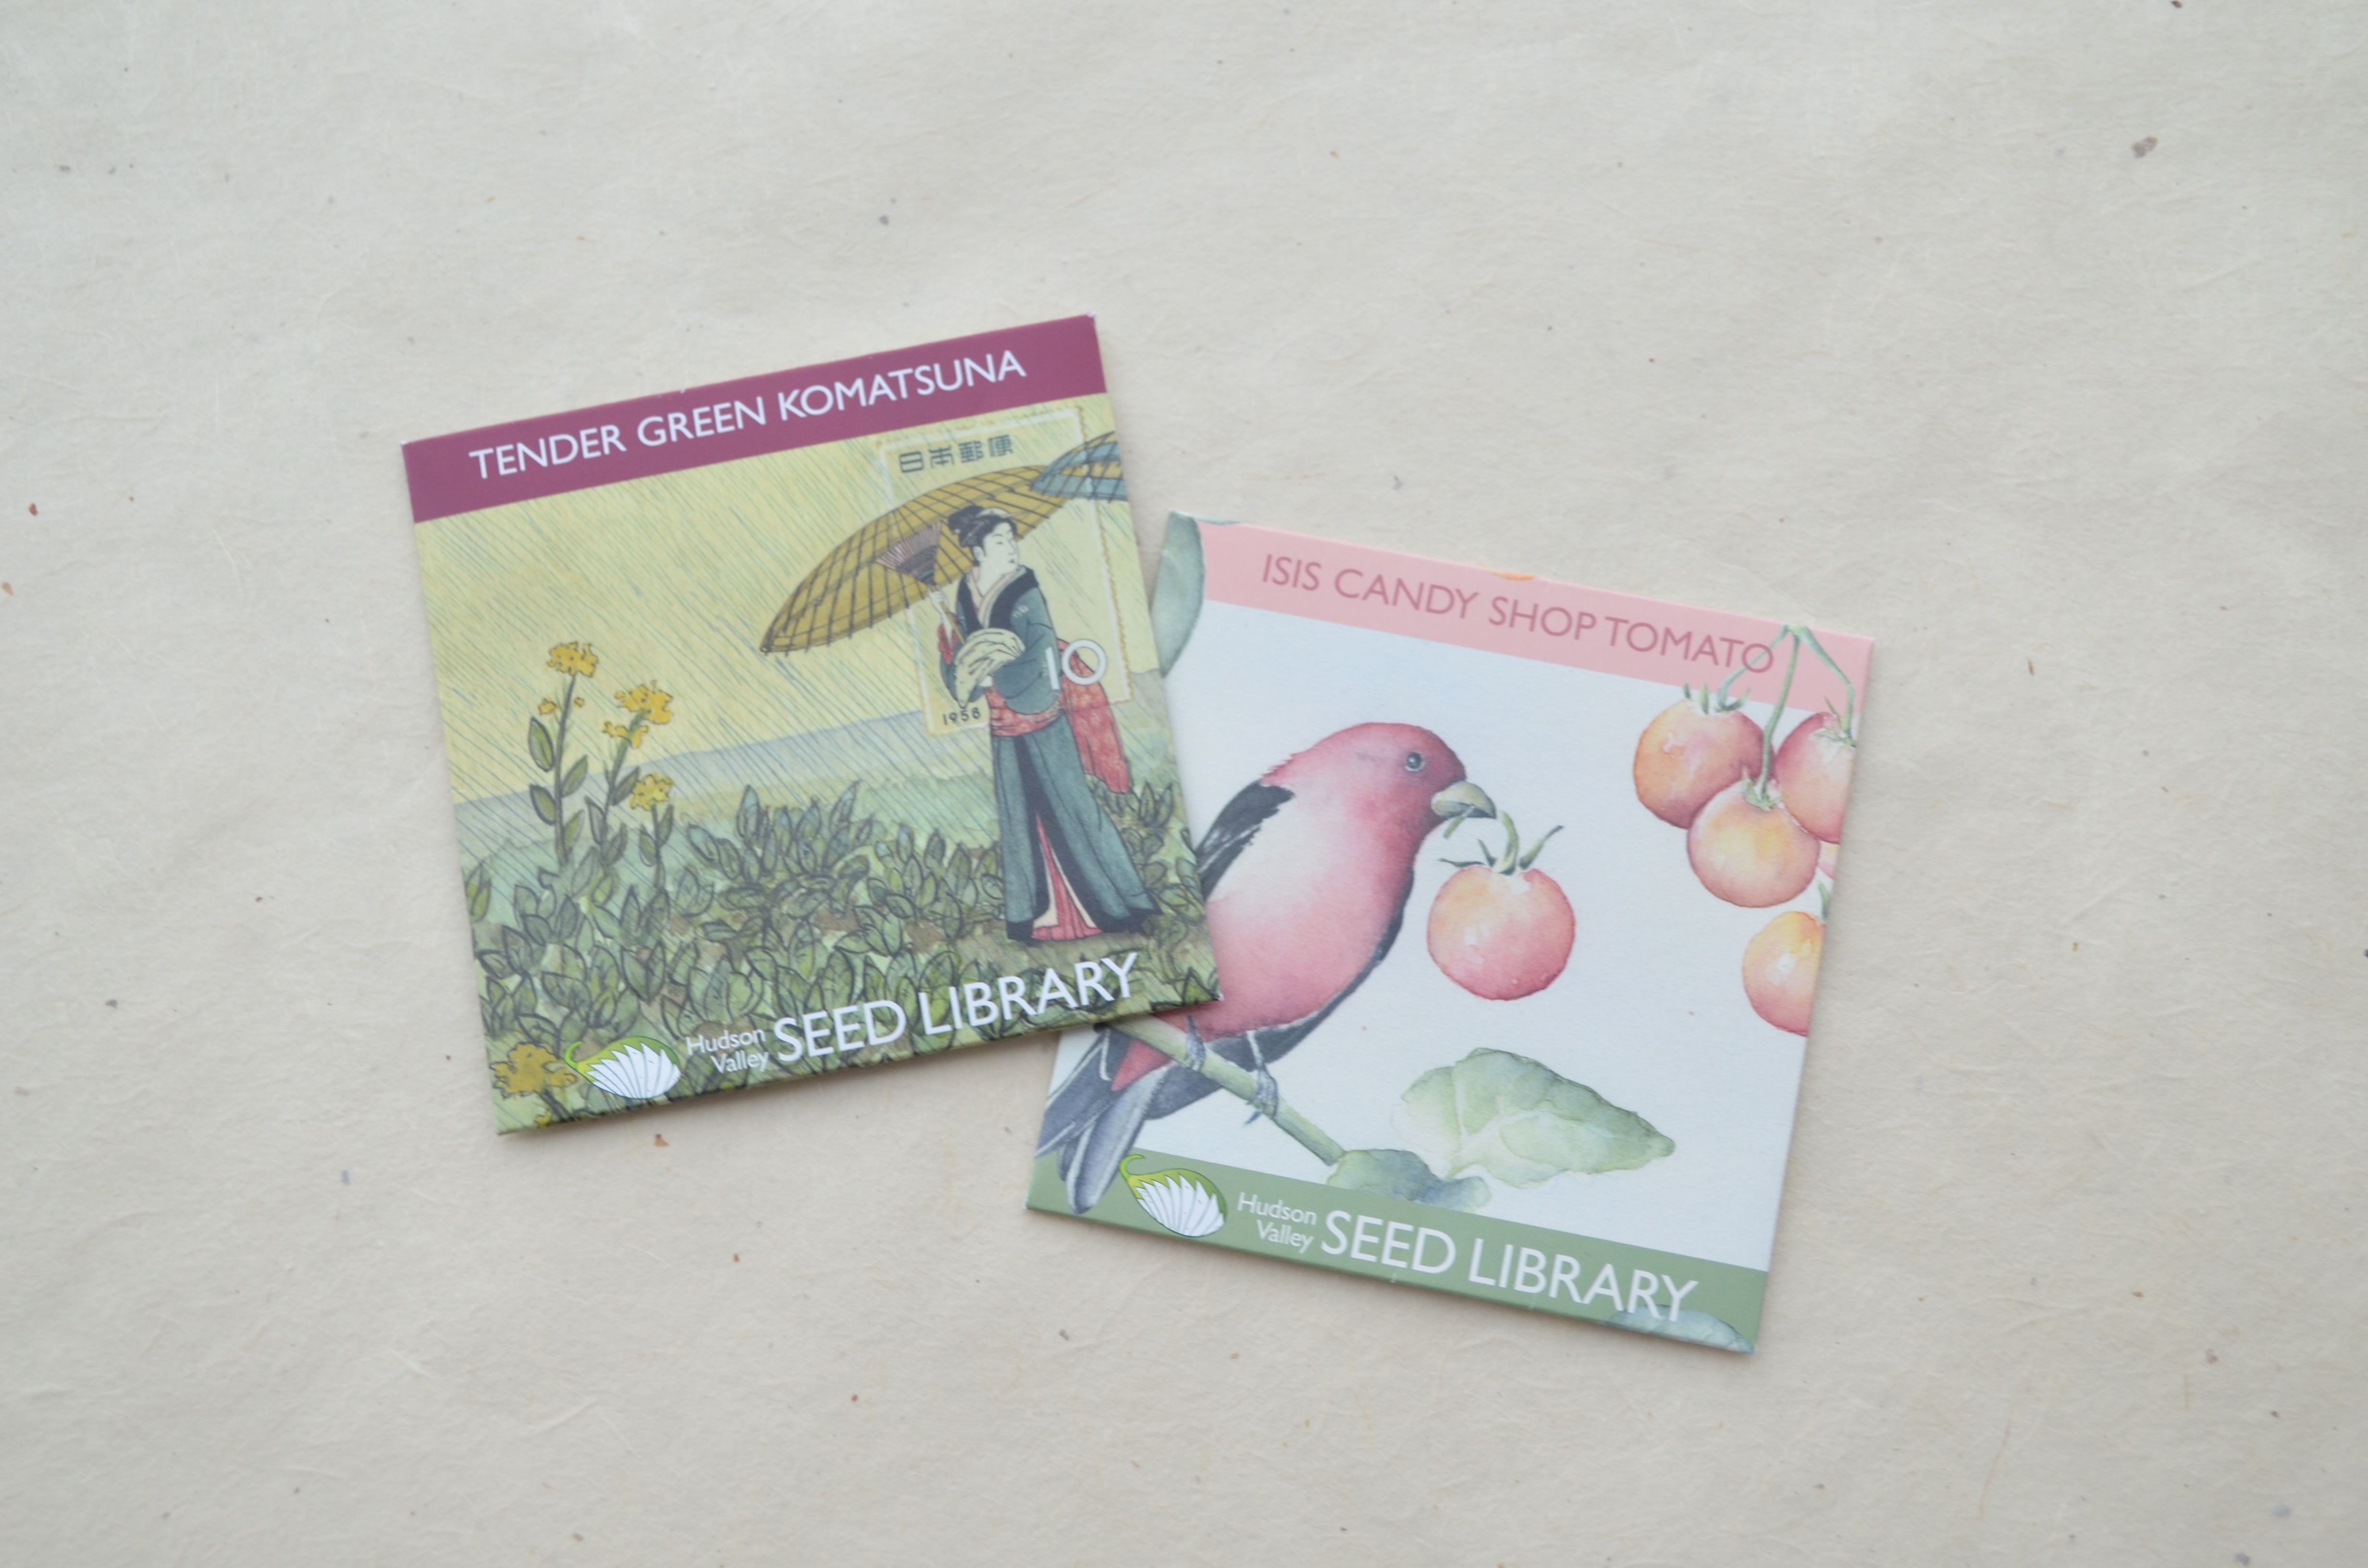
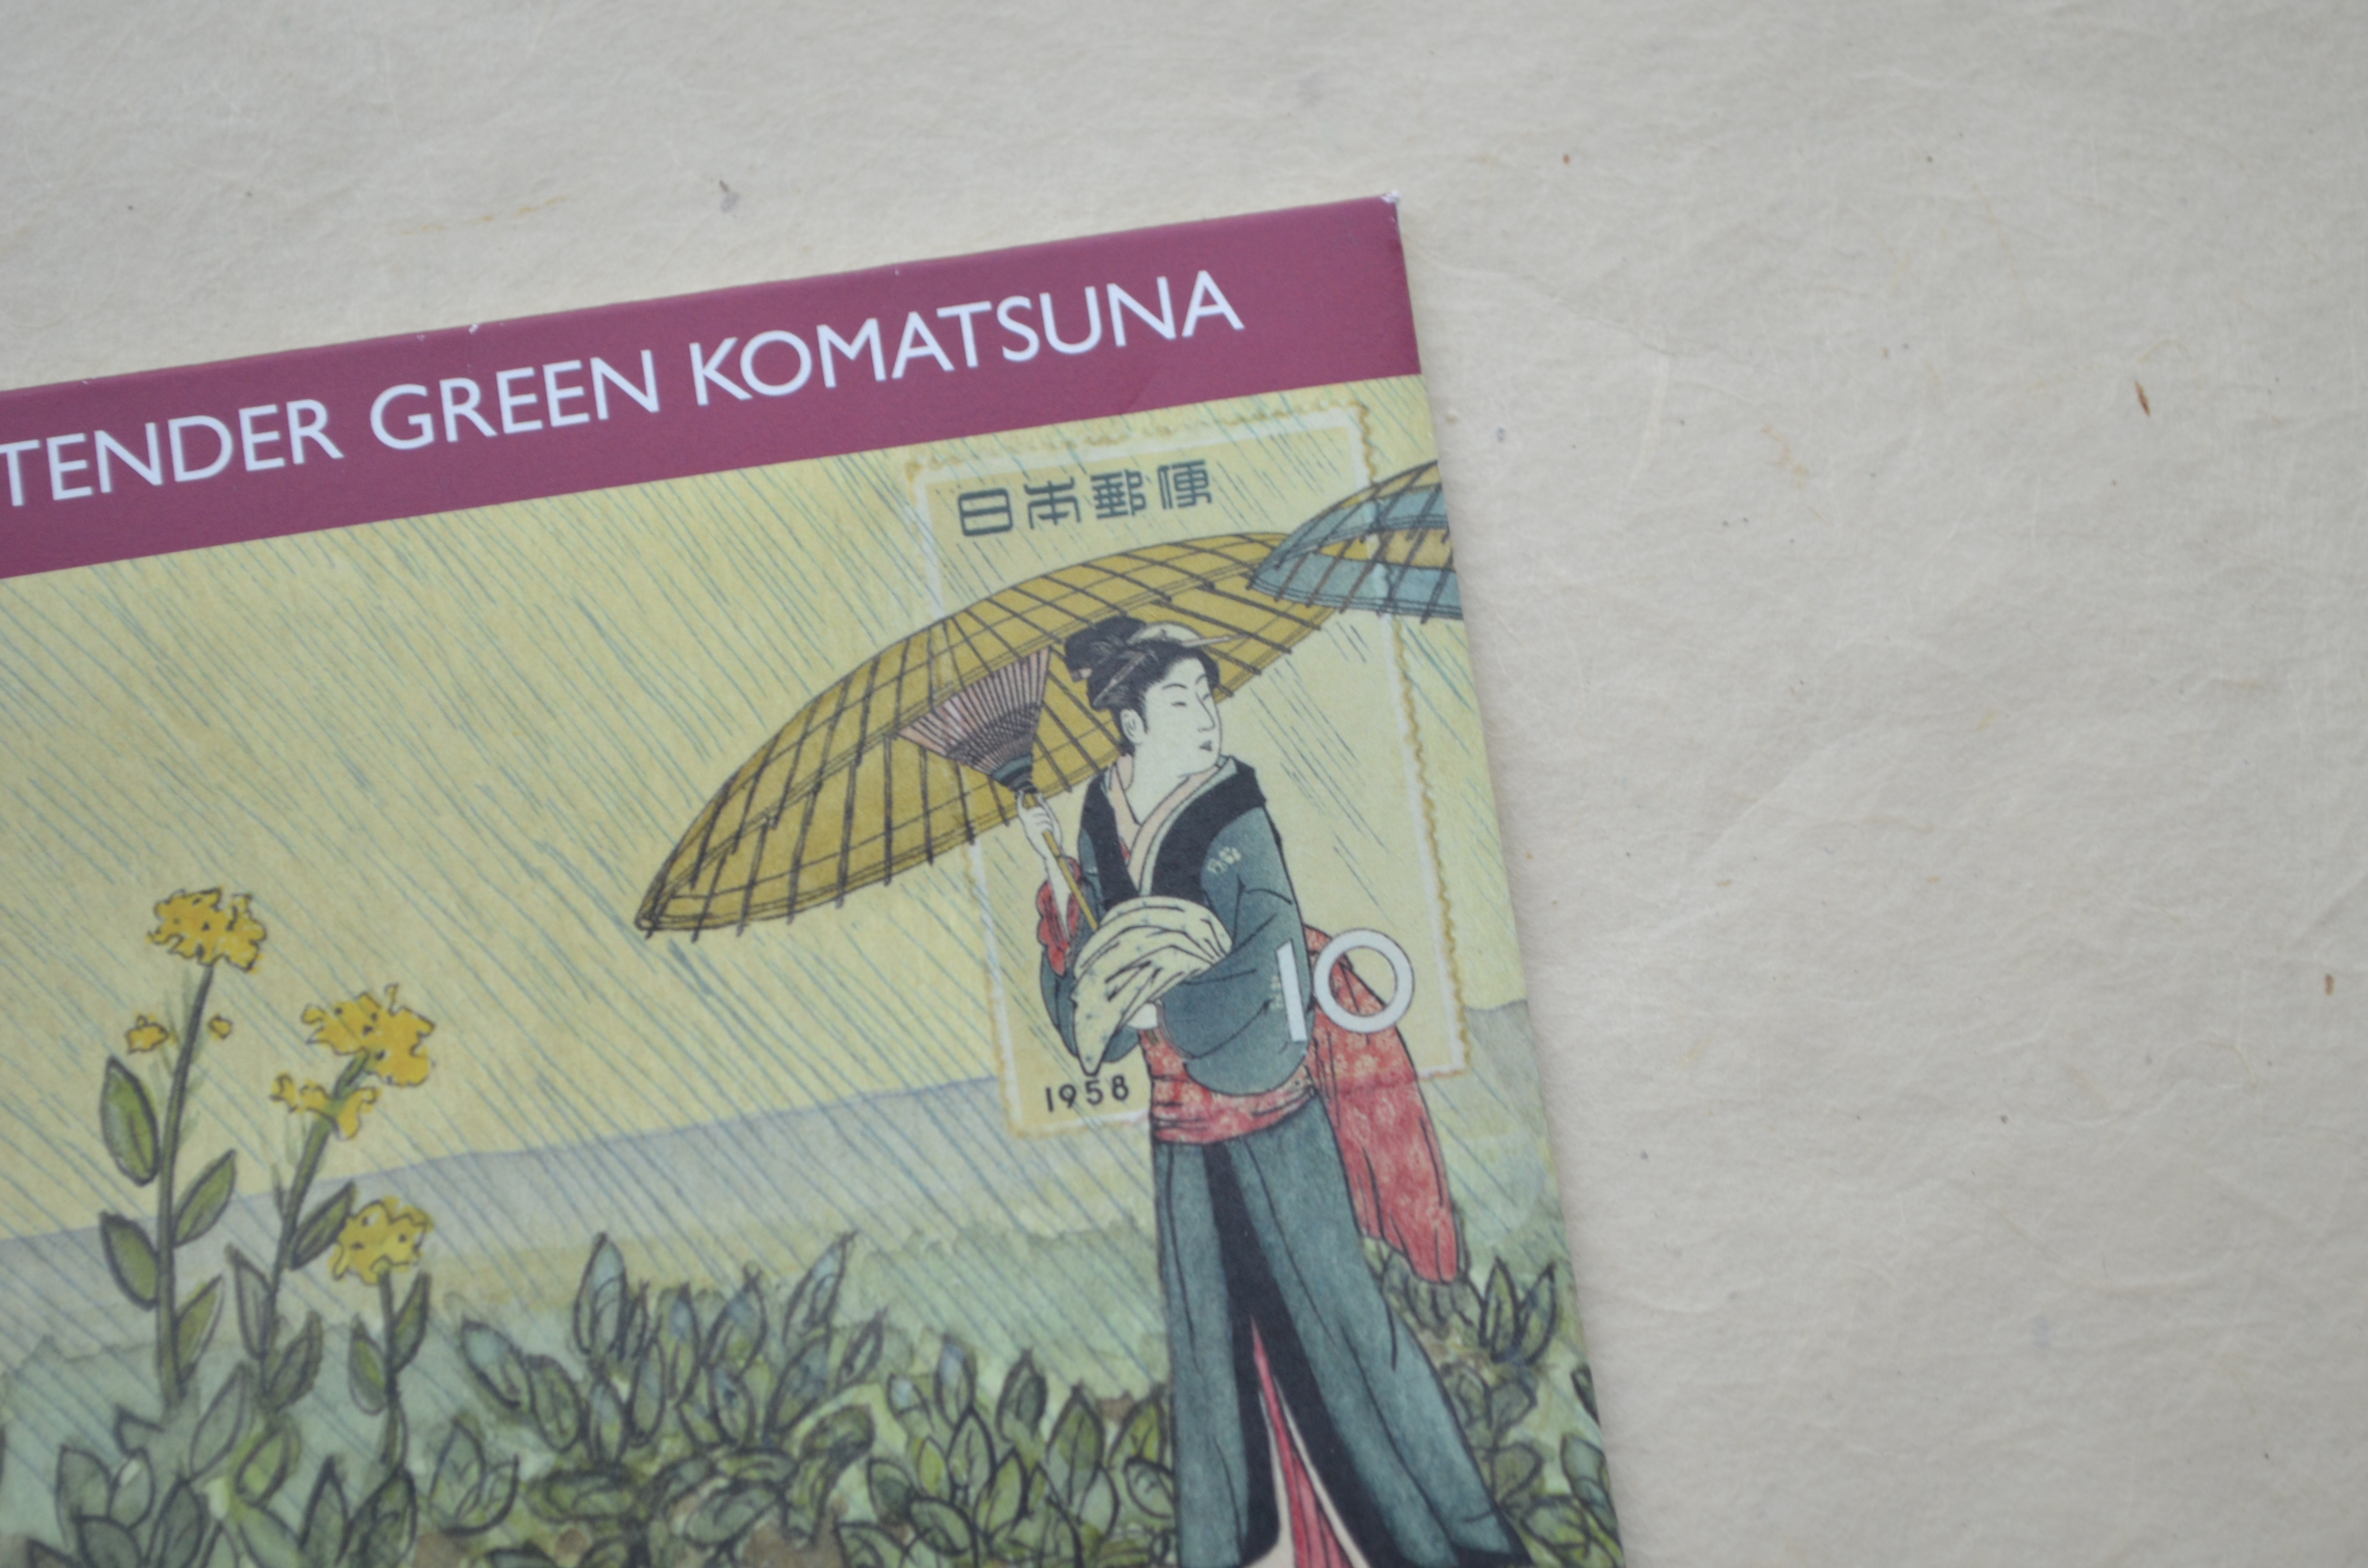
 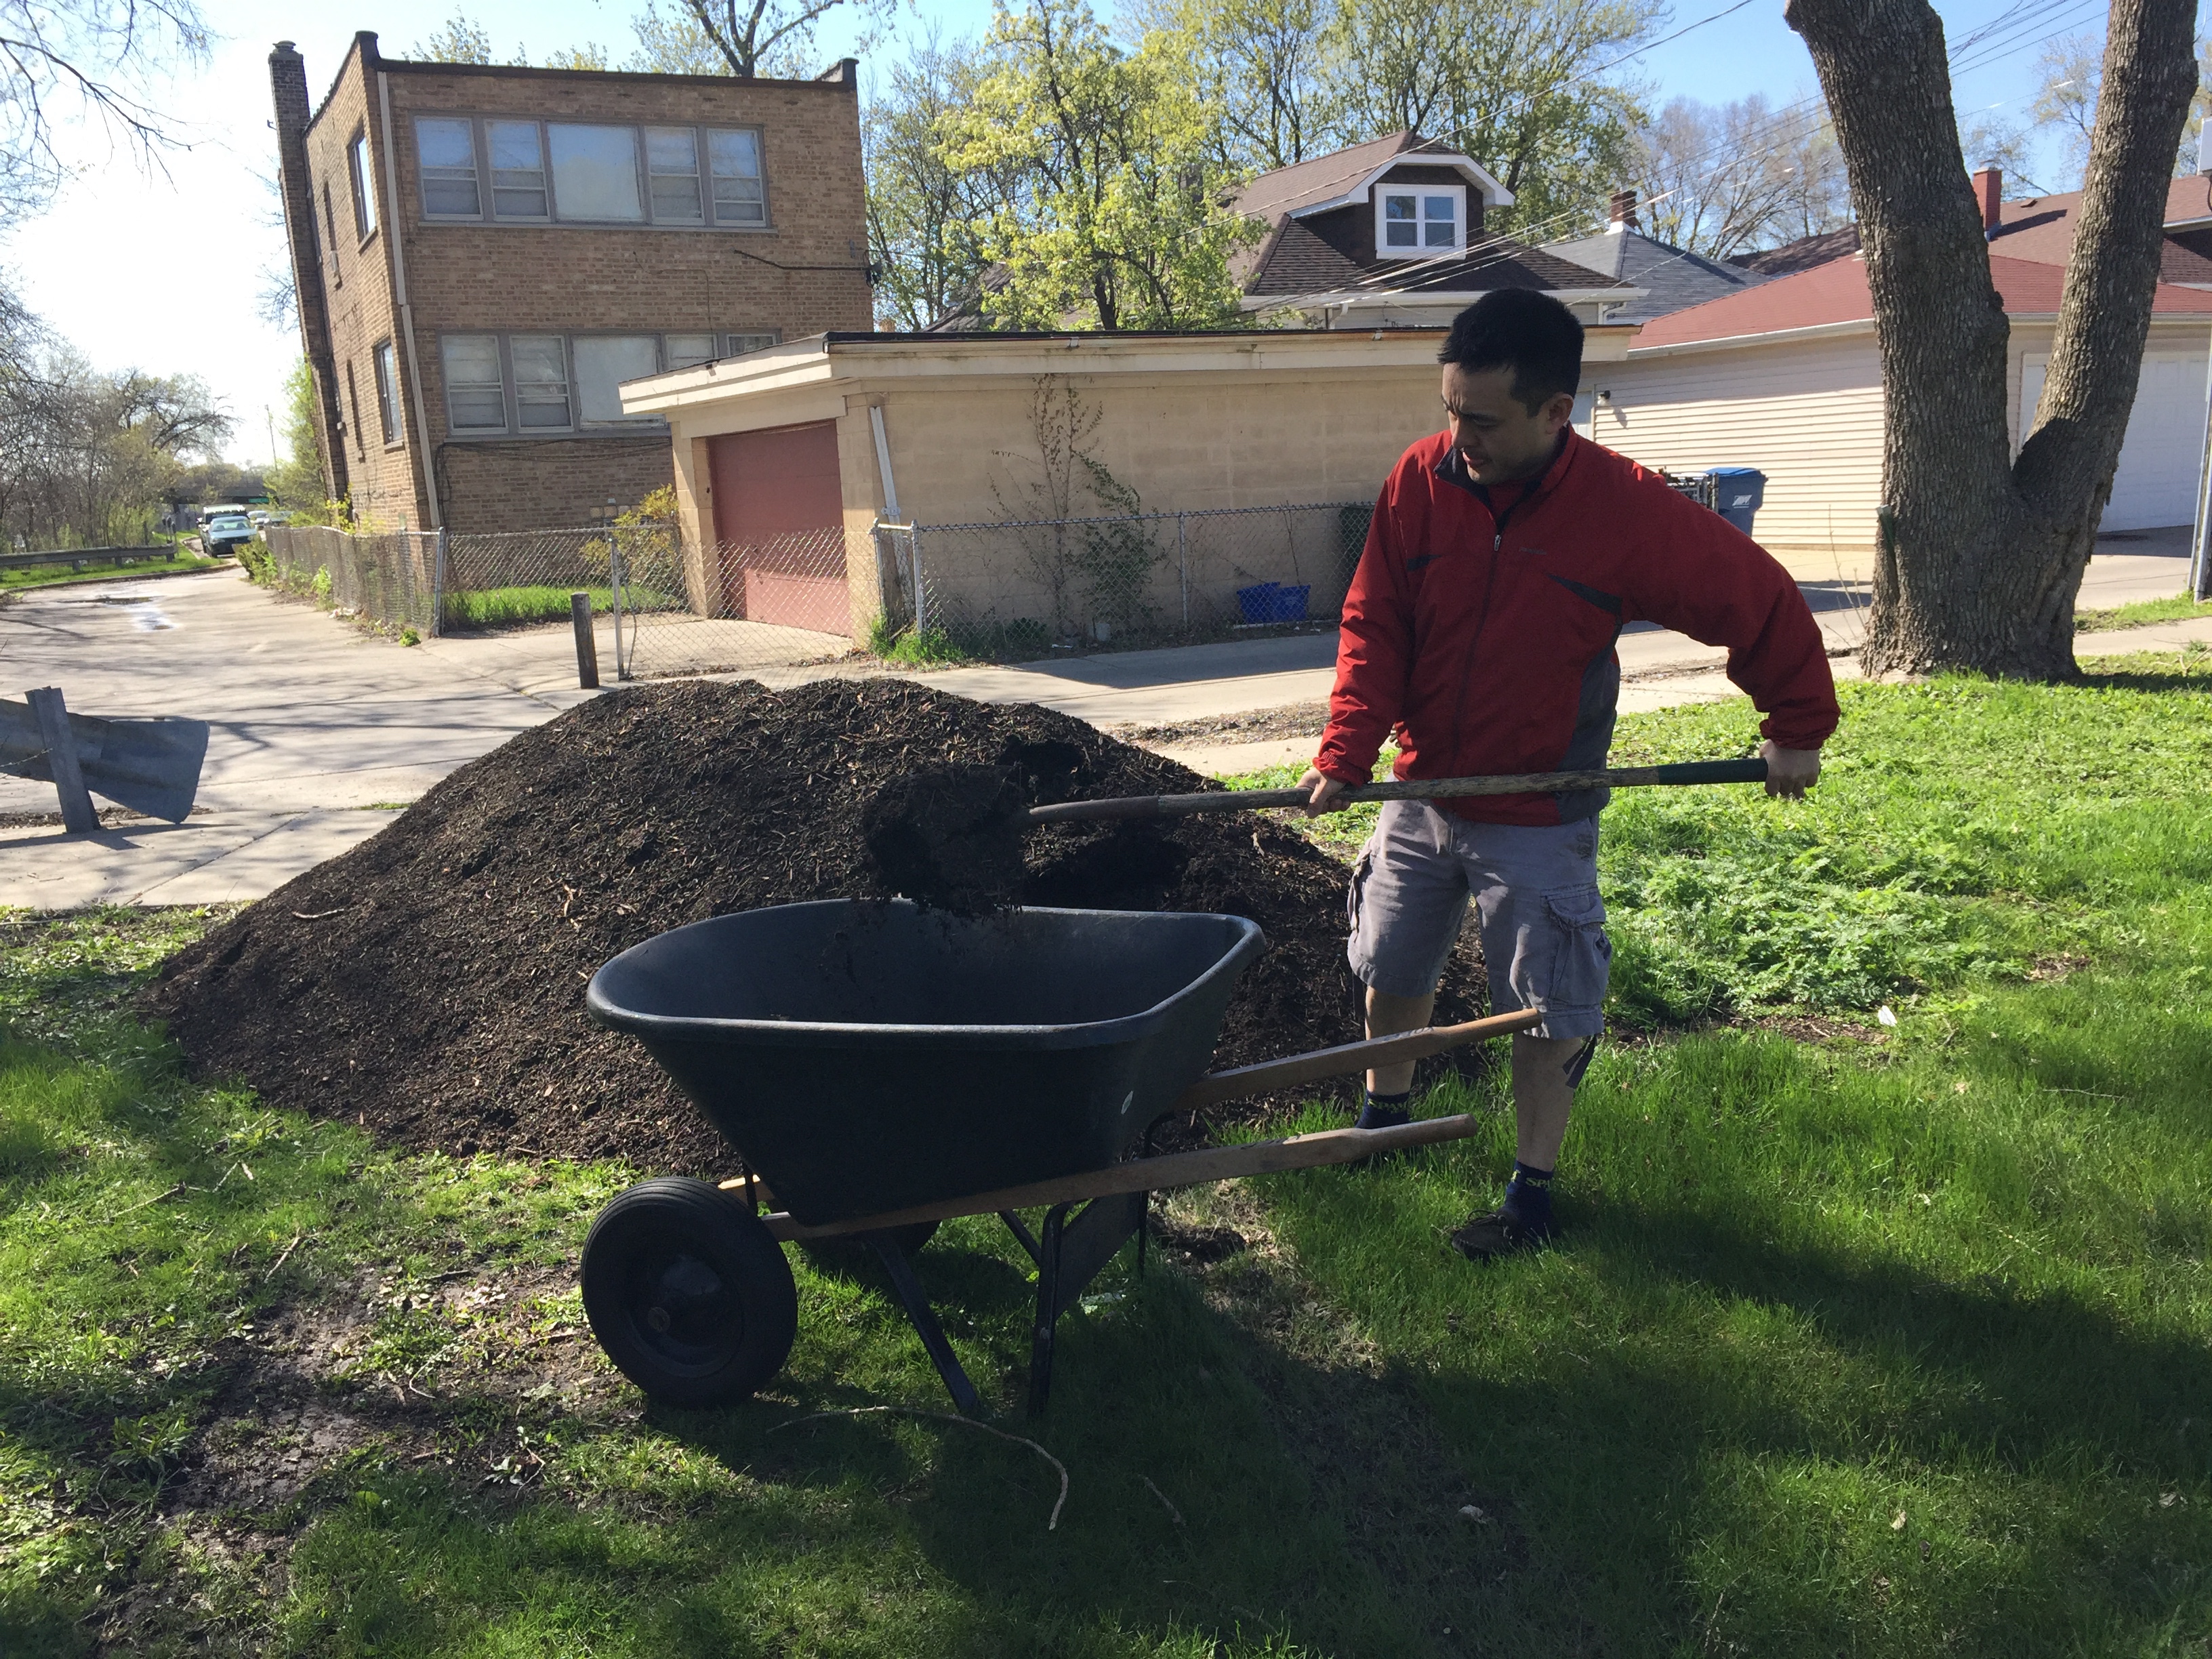 After loosening the soil (not turning it!), we laid down another layer of fresh mulch and called it a day. I was planning to plant some daikon, beets, and bok choi but the water at the garden wasn’t turned on yet, so I suppose planting will have to wait a little longer.