My Little Red Toolbox is finally back again…
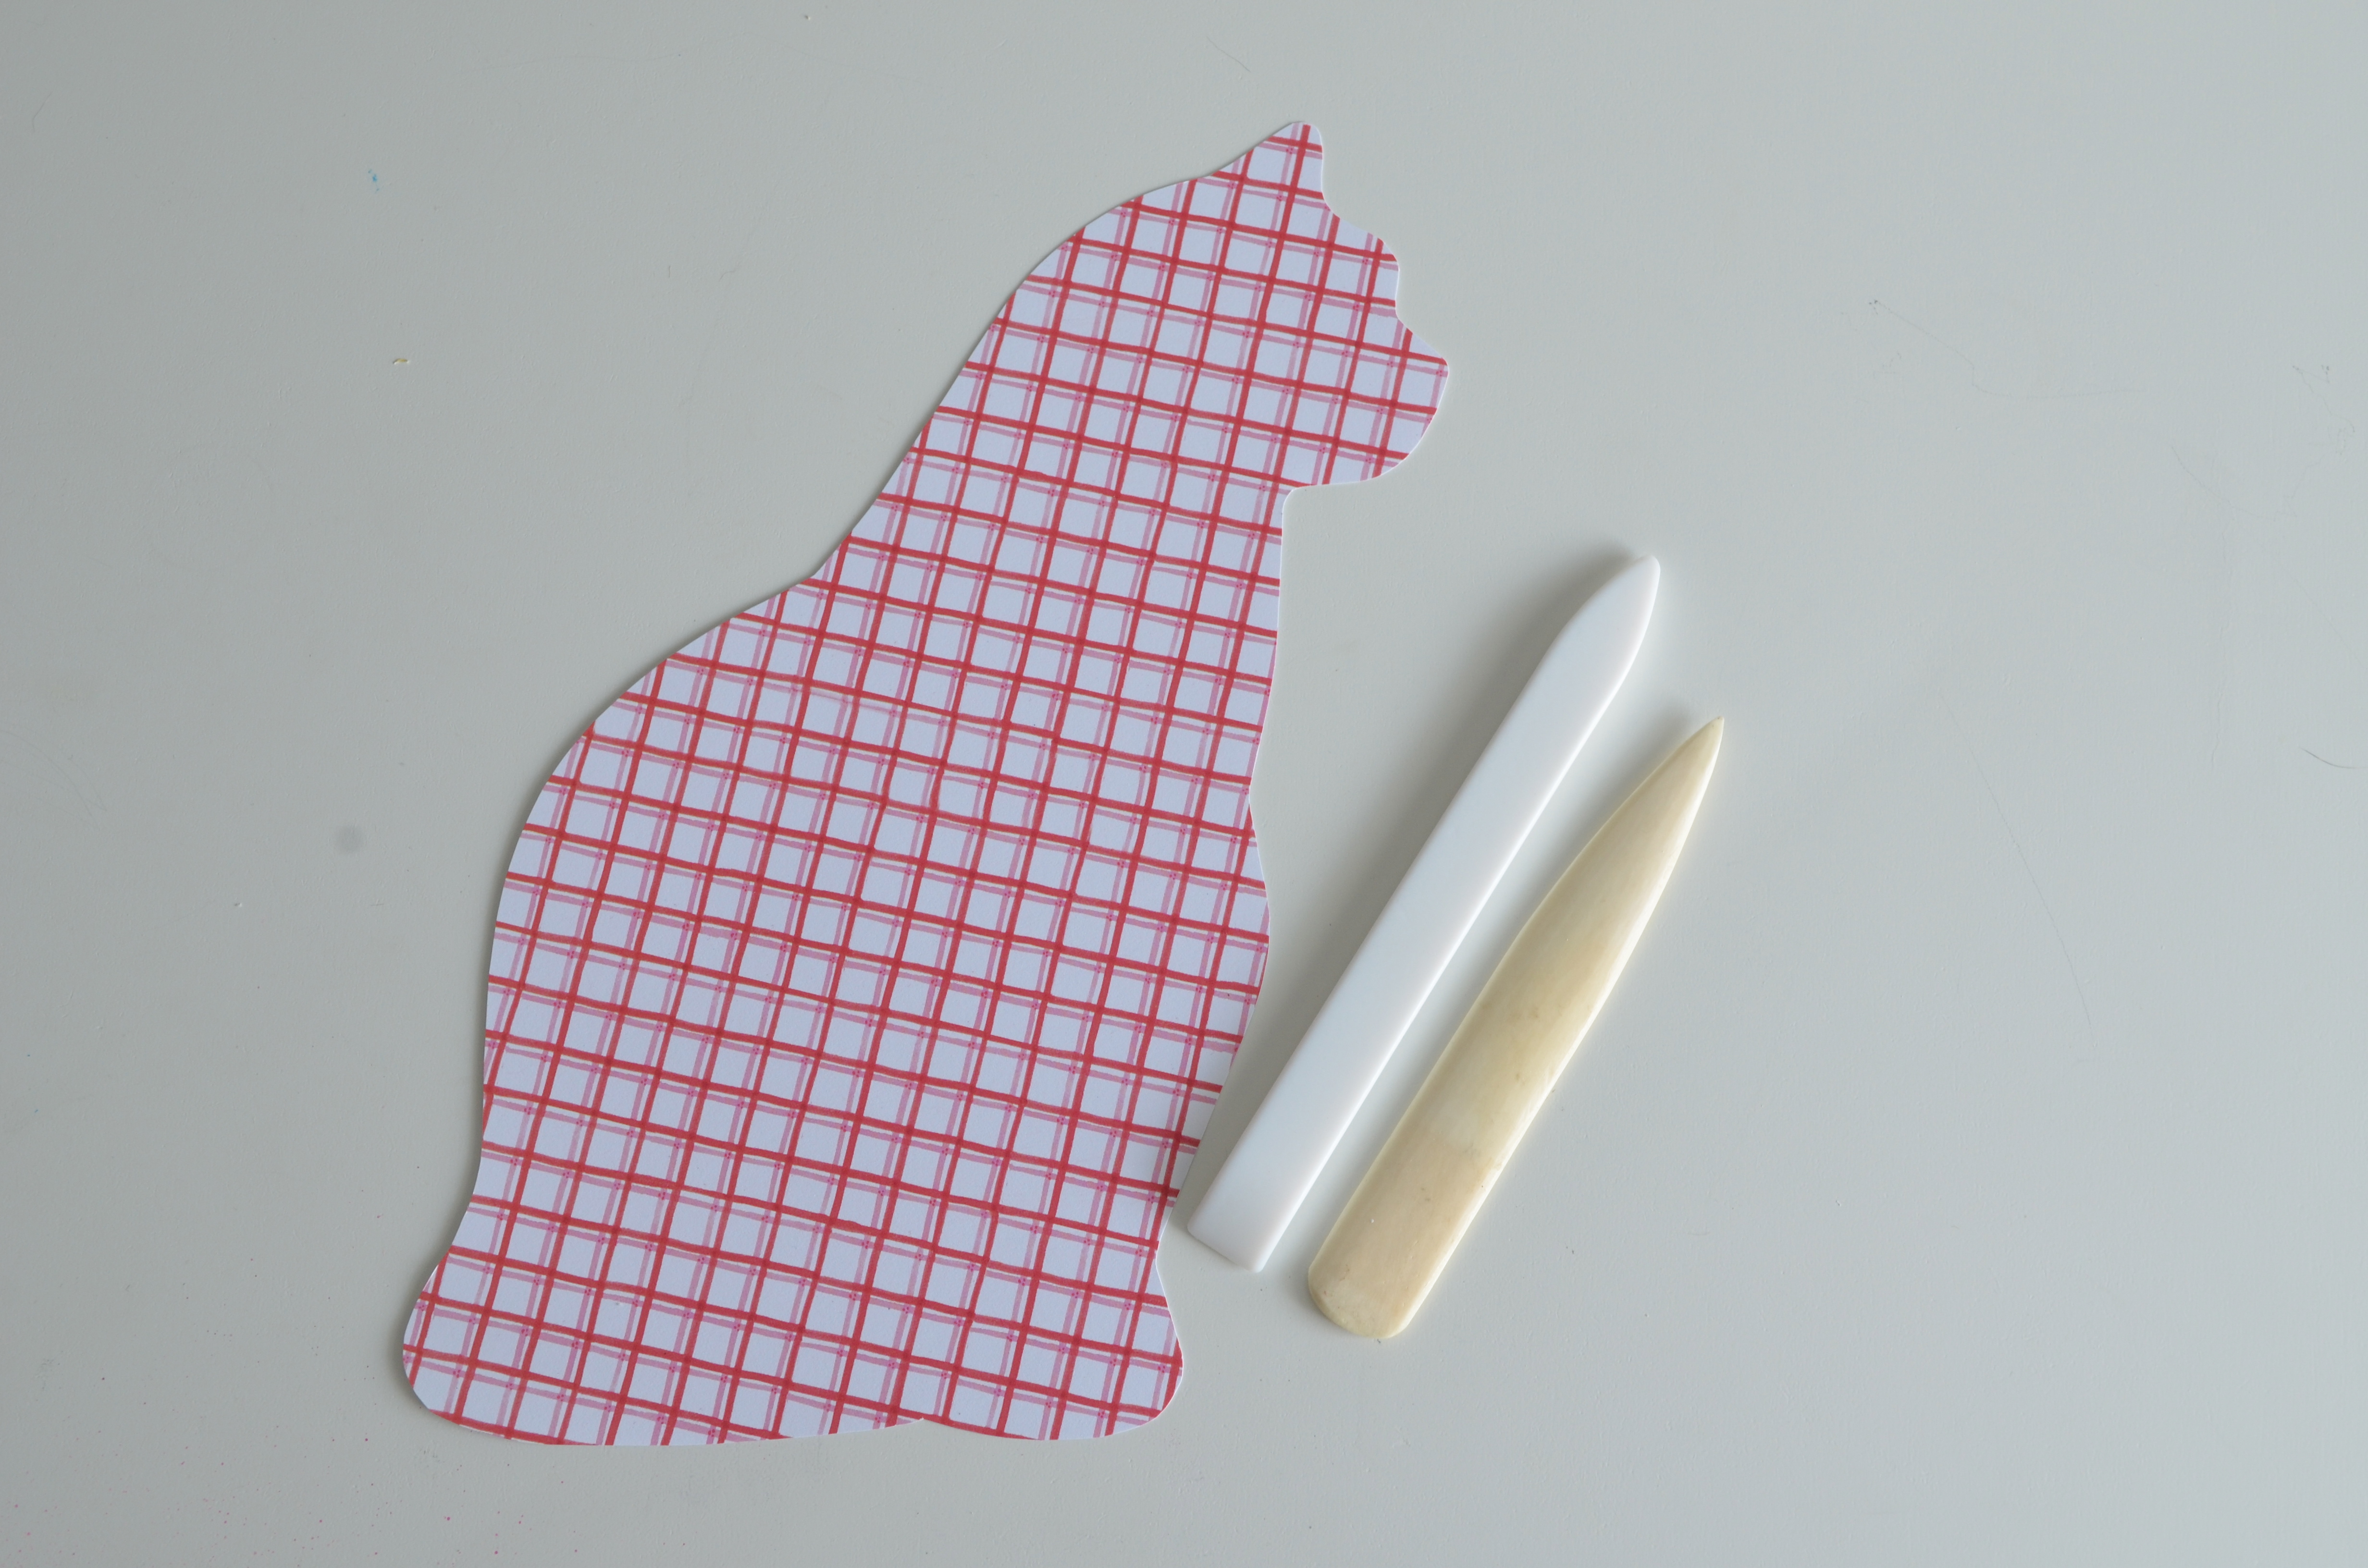
Today’s featured product is the very utilitarian bone folder. For the non-crafters out there, a bone folder is a tool that scores, smooths and creases paper. It is made from real bone (sorry vegetarians & vegans), but there are other options. Martha Stewart’s bone folders are made of plastic (but I find Martha’s don’t work quite as nicely as other bone folders). And, for the “Rolls Royce” of bone folders, the teflon bone folder is dreamy to work with. (I only own the teflon one because I temporarily lost my original bone folder. When I went to the store to buy a new one, they only had the teflon ones–which cost more than twice as much as the bone ones..sigh…the cost of being unorganized!) Today, I’m glad I own both because each has its own strengths for crafting projects.
I bought my first bone folder when I started “bookbinding” and making boxes from these kits at the Paper Source. The bone folder is crucial to perfecting the corner folds and smoothing the papers while adhering them to the book board. Now I use it more for origami and scoring card stock.
The real bone folder has a sharper point, making it better for scoring and getting a really clean crease in the cardstock. It’s so sharp that if you press down too hard, it can actually cut the paper. The teflon folder is much more forgiving. It’s not as sharp on the end and it doesn’t leave a sheen on the paper like the bone folder can. I use my fancy folder for more delicate papers and for messy projects. Glue doesn’t stick to it so it stays nice and clean. 
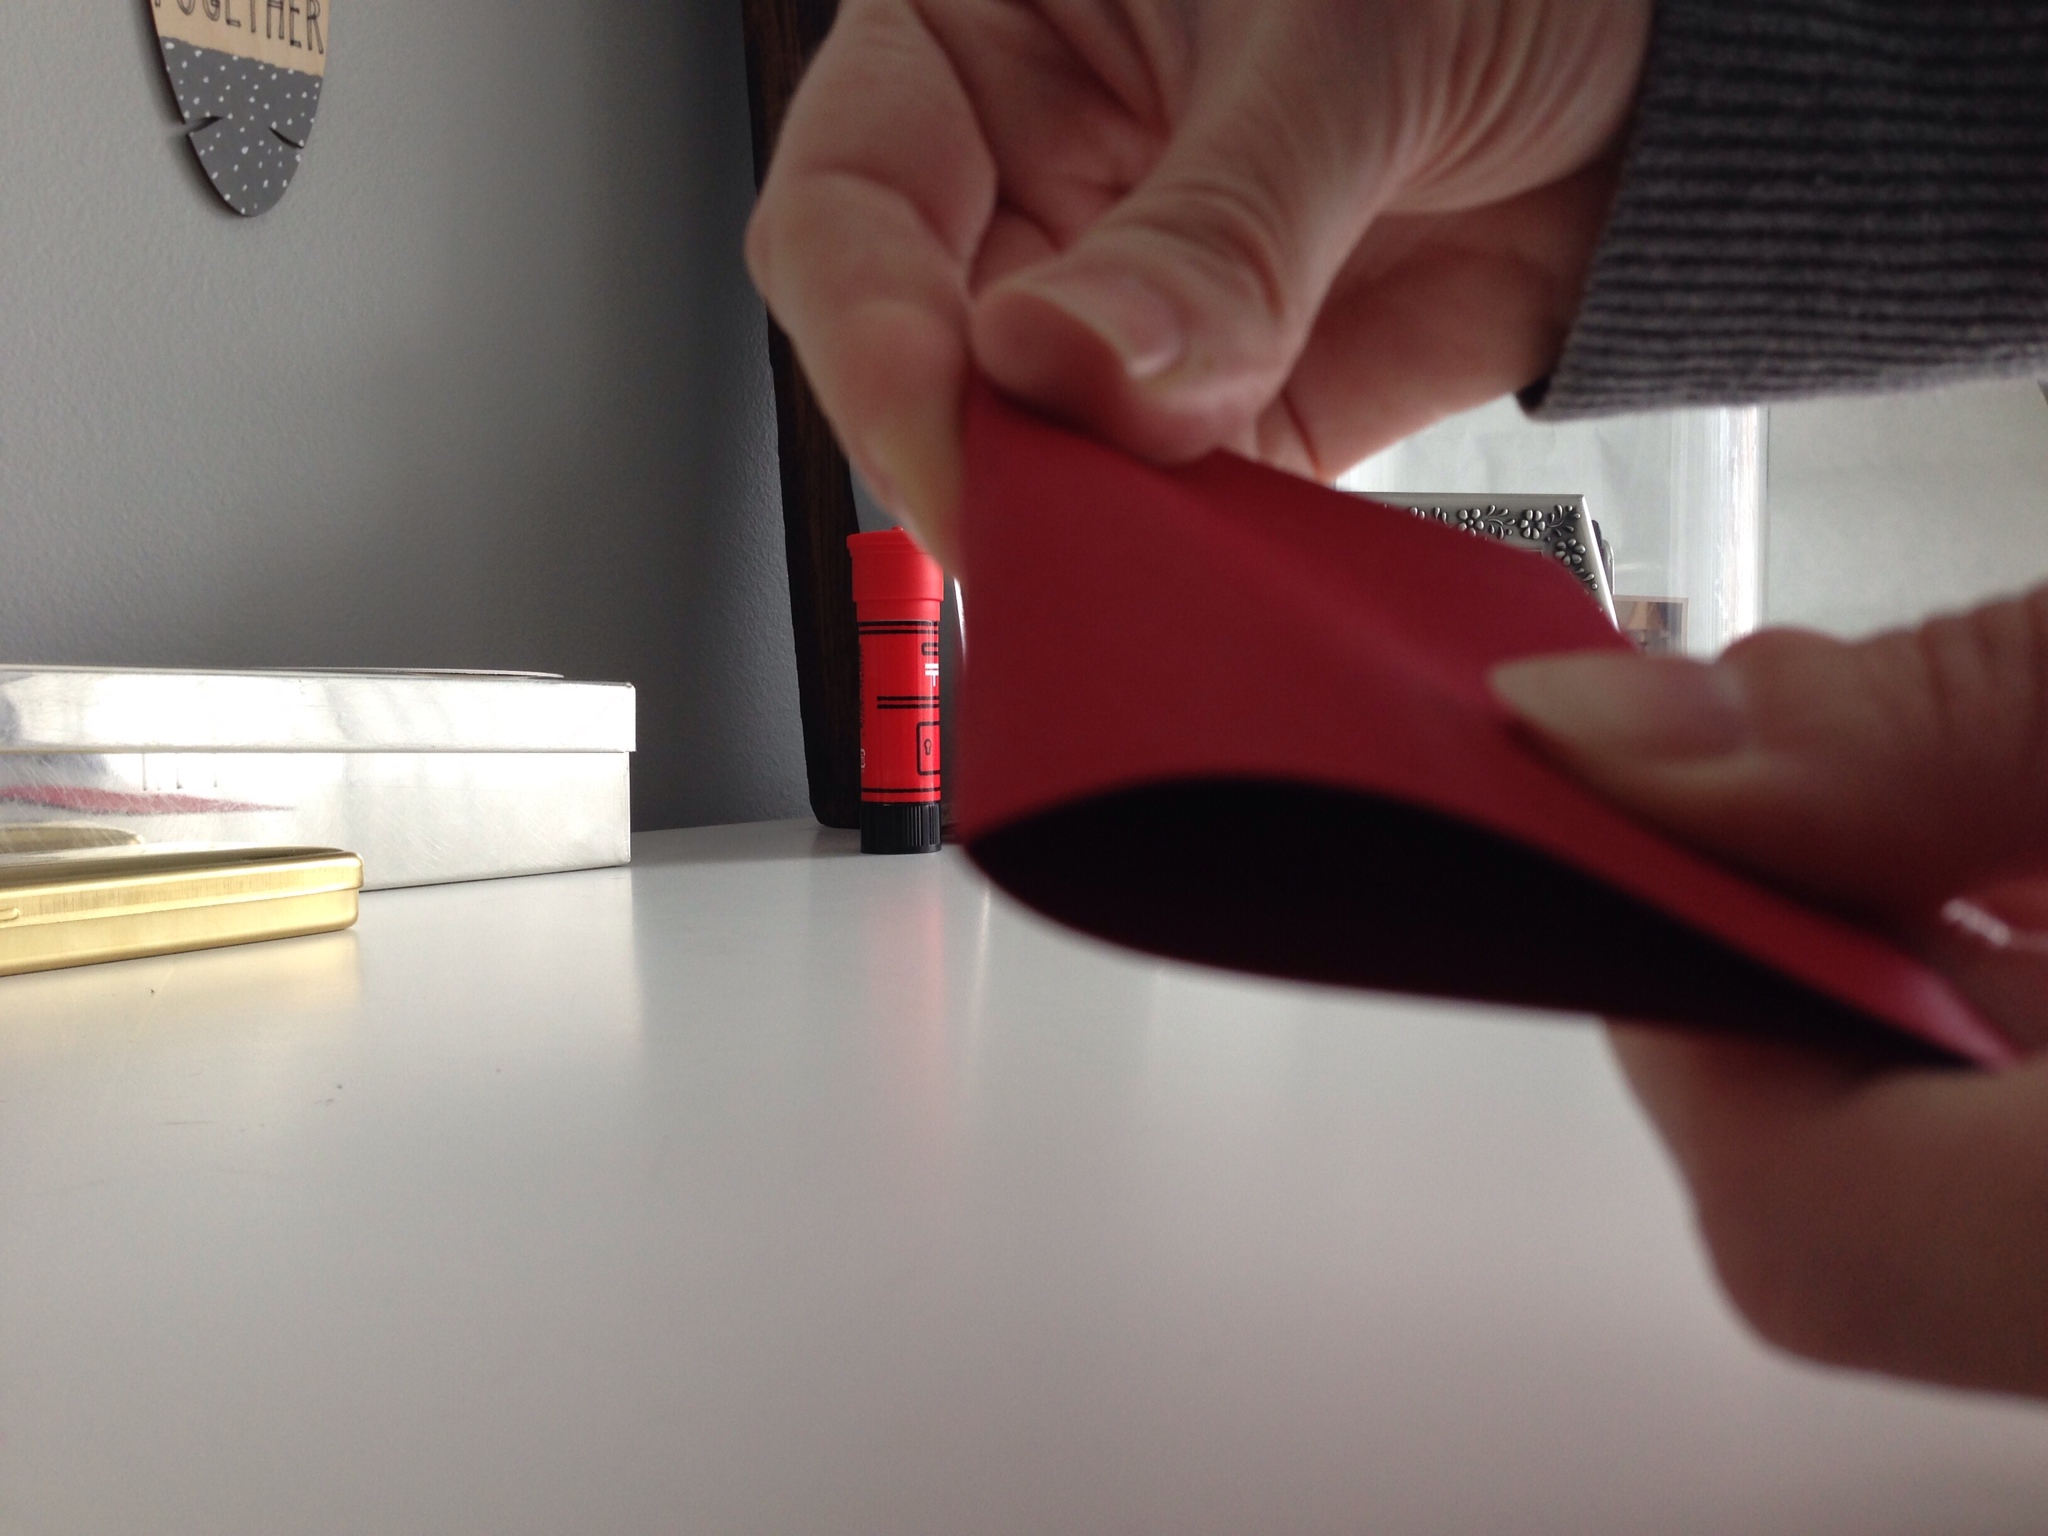
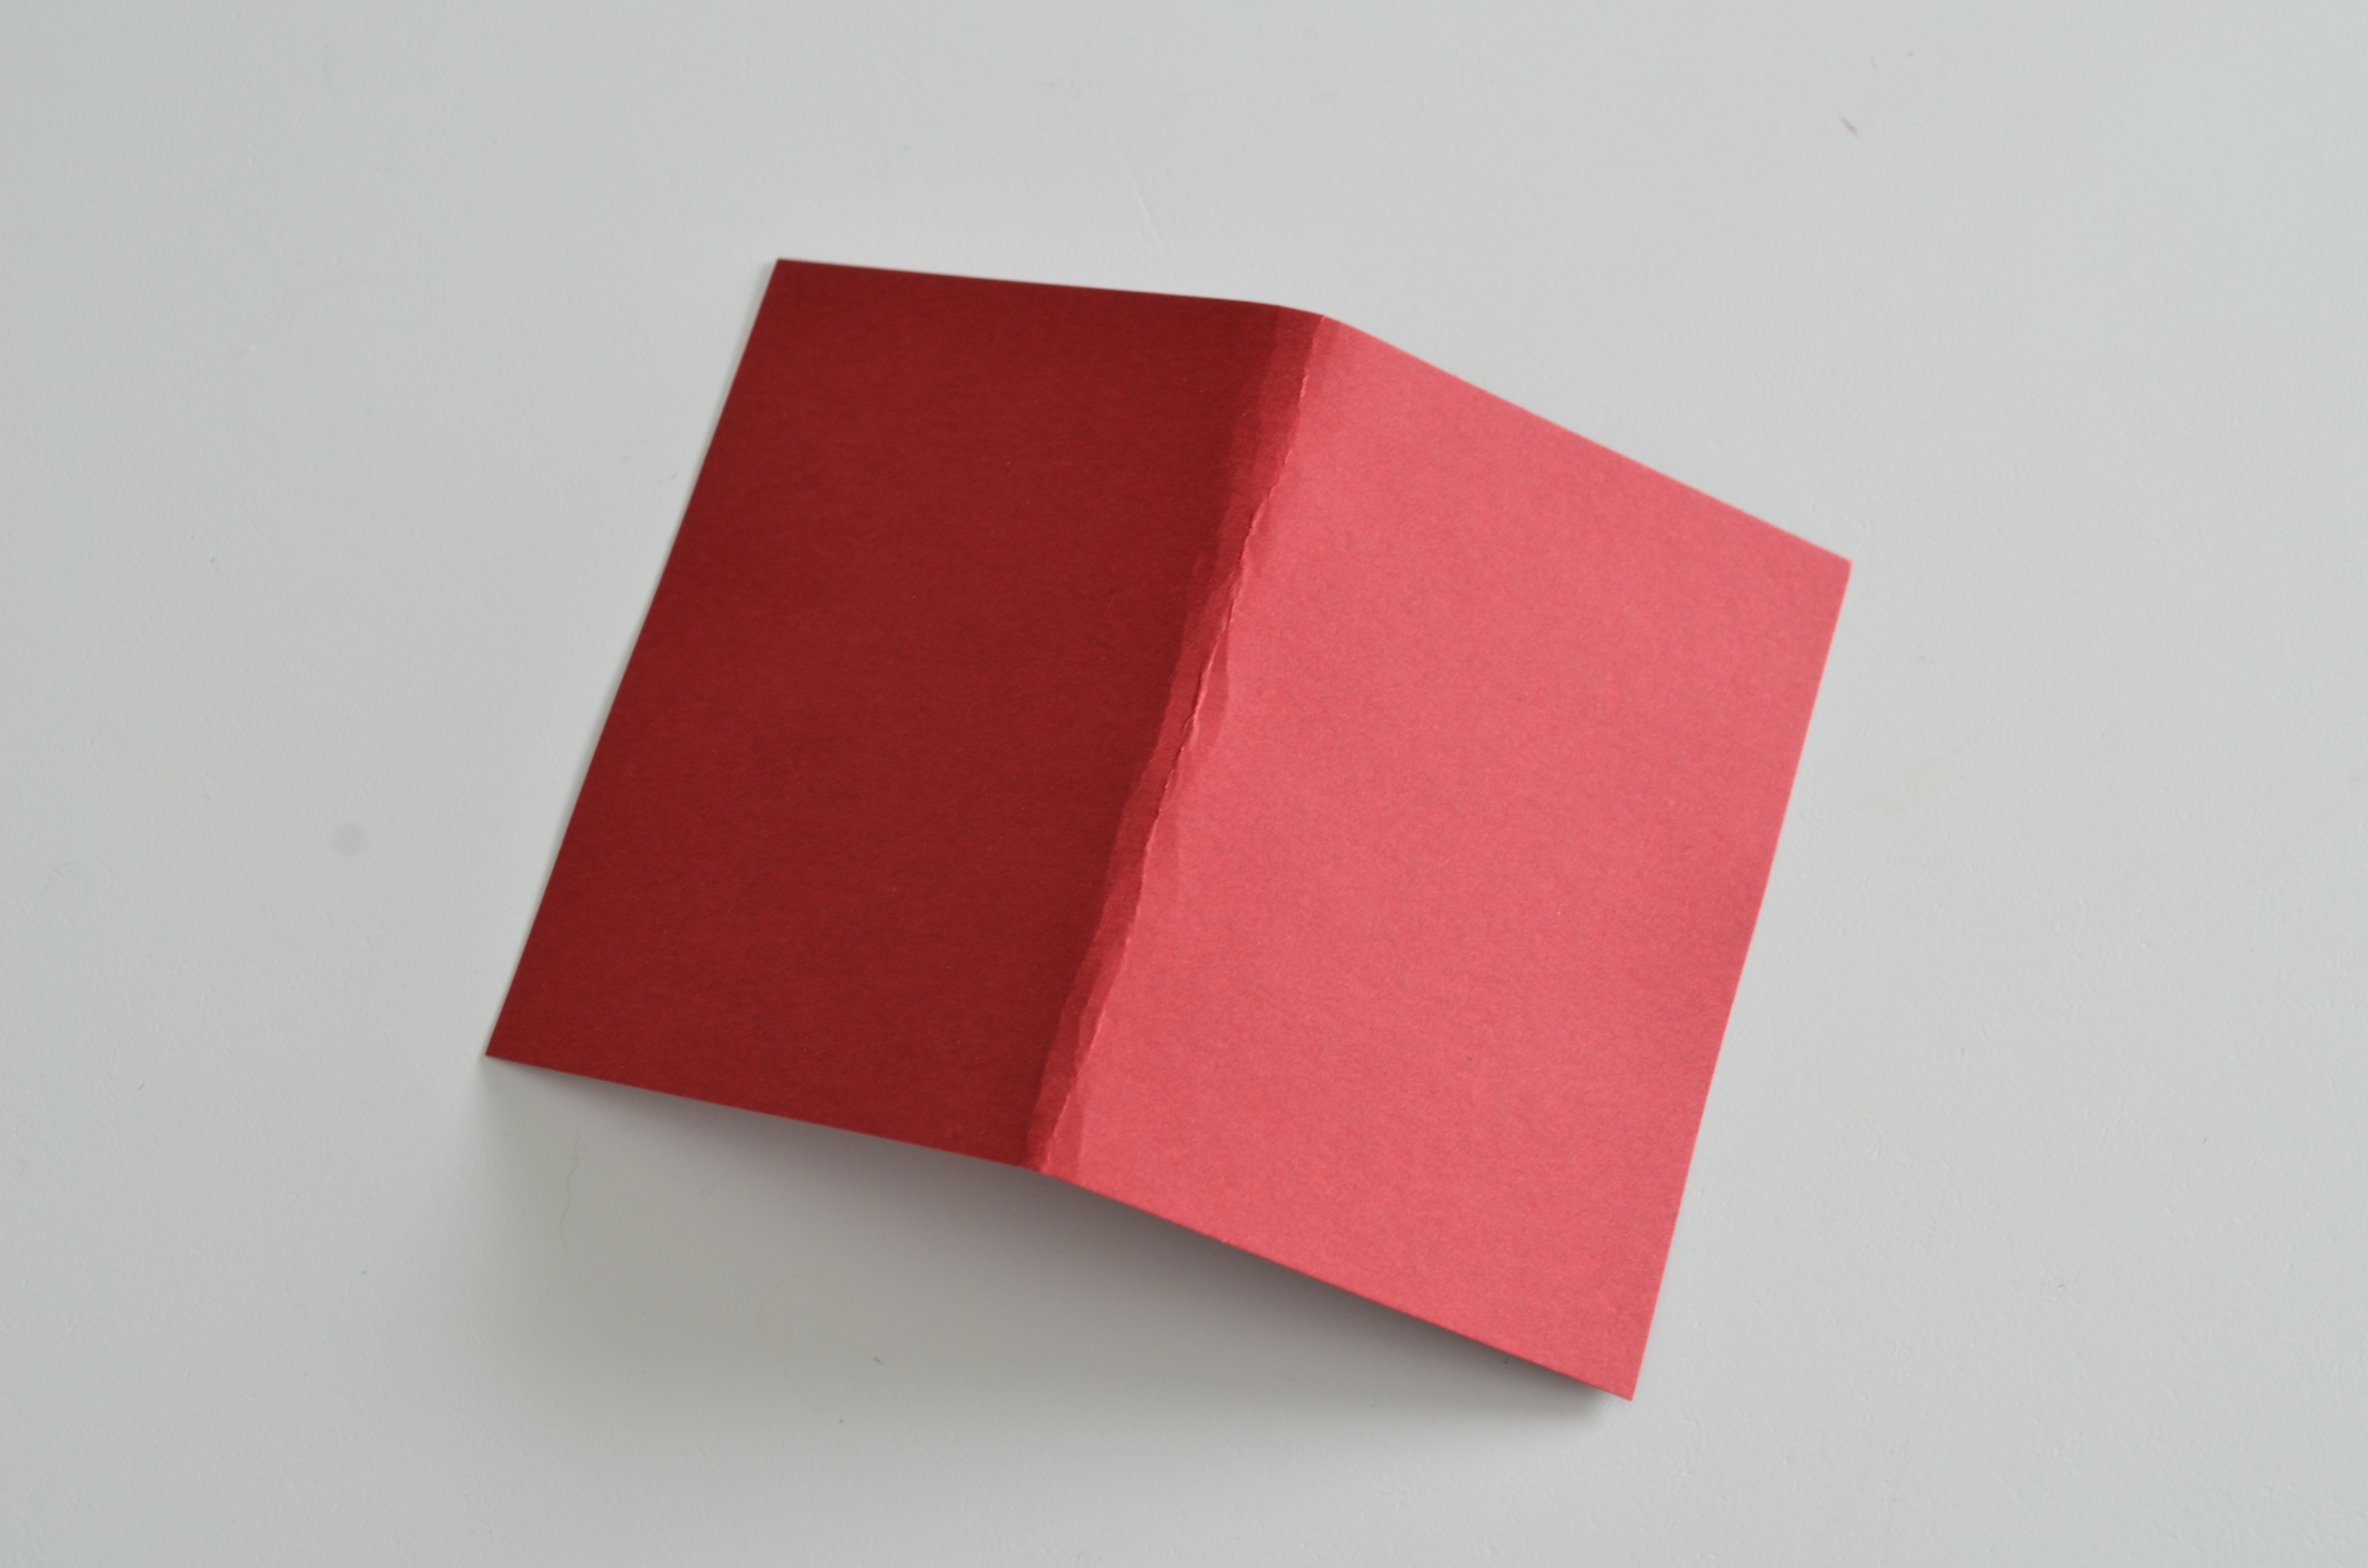
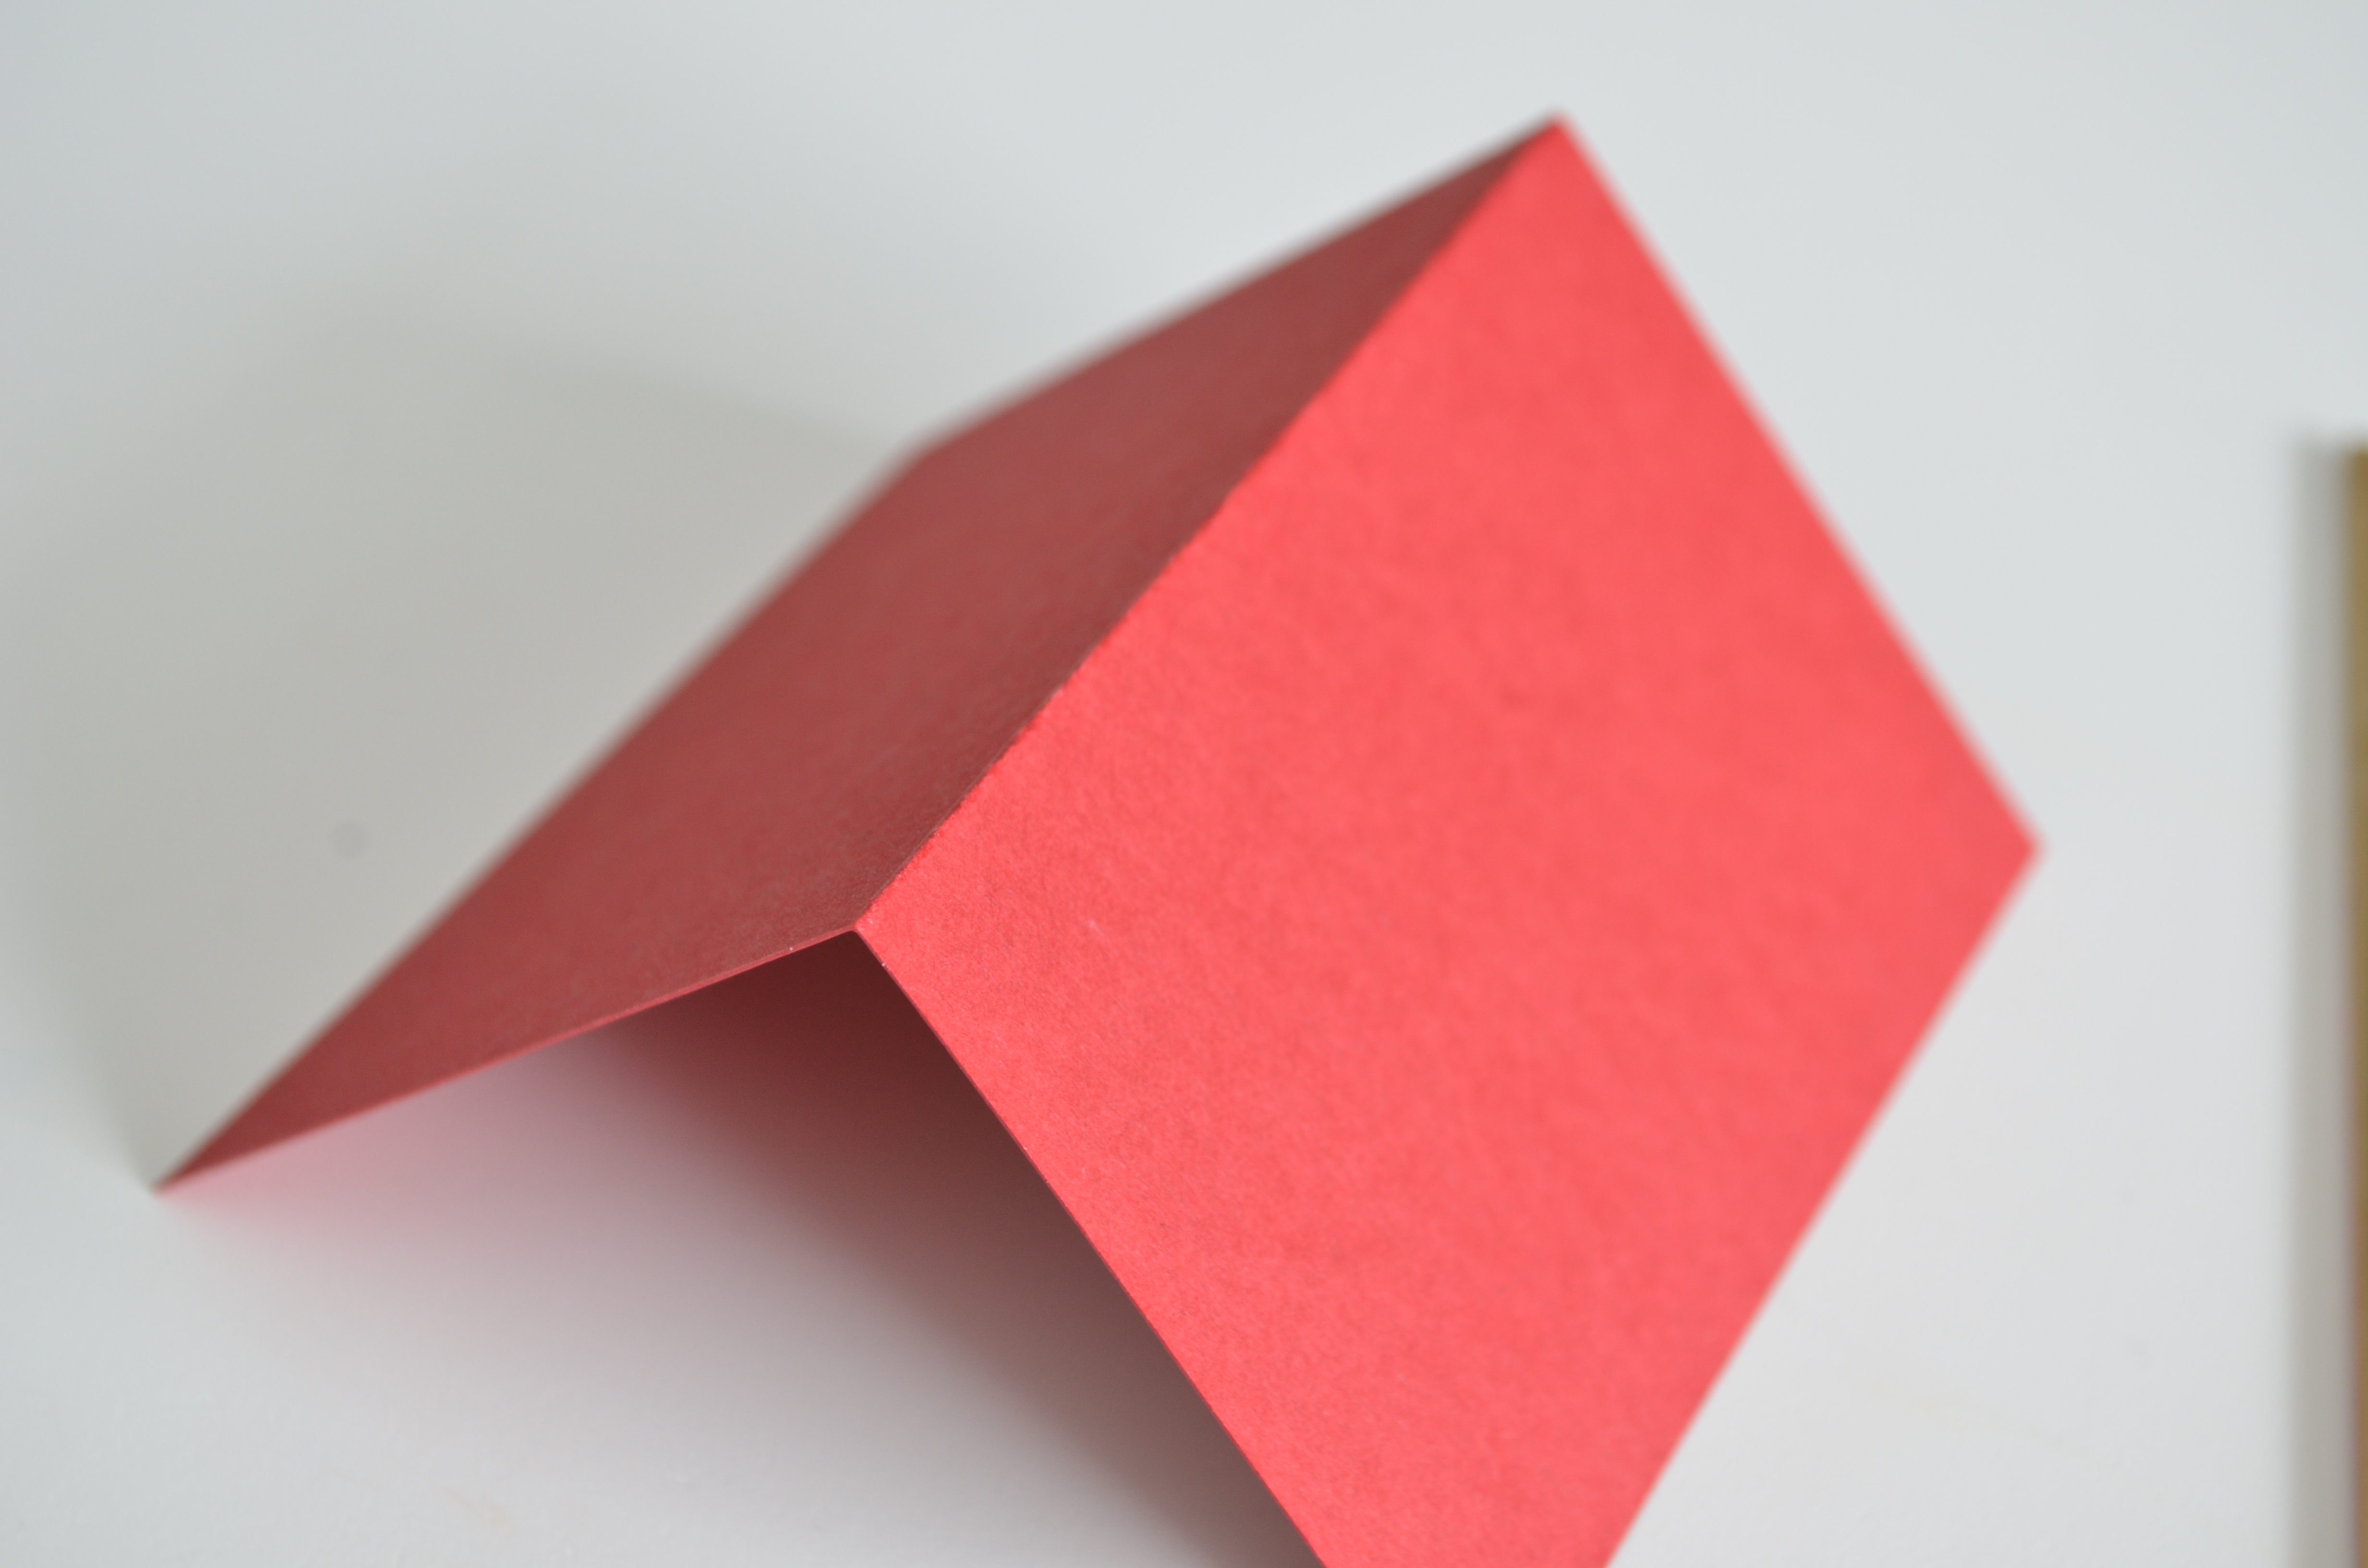
 If you’ve ever tried to fold a piece of cardstock, you know that it’s difficult to get a smooth fold because the edge gets wrinkly. The red card above was folded in half without any help of the bone folder. See how it’s all sad and imperfect and lumpy?
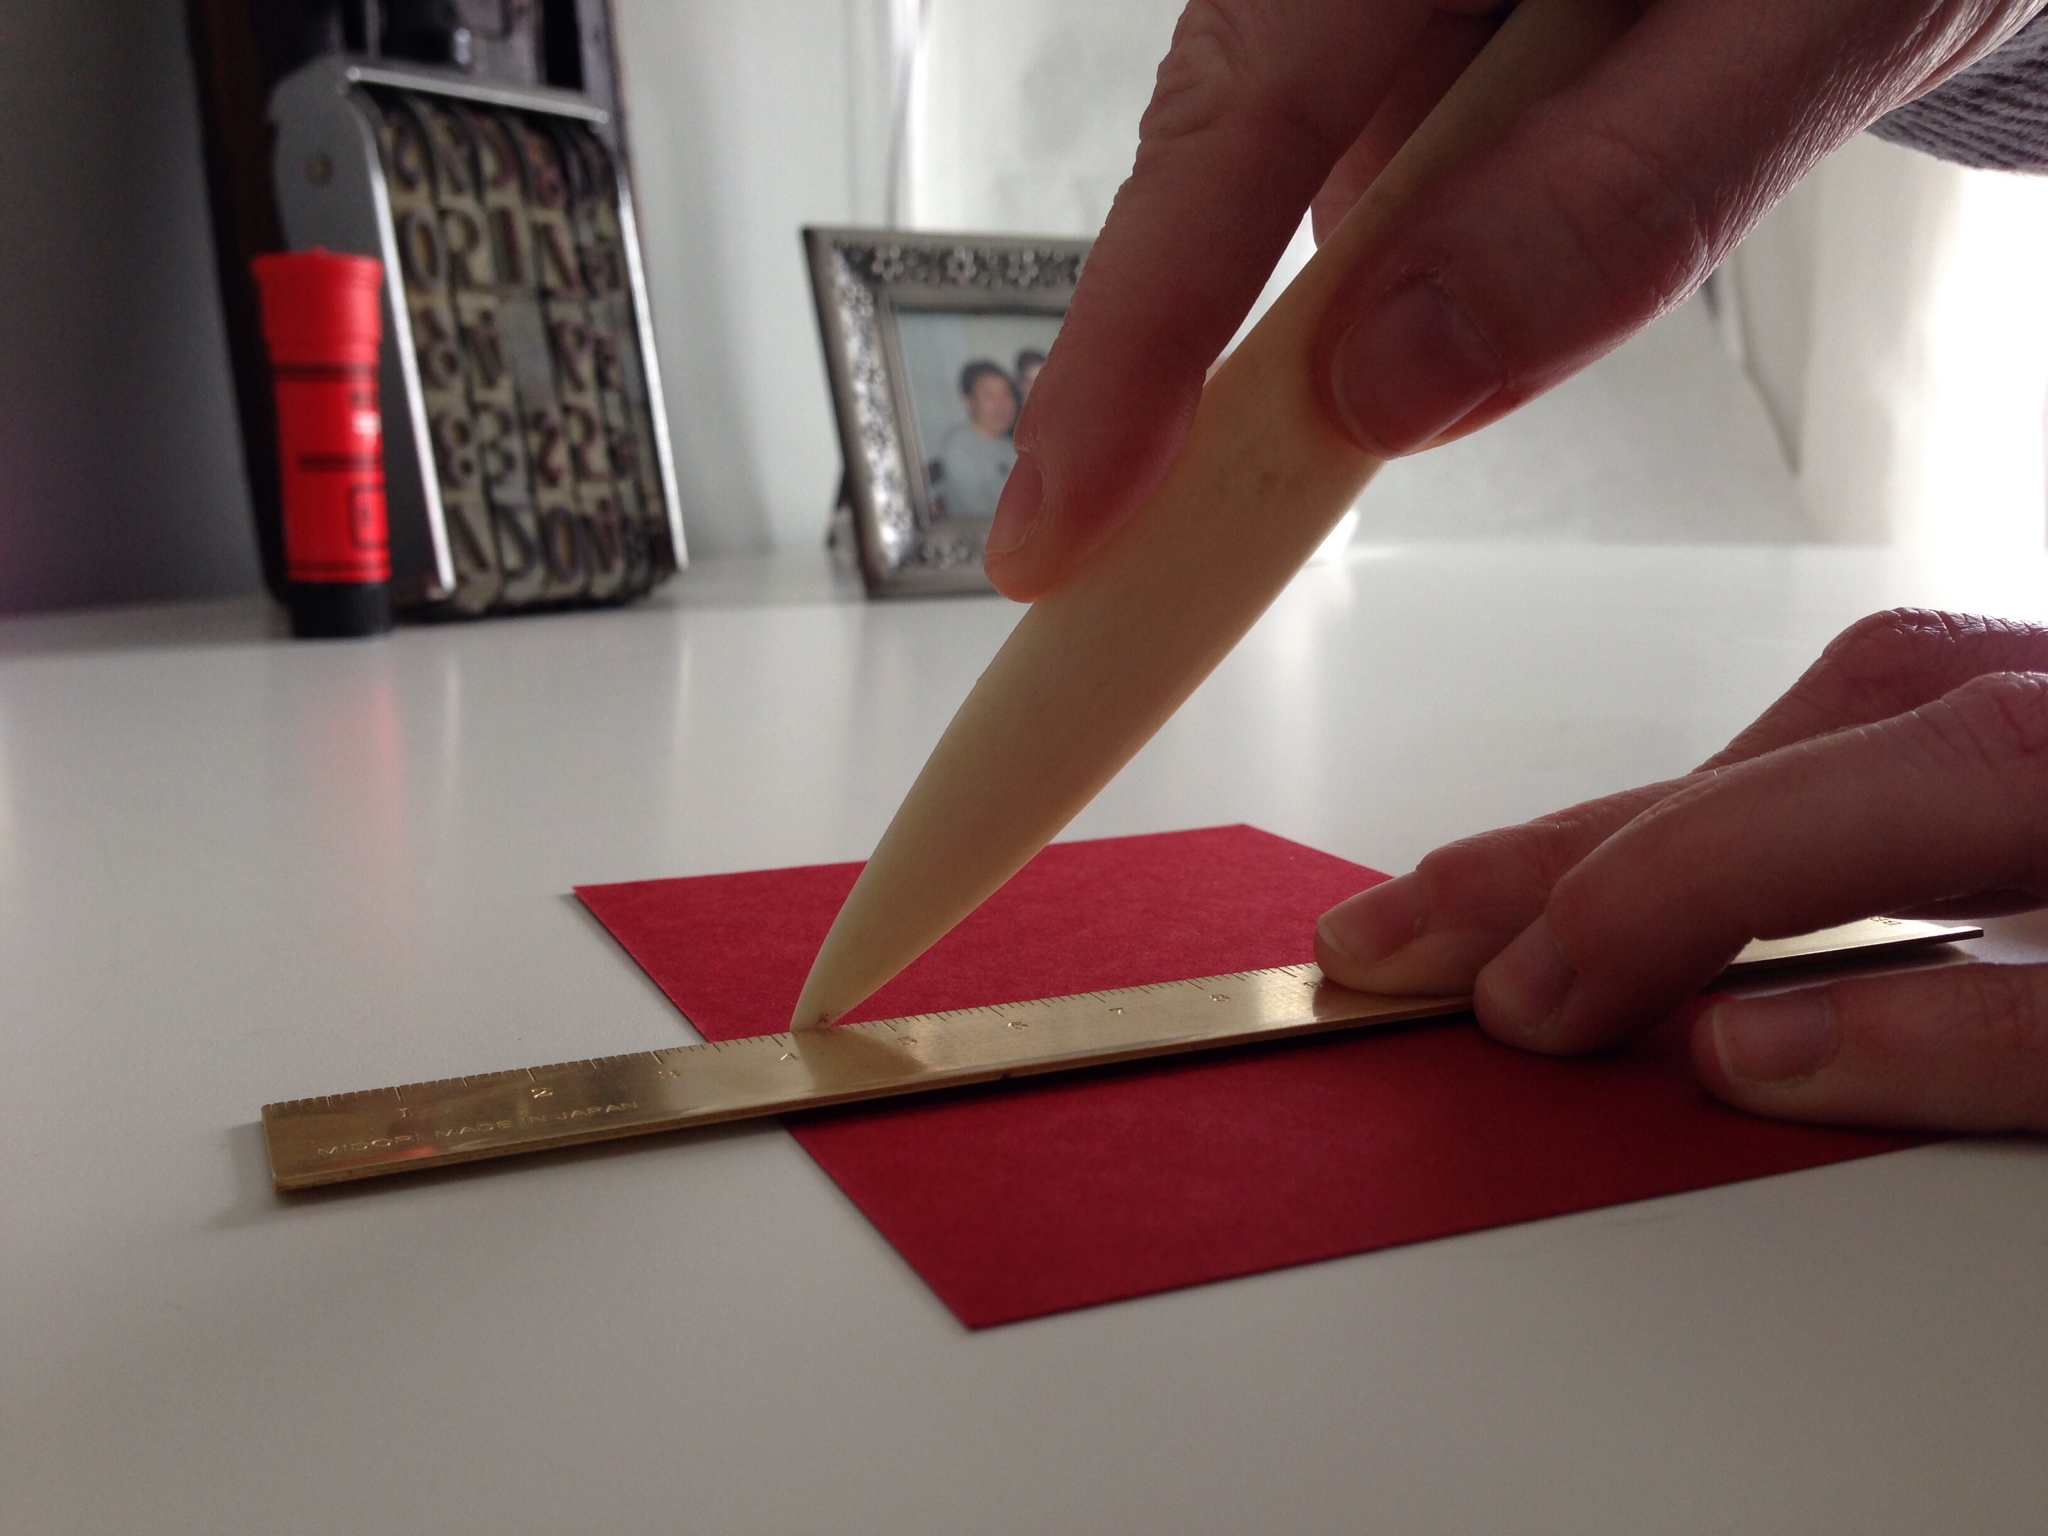
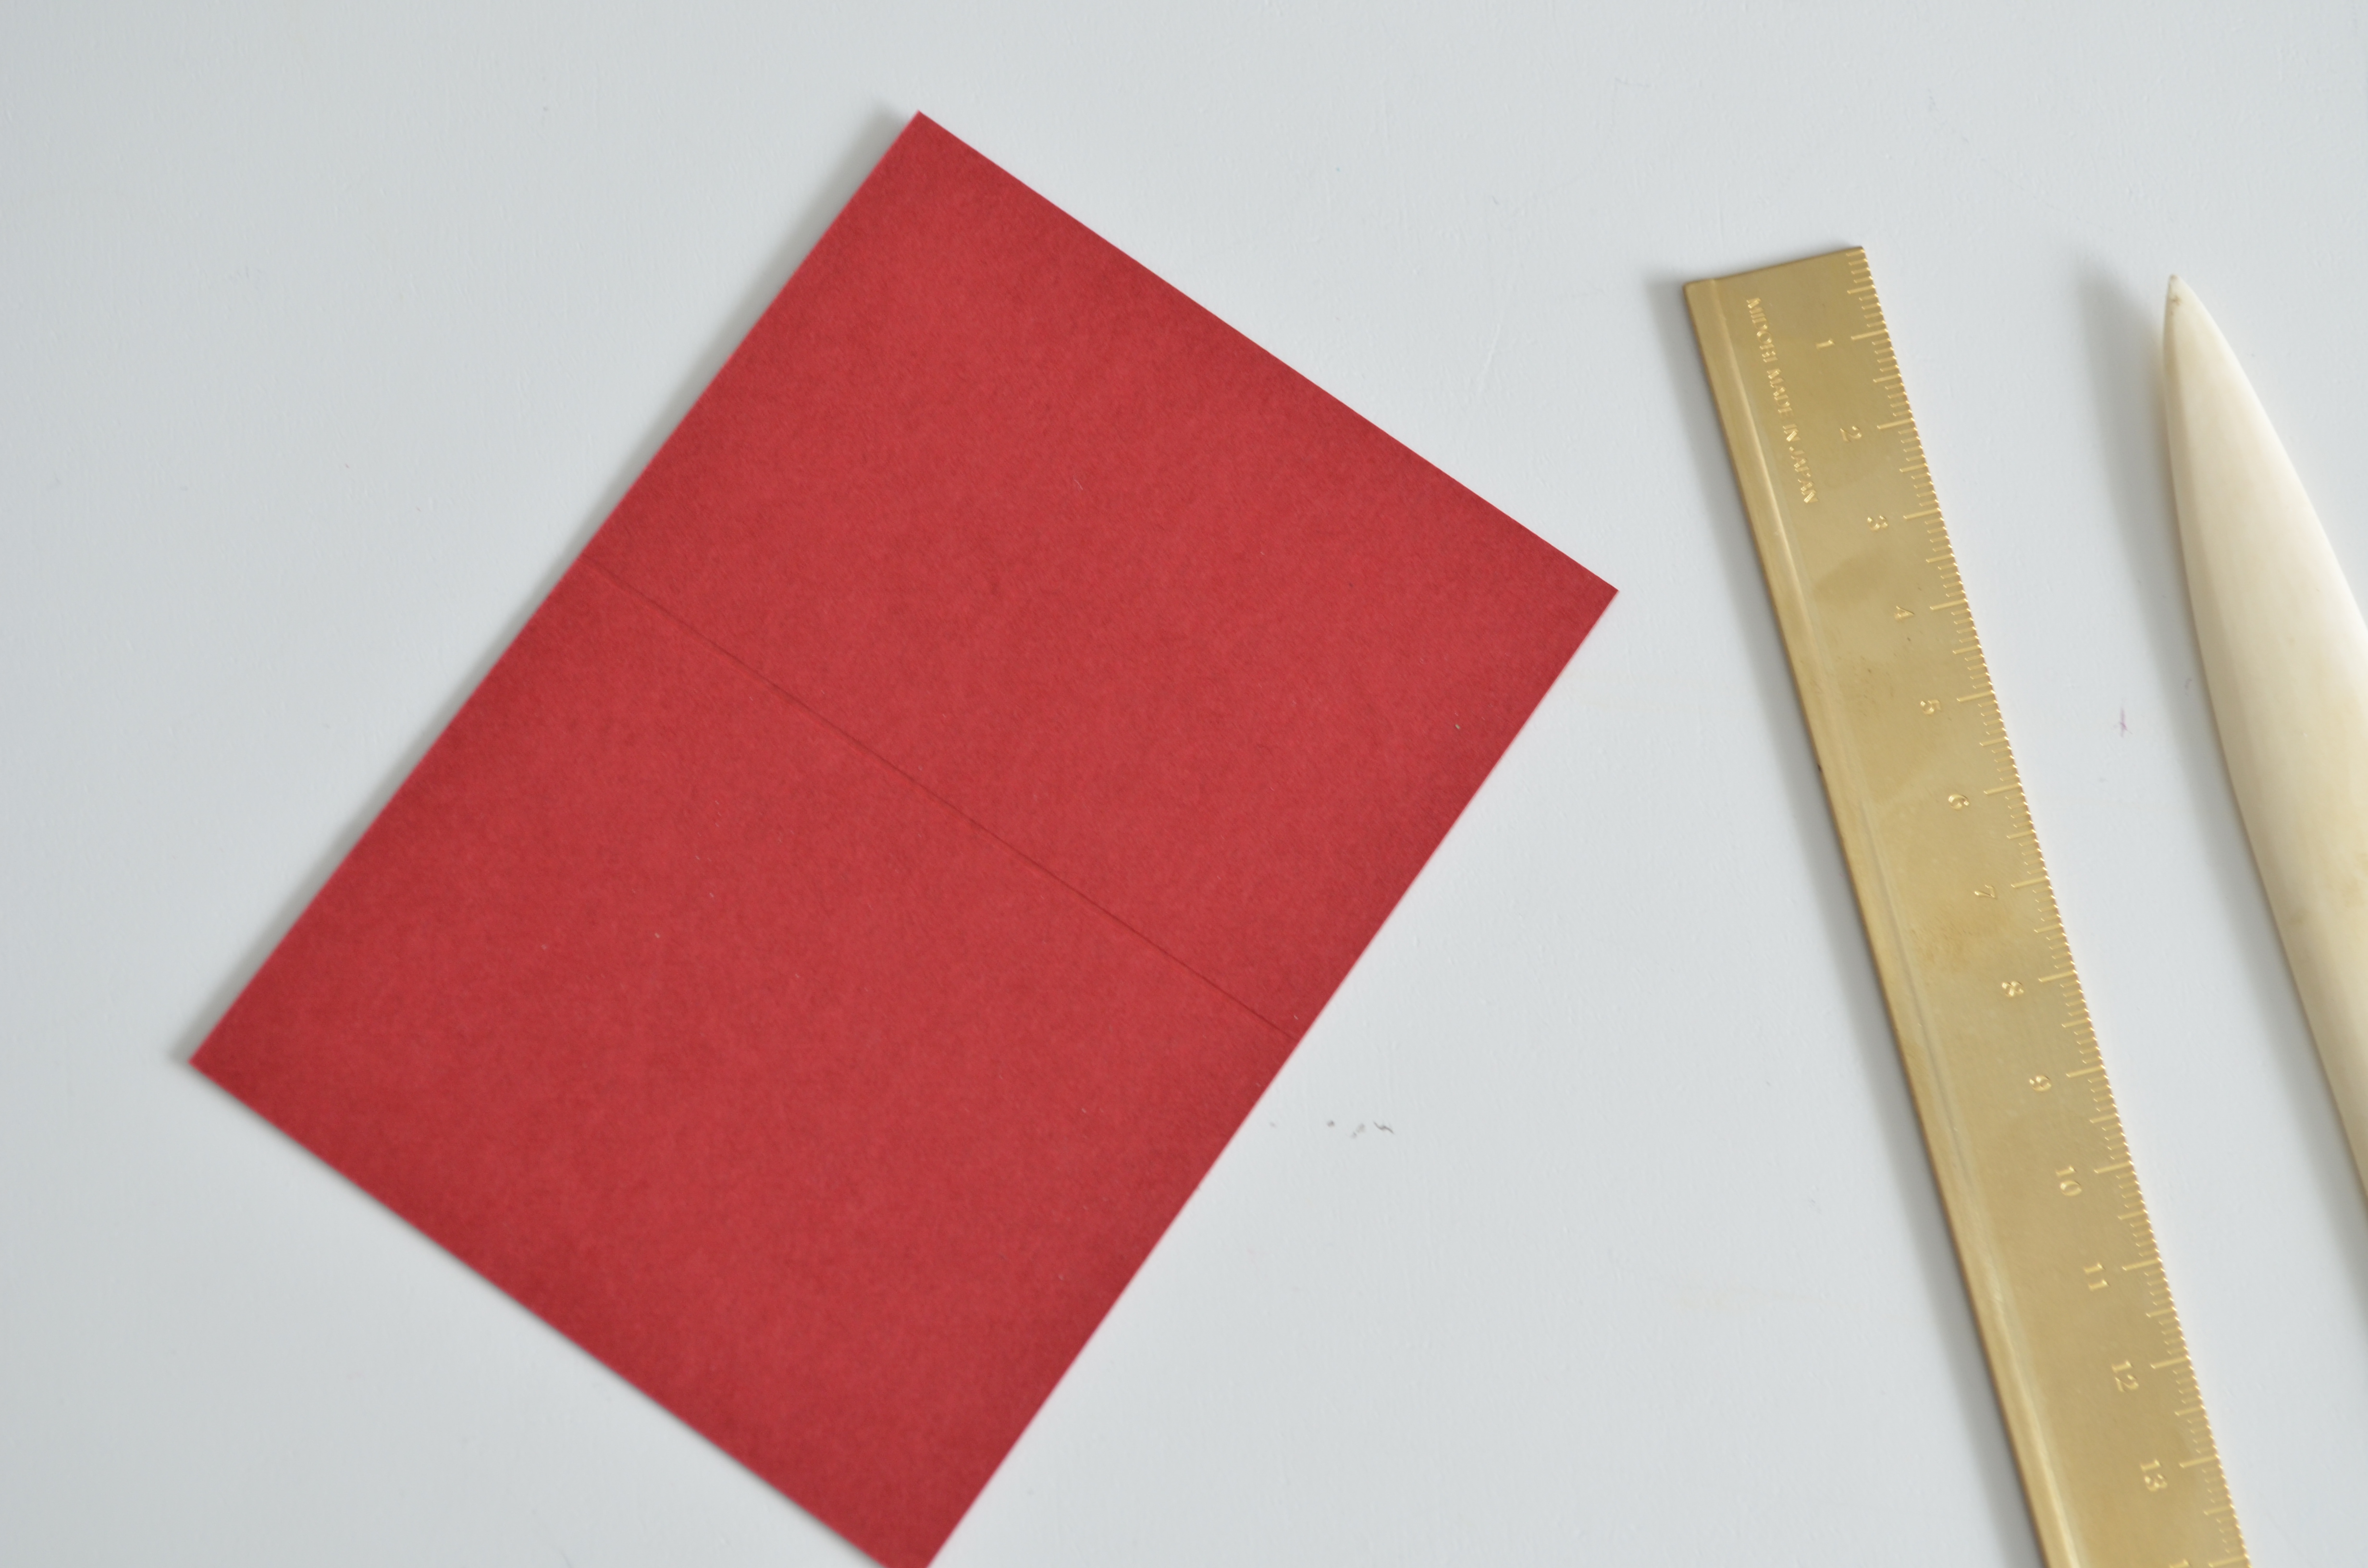
  For the next piece of card stock, I used my ruler and the bone folder to score the fold ahead of time.
  It’s hard to see, but there is a faint scored line down the middle (or, almost-middle) of the card.
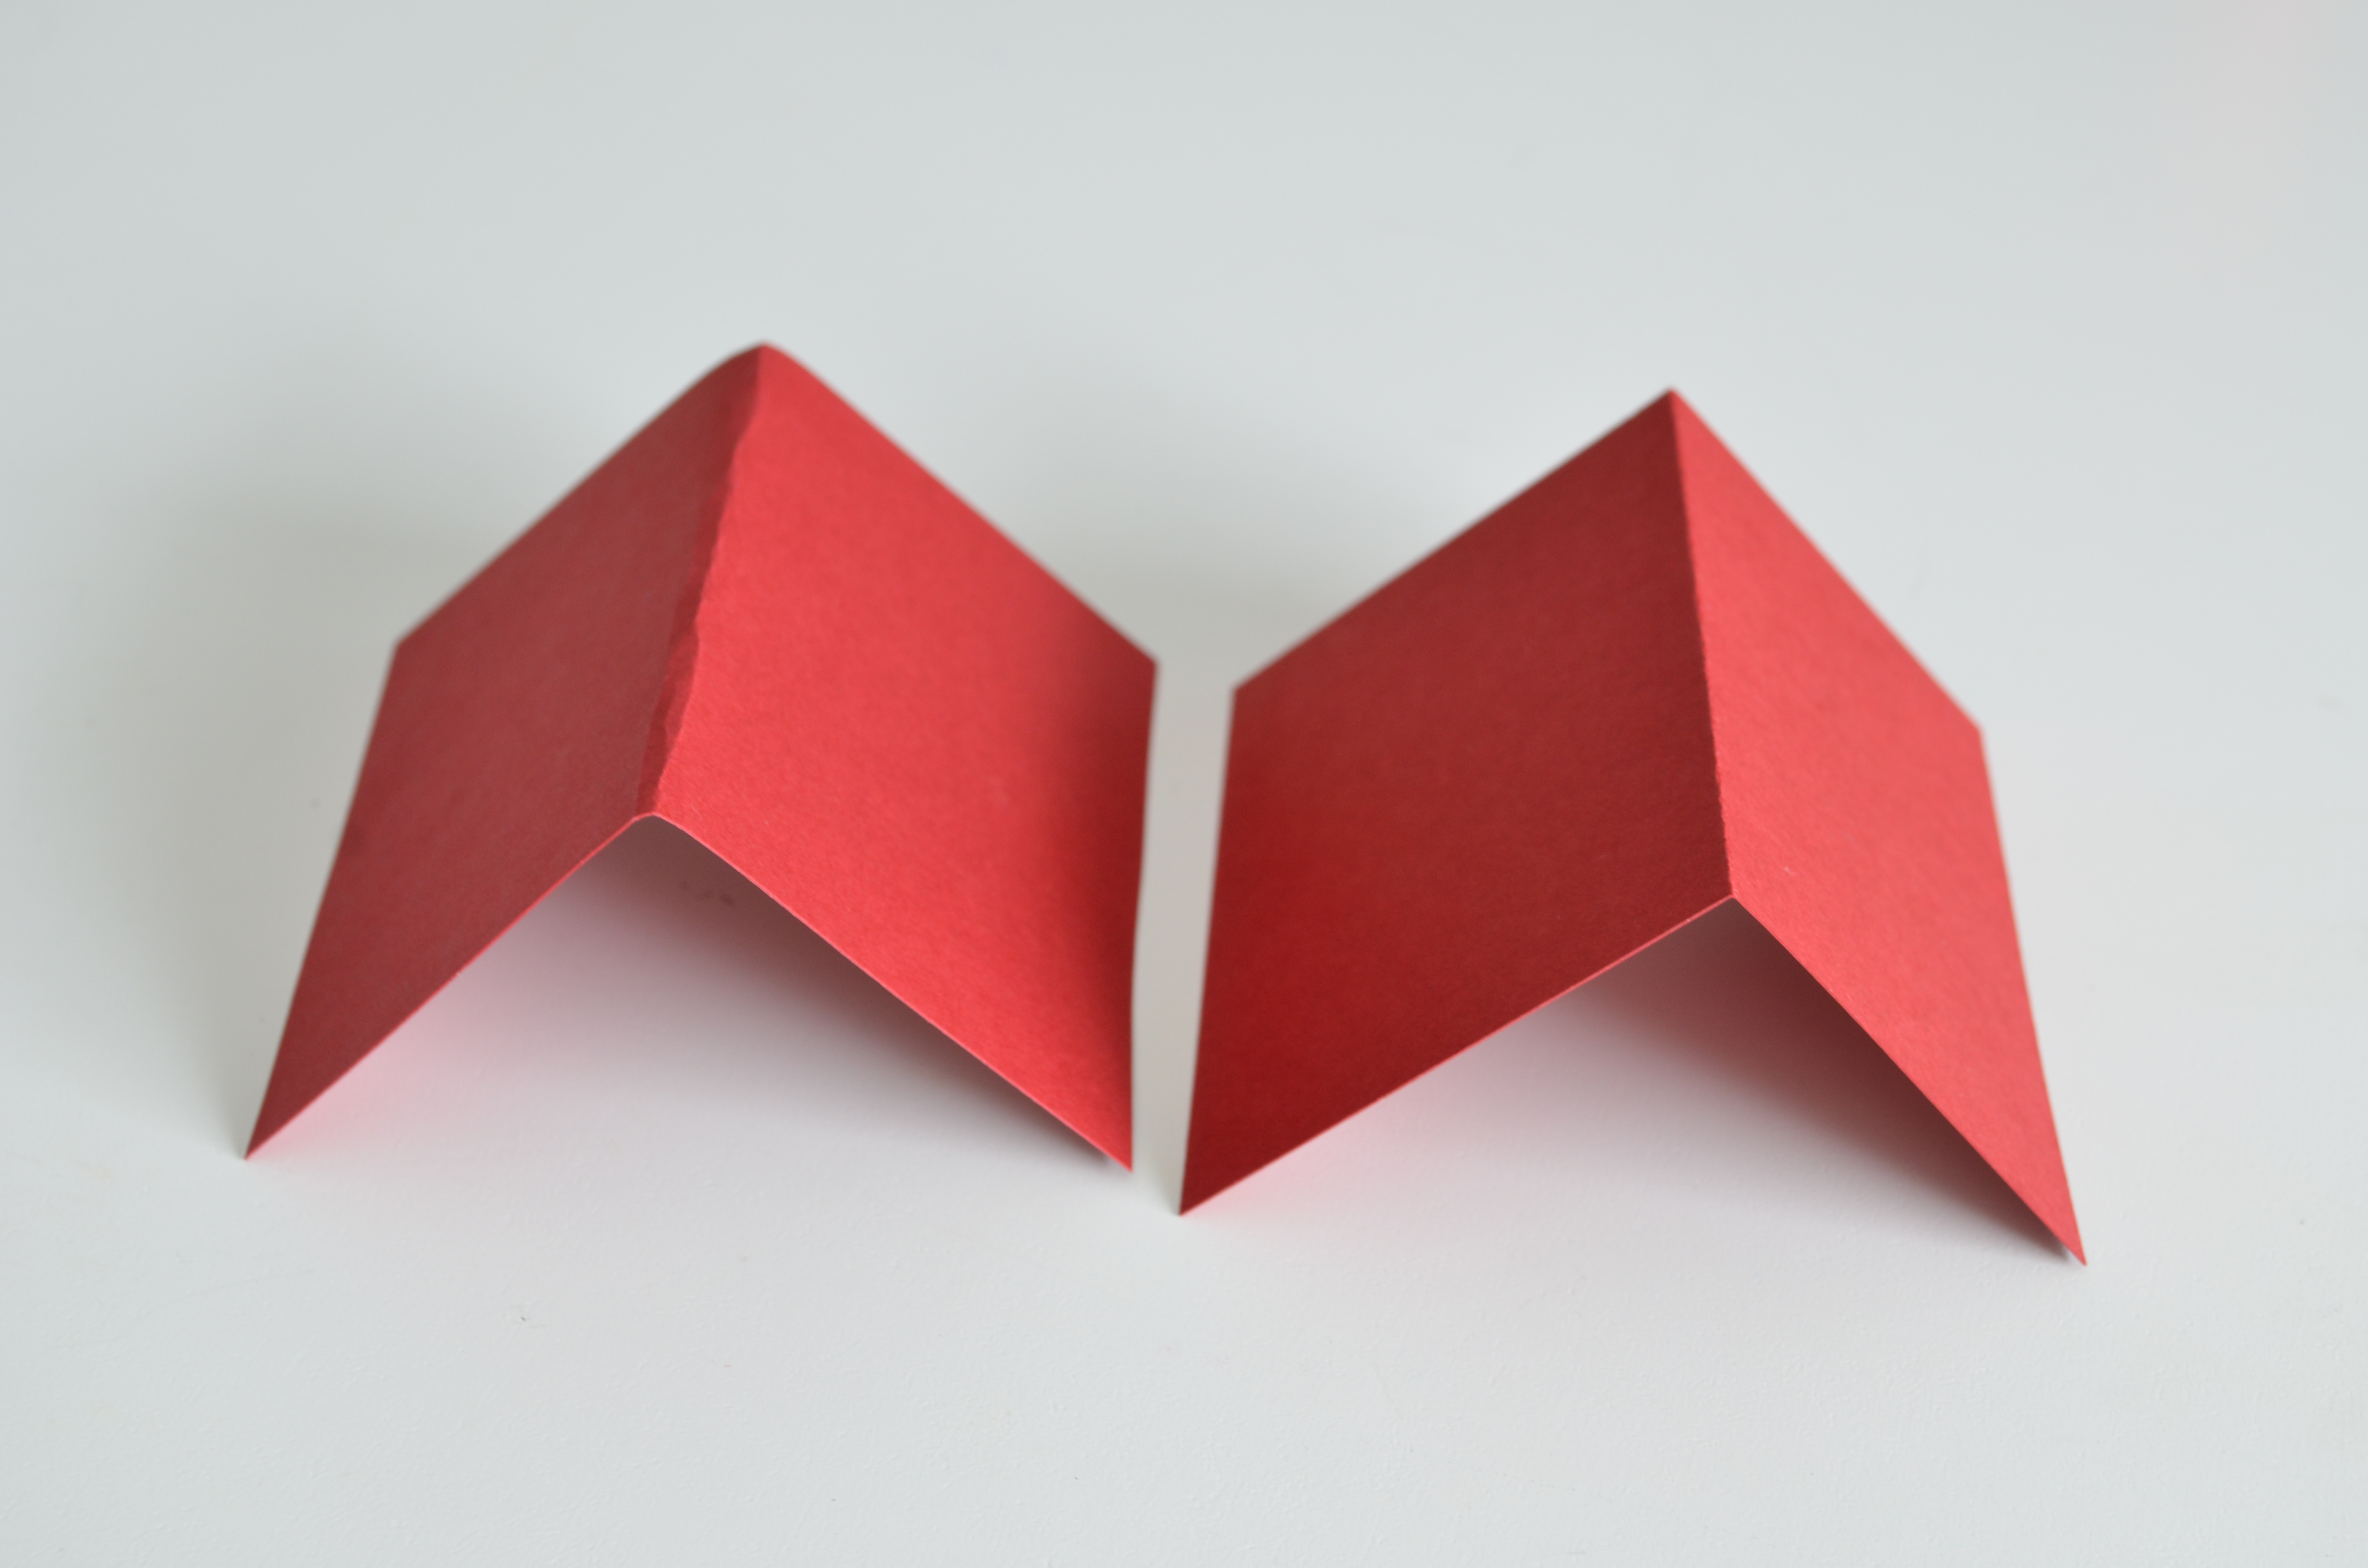
  The scored line allowed me to get a nice sharp fold on the card.
  See the difference?
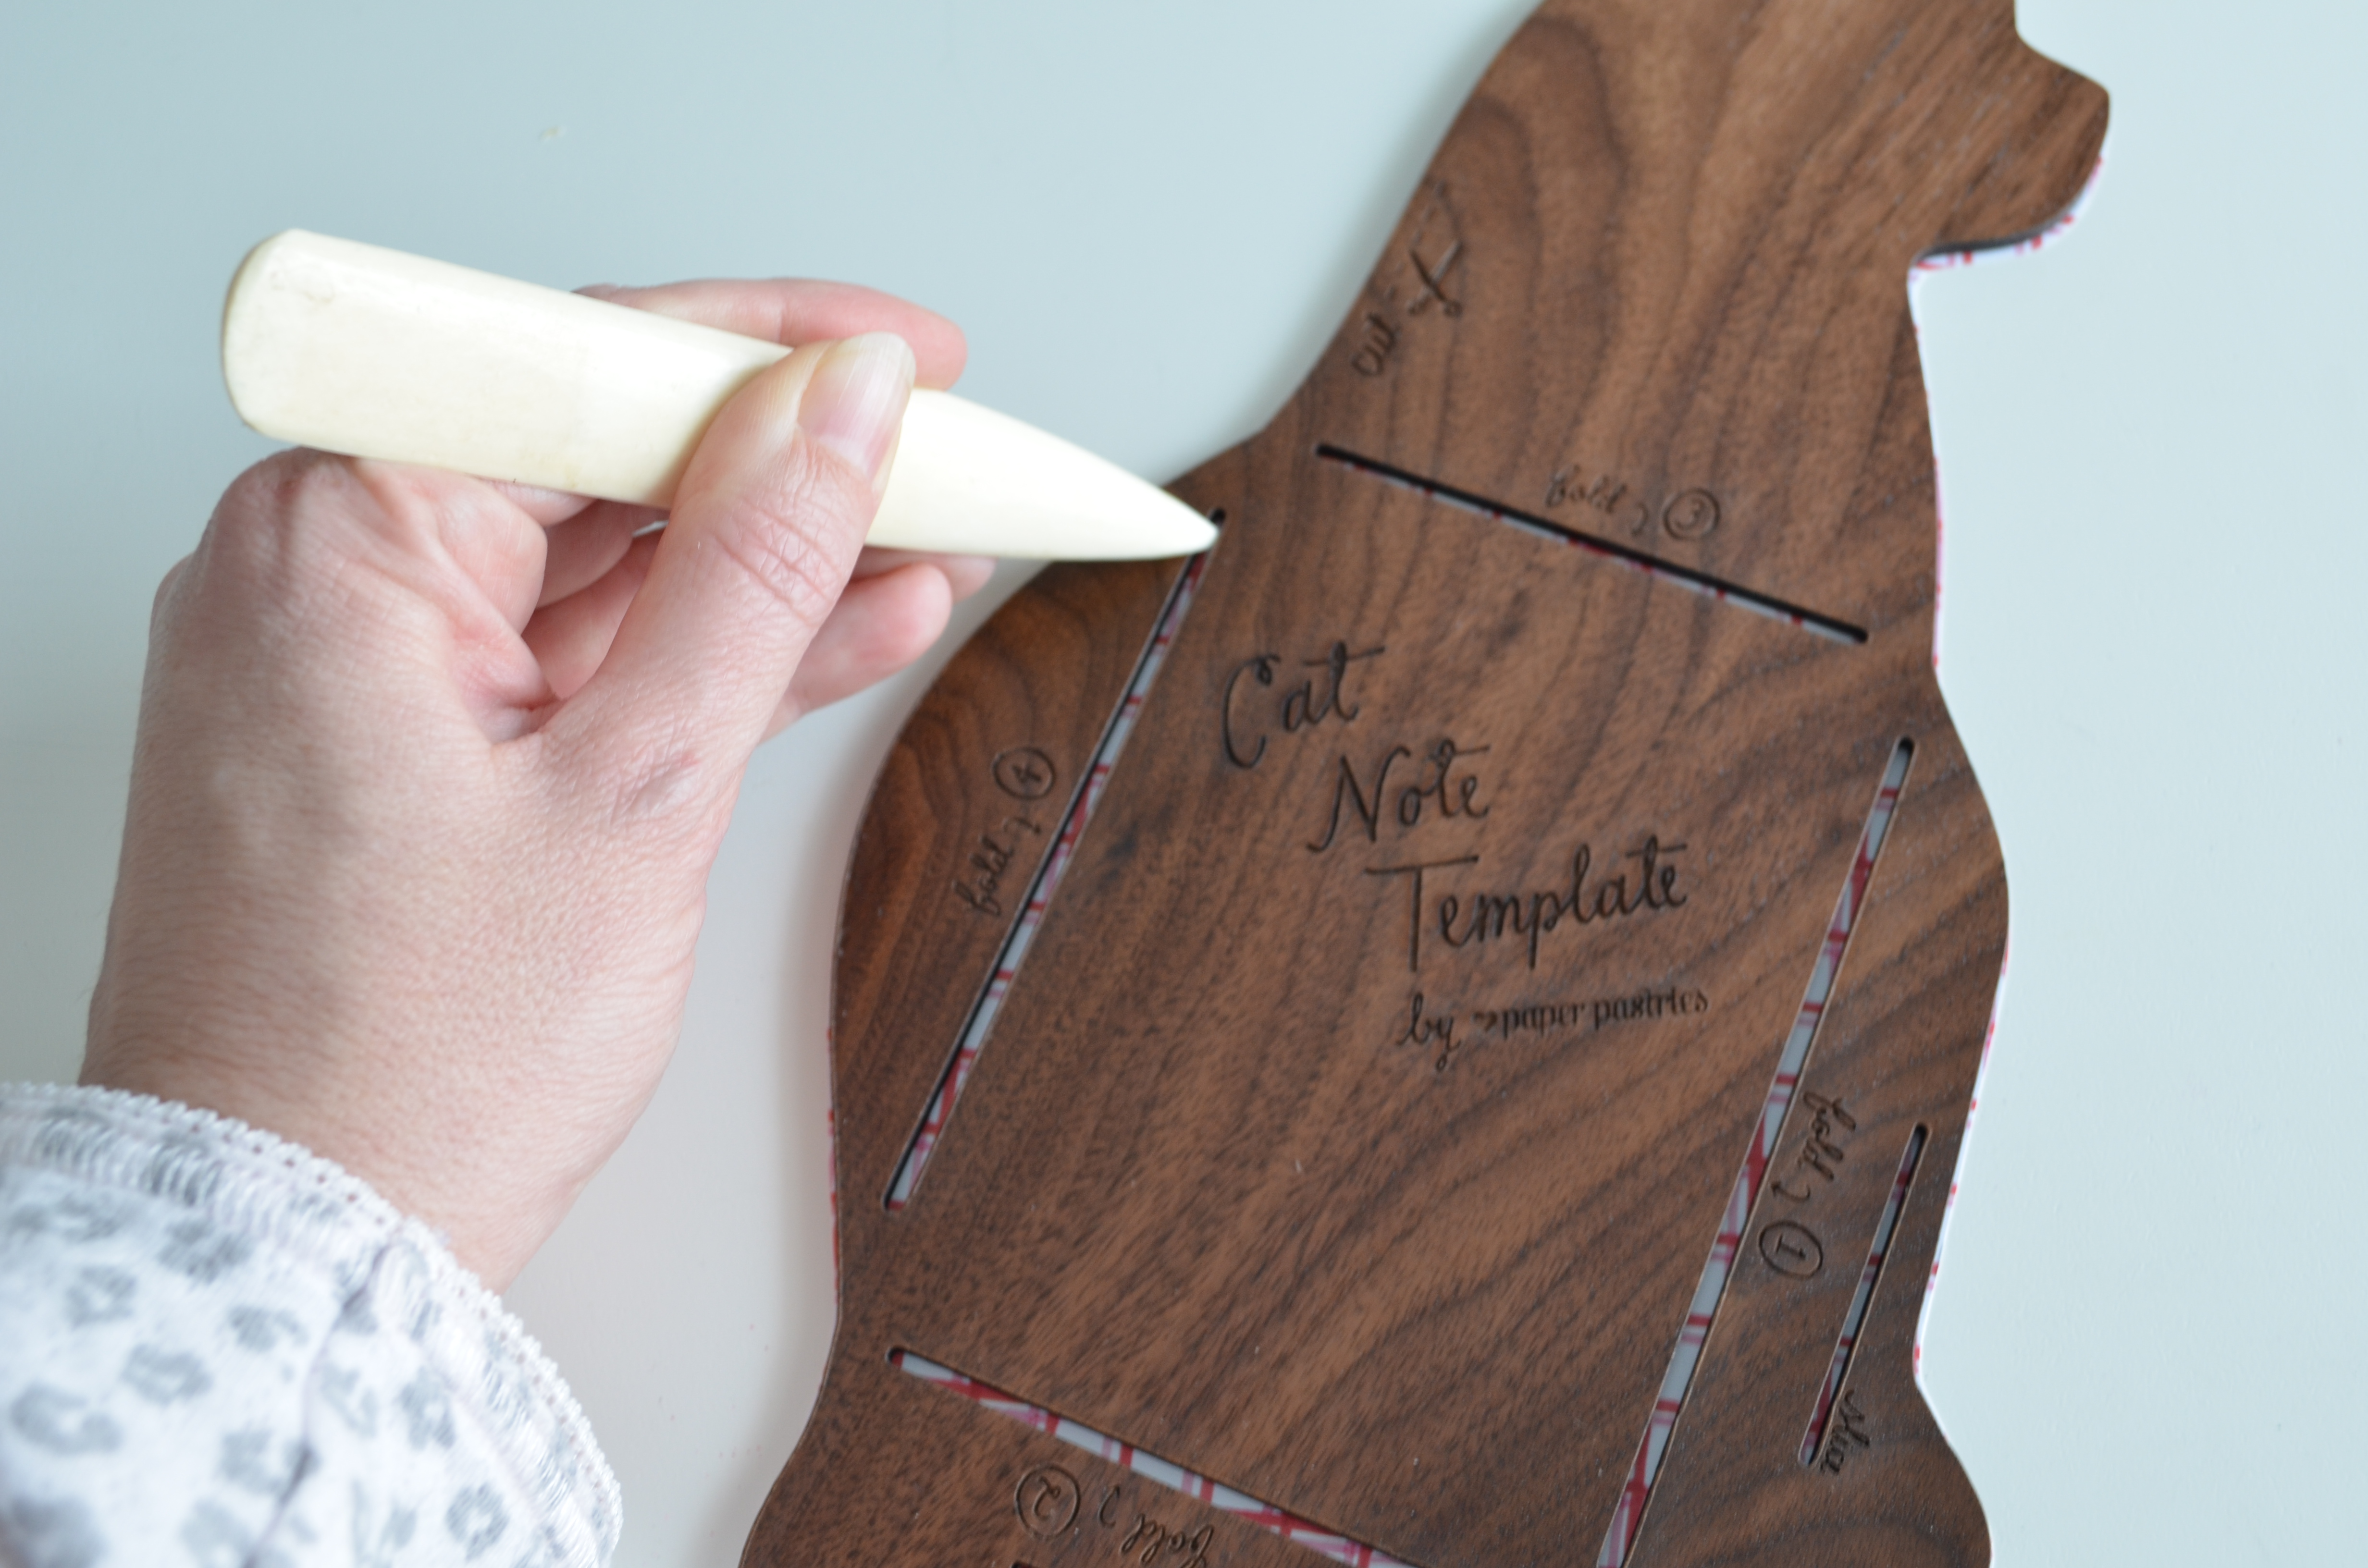
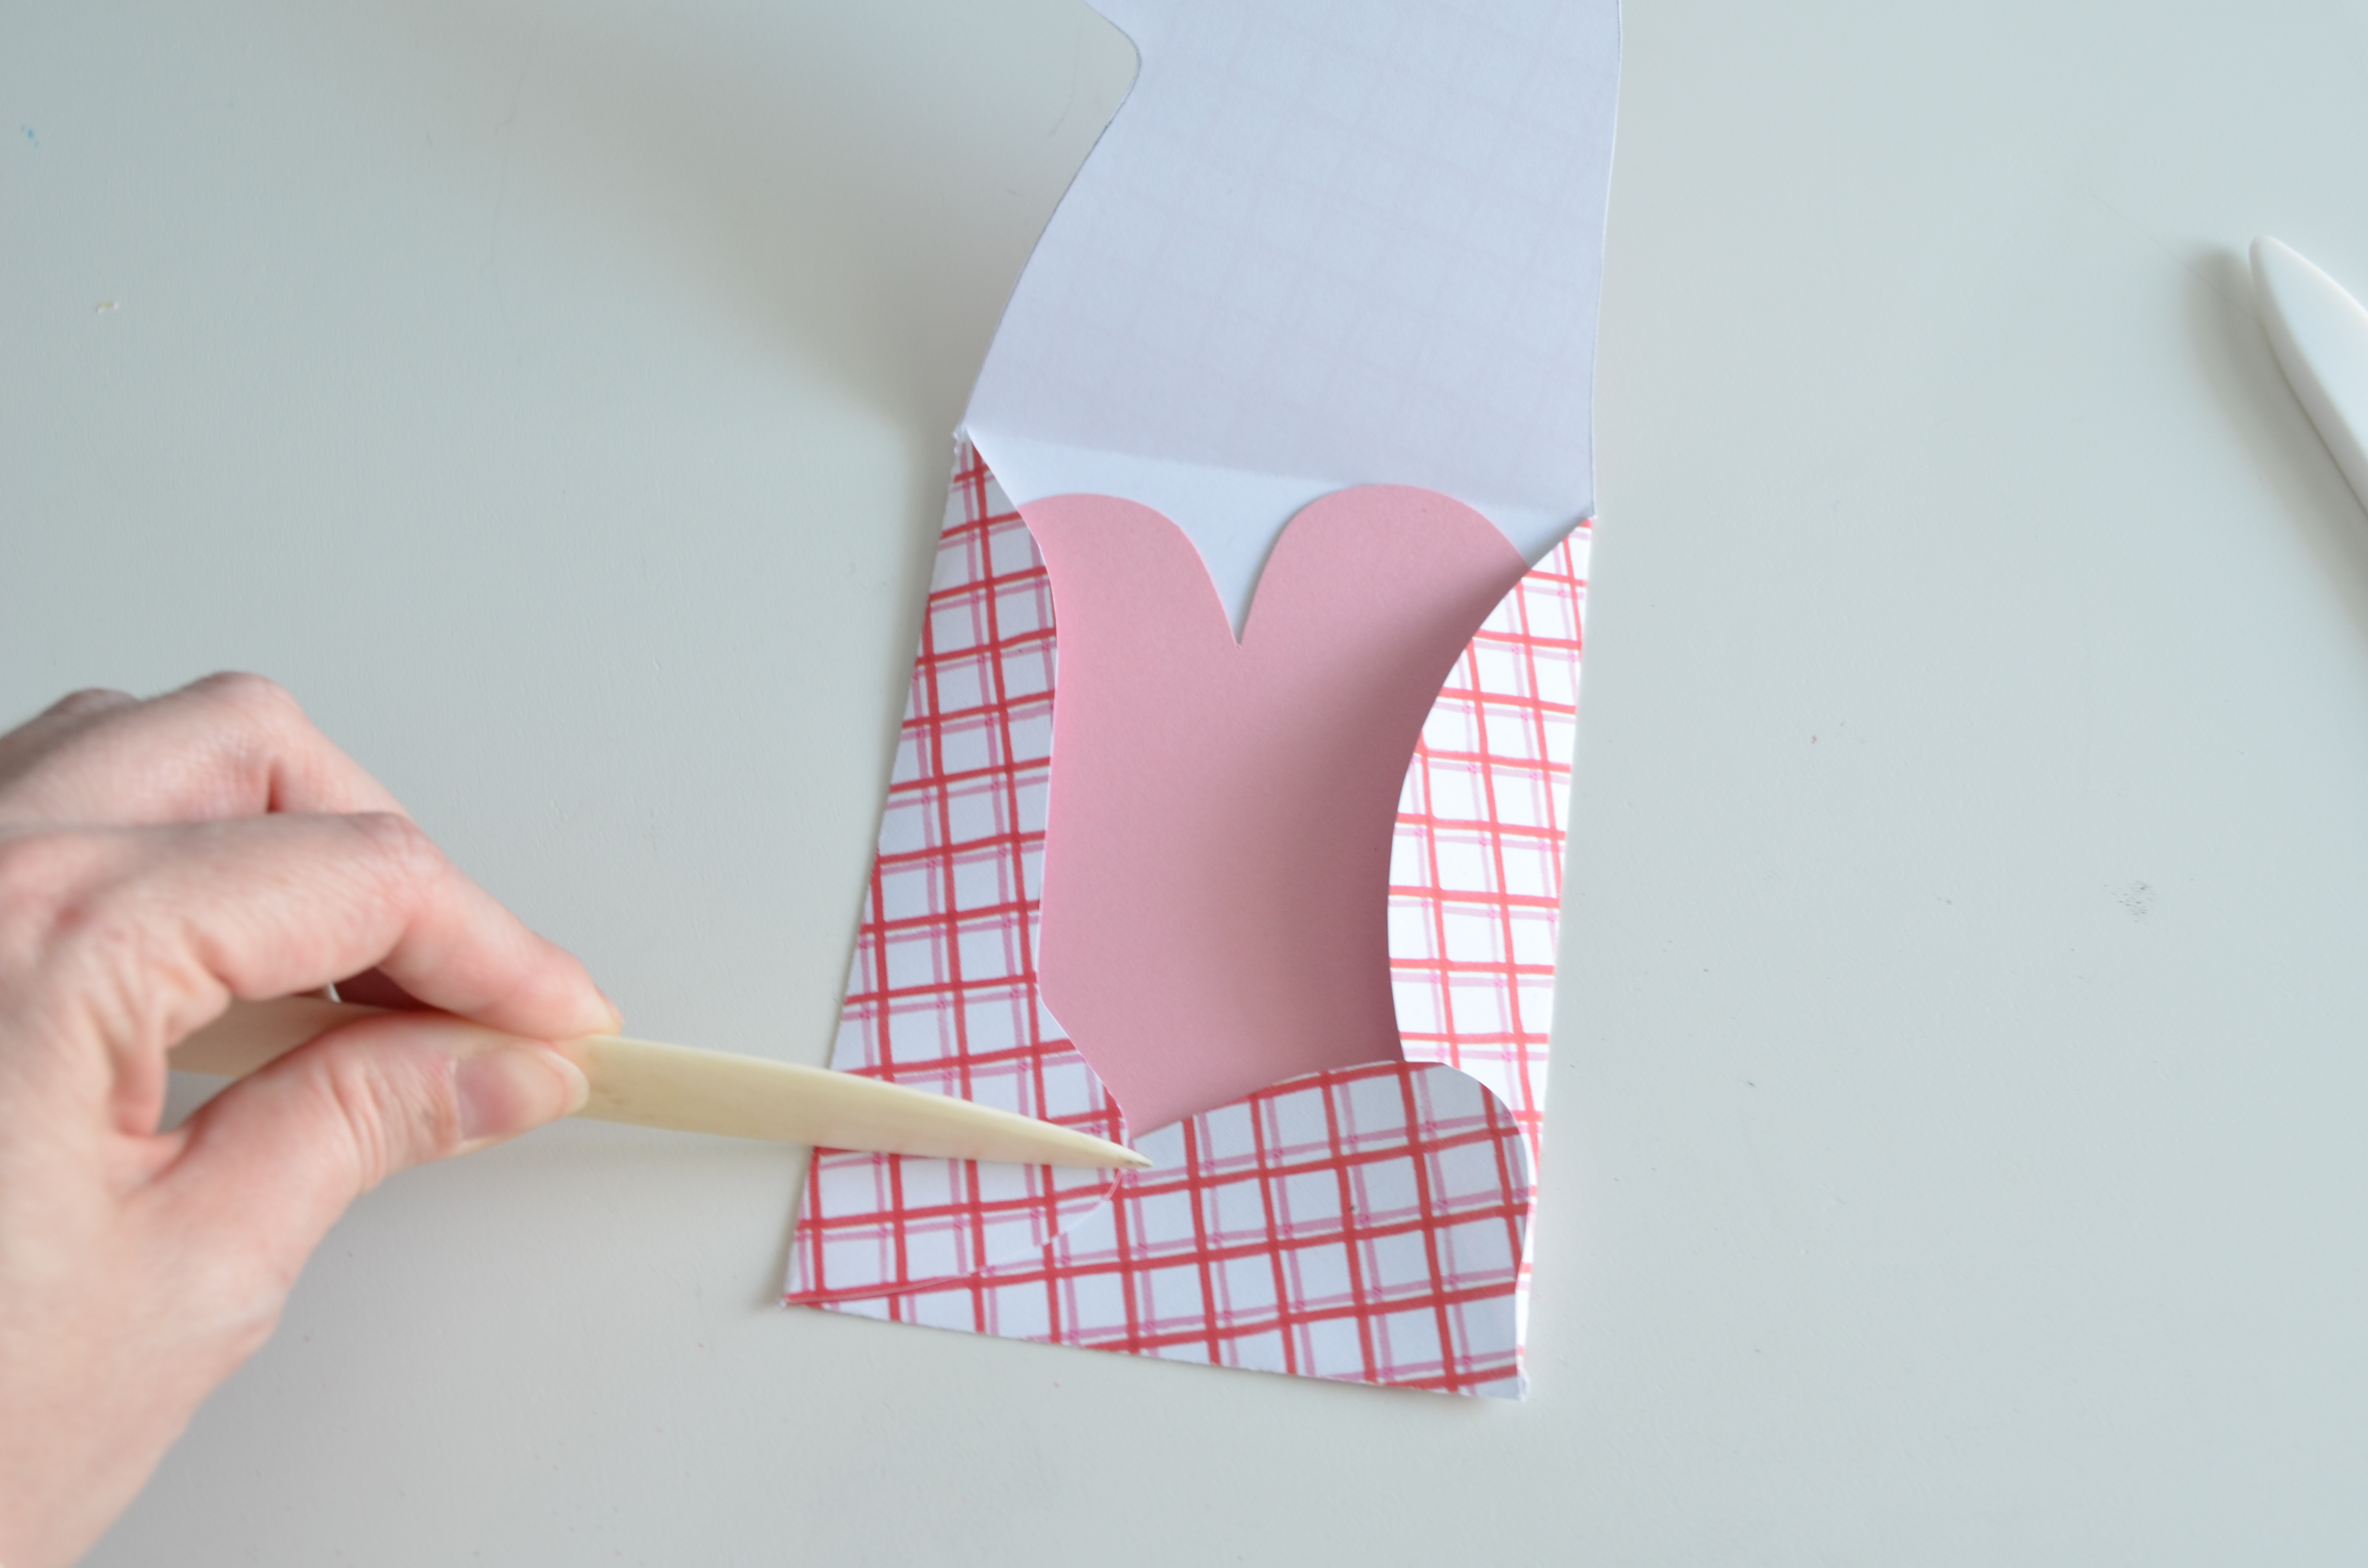
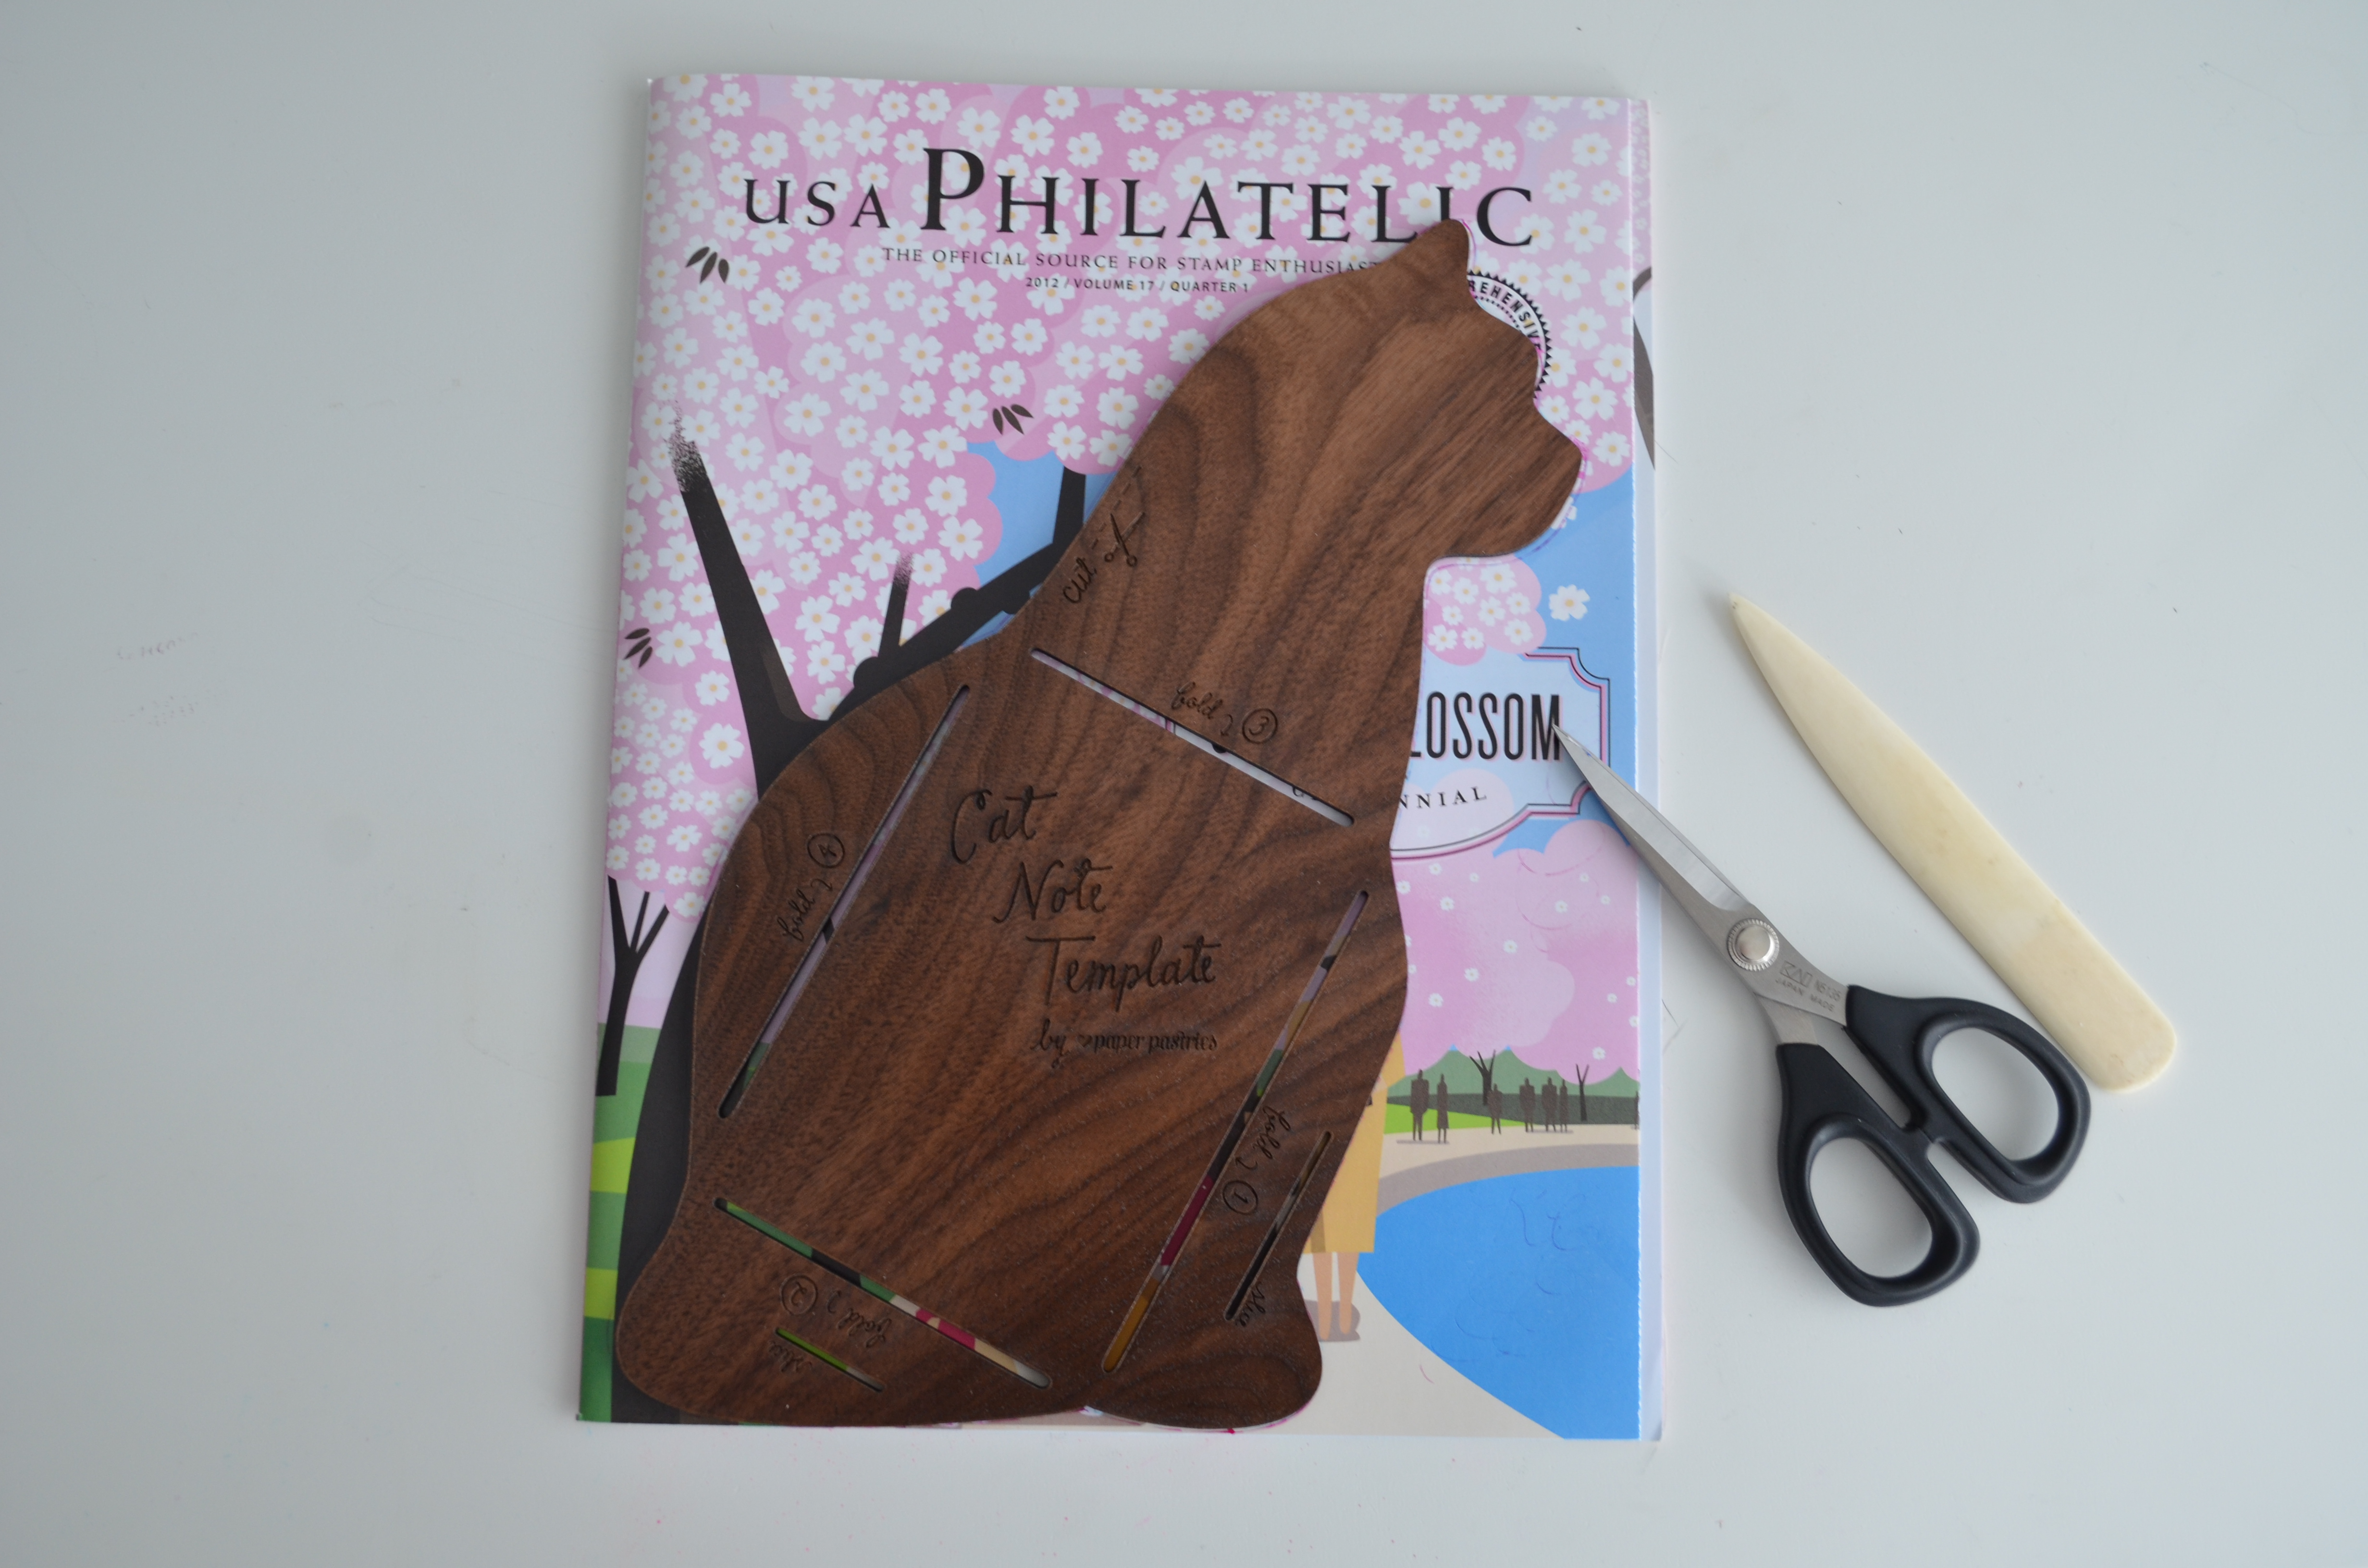
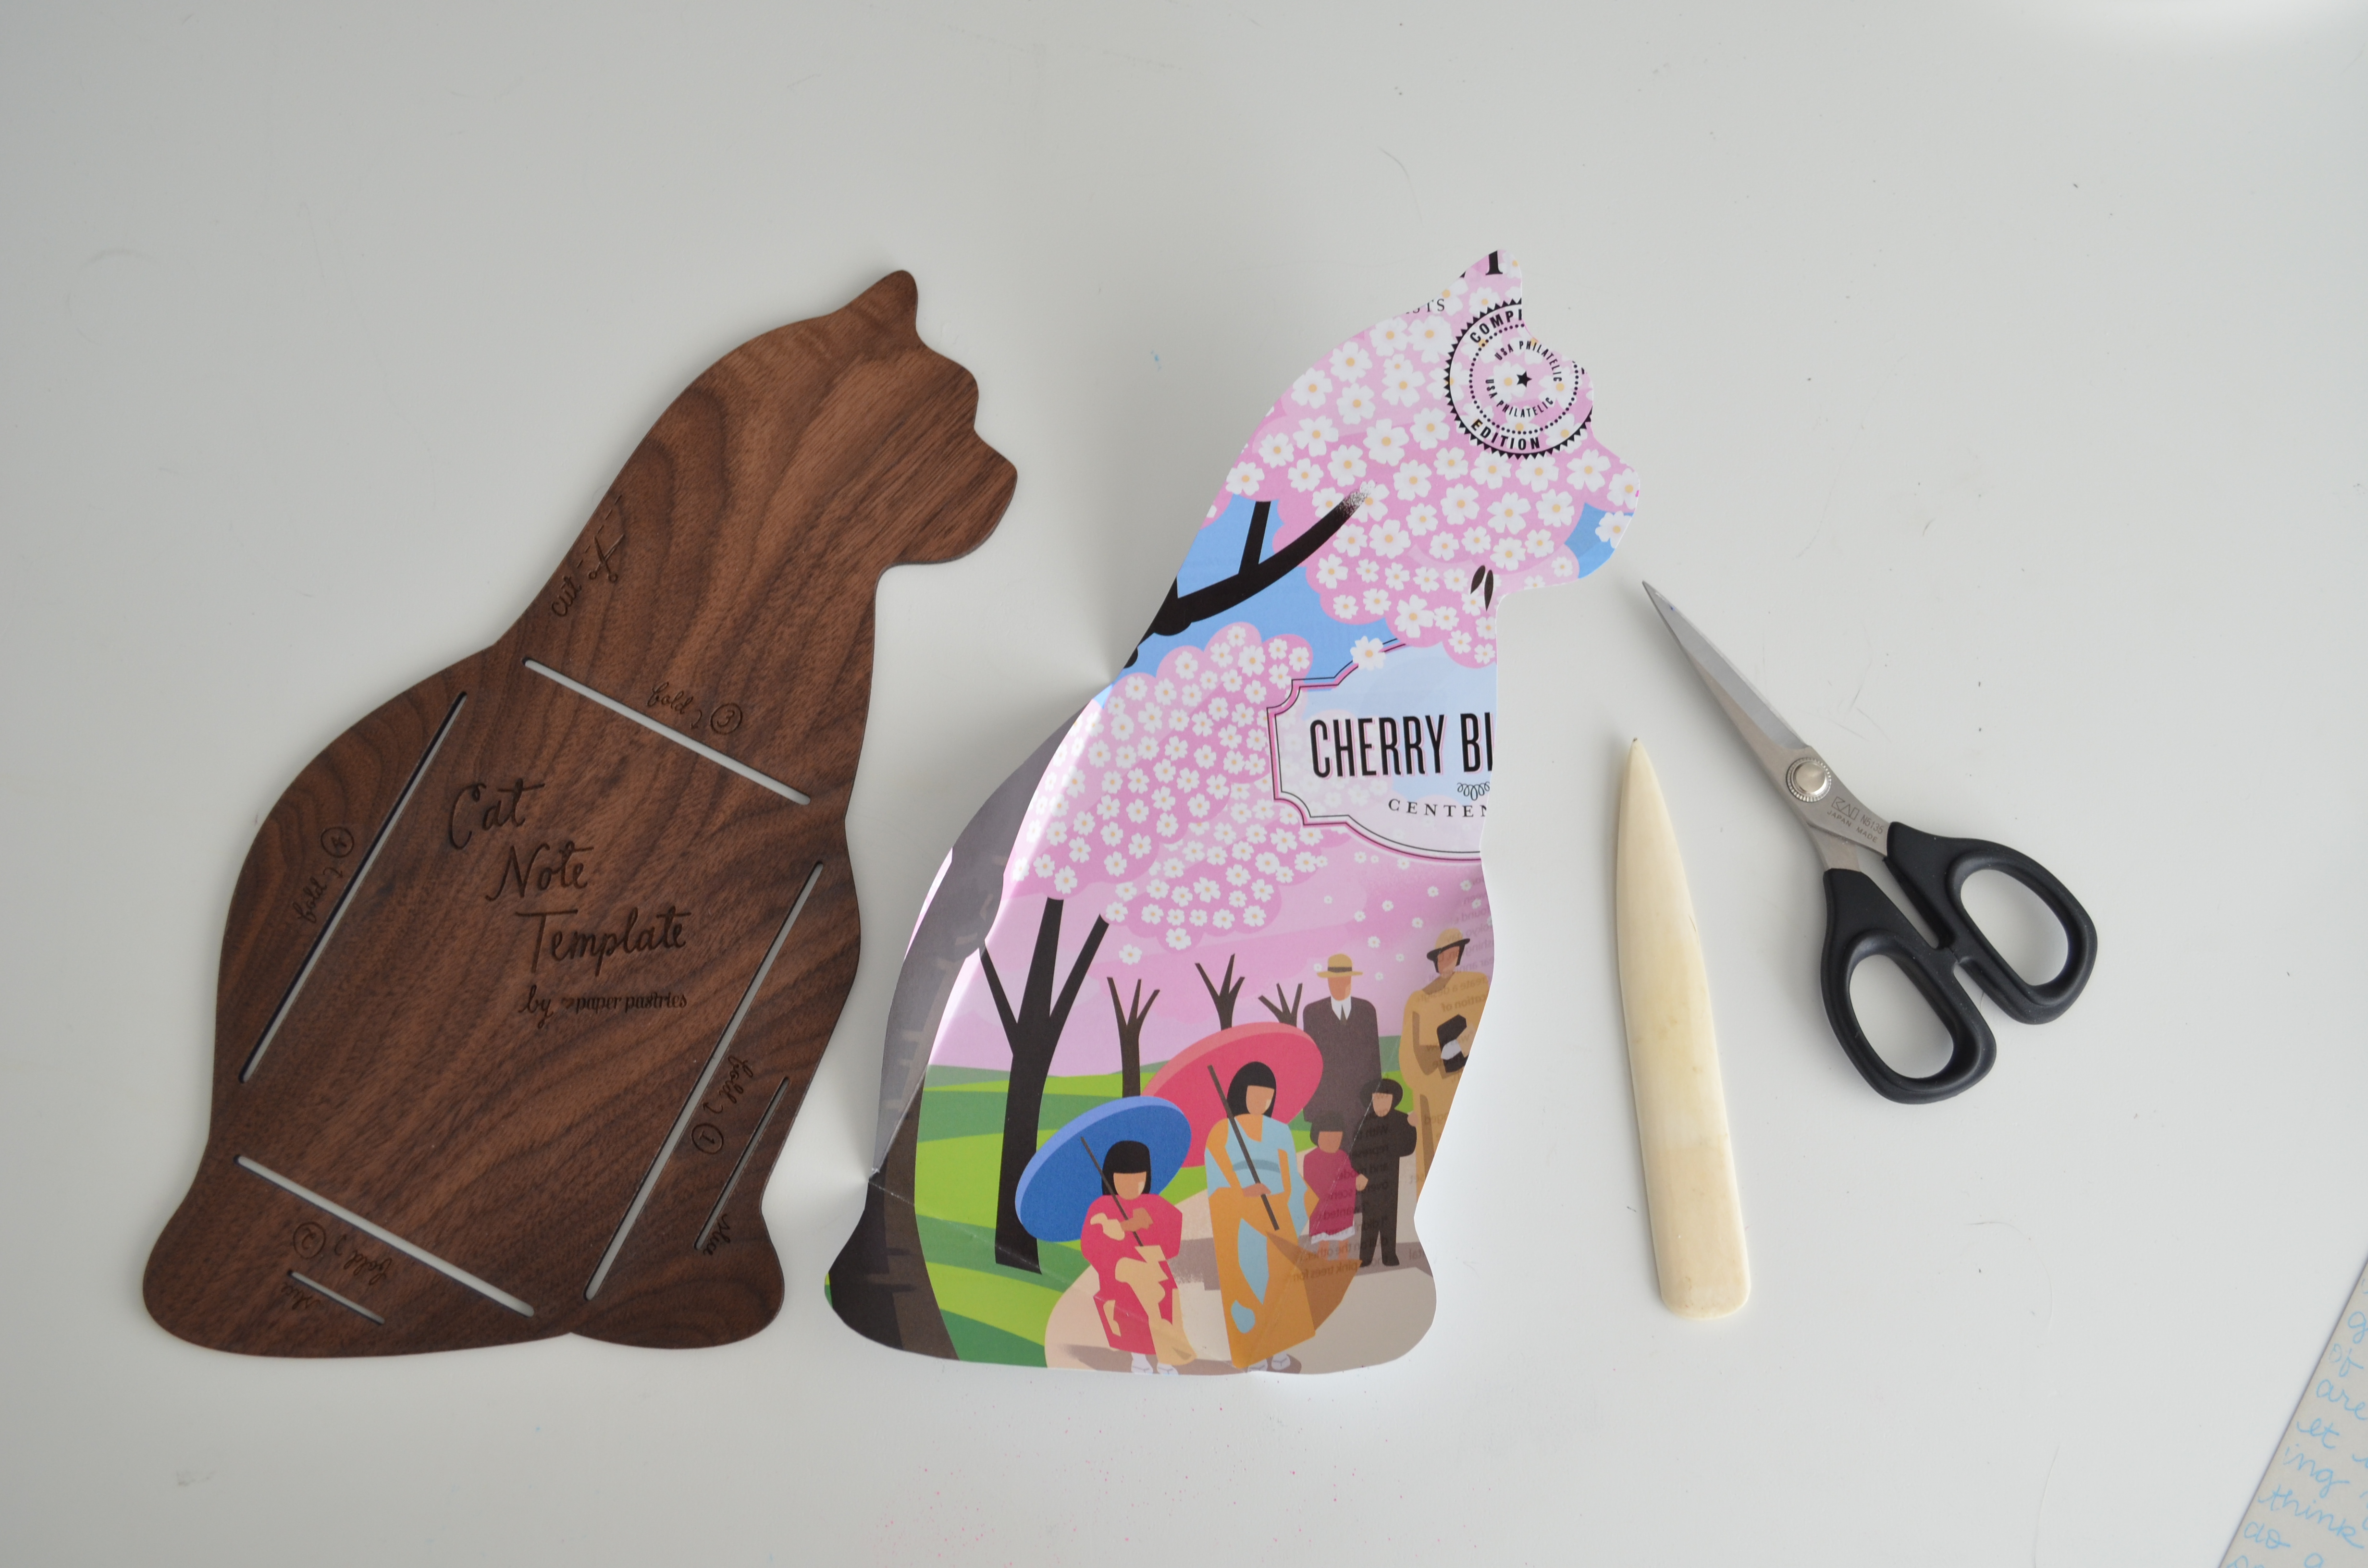
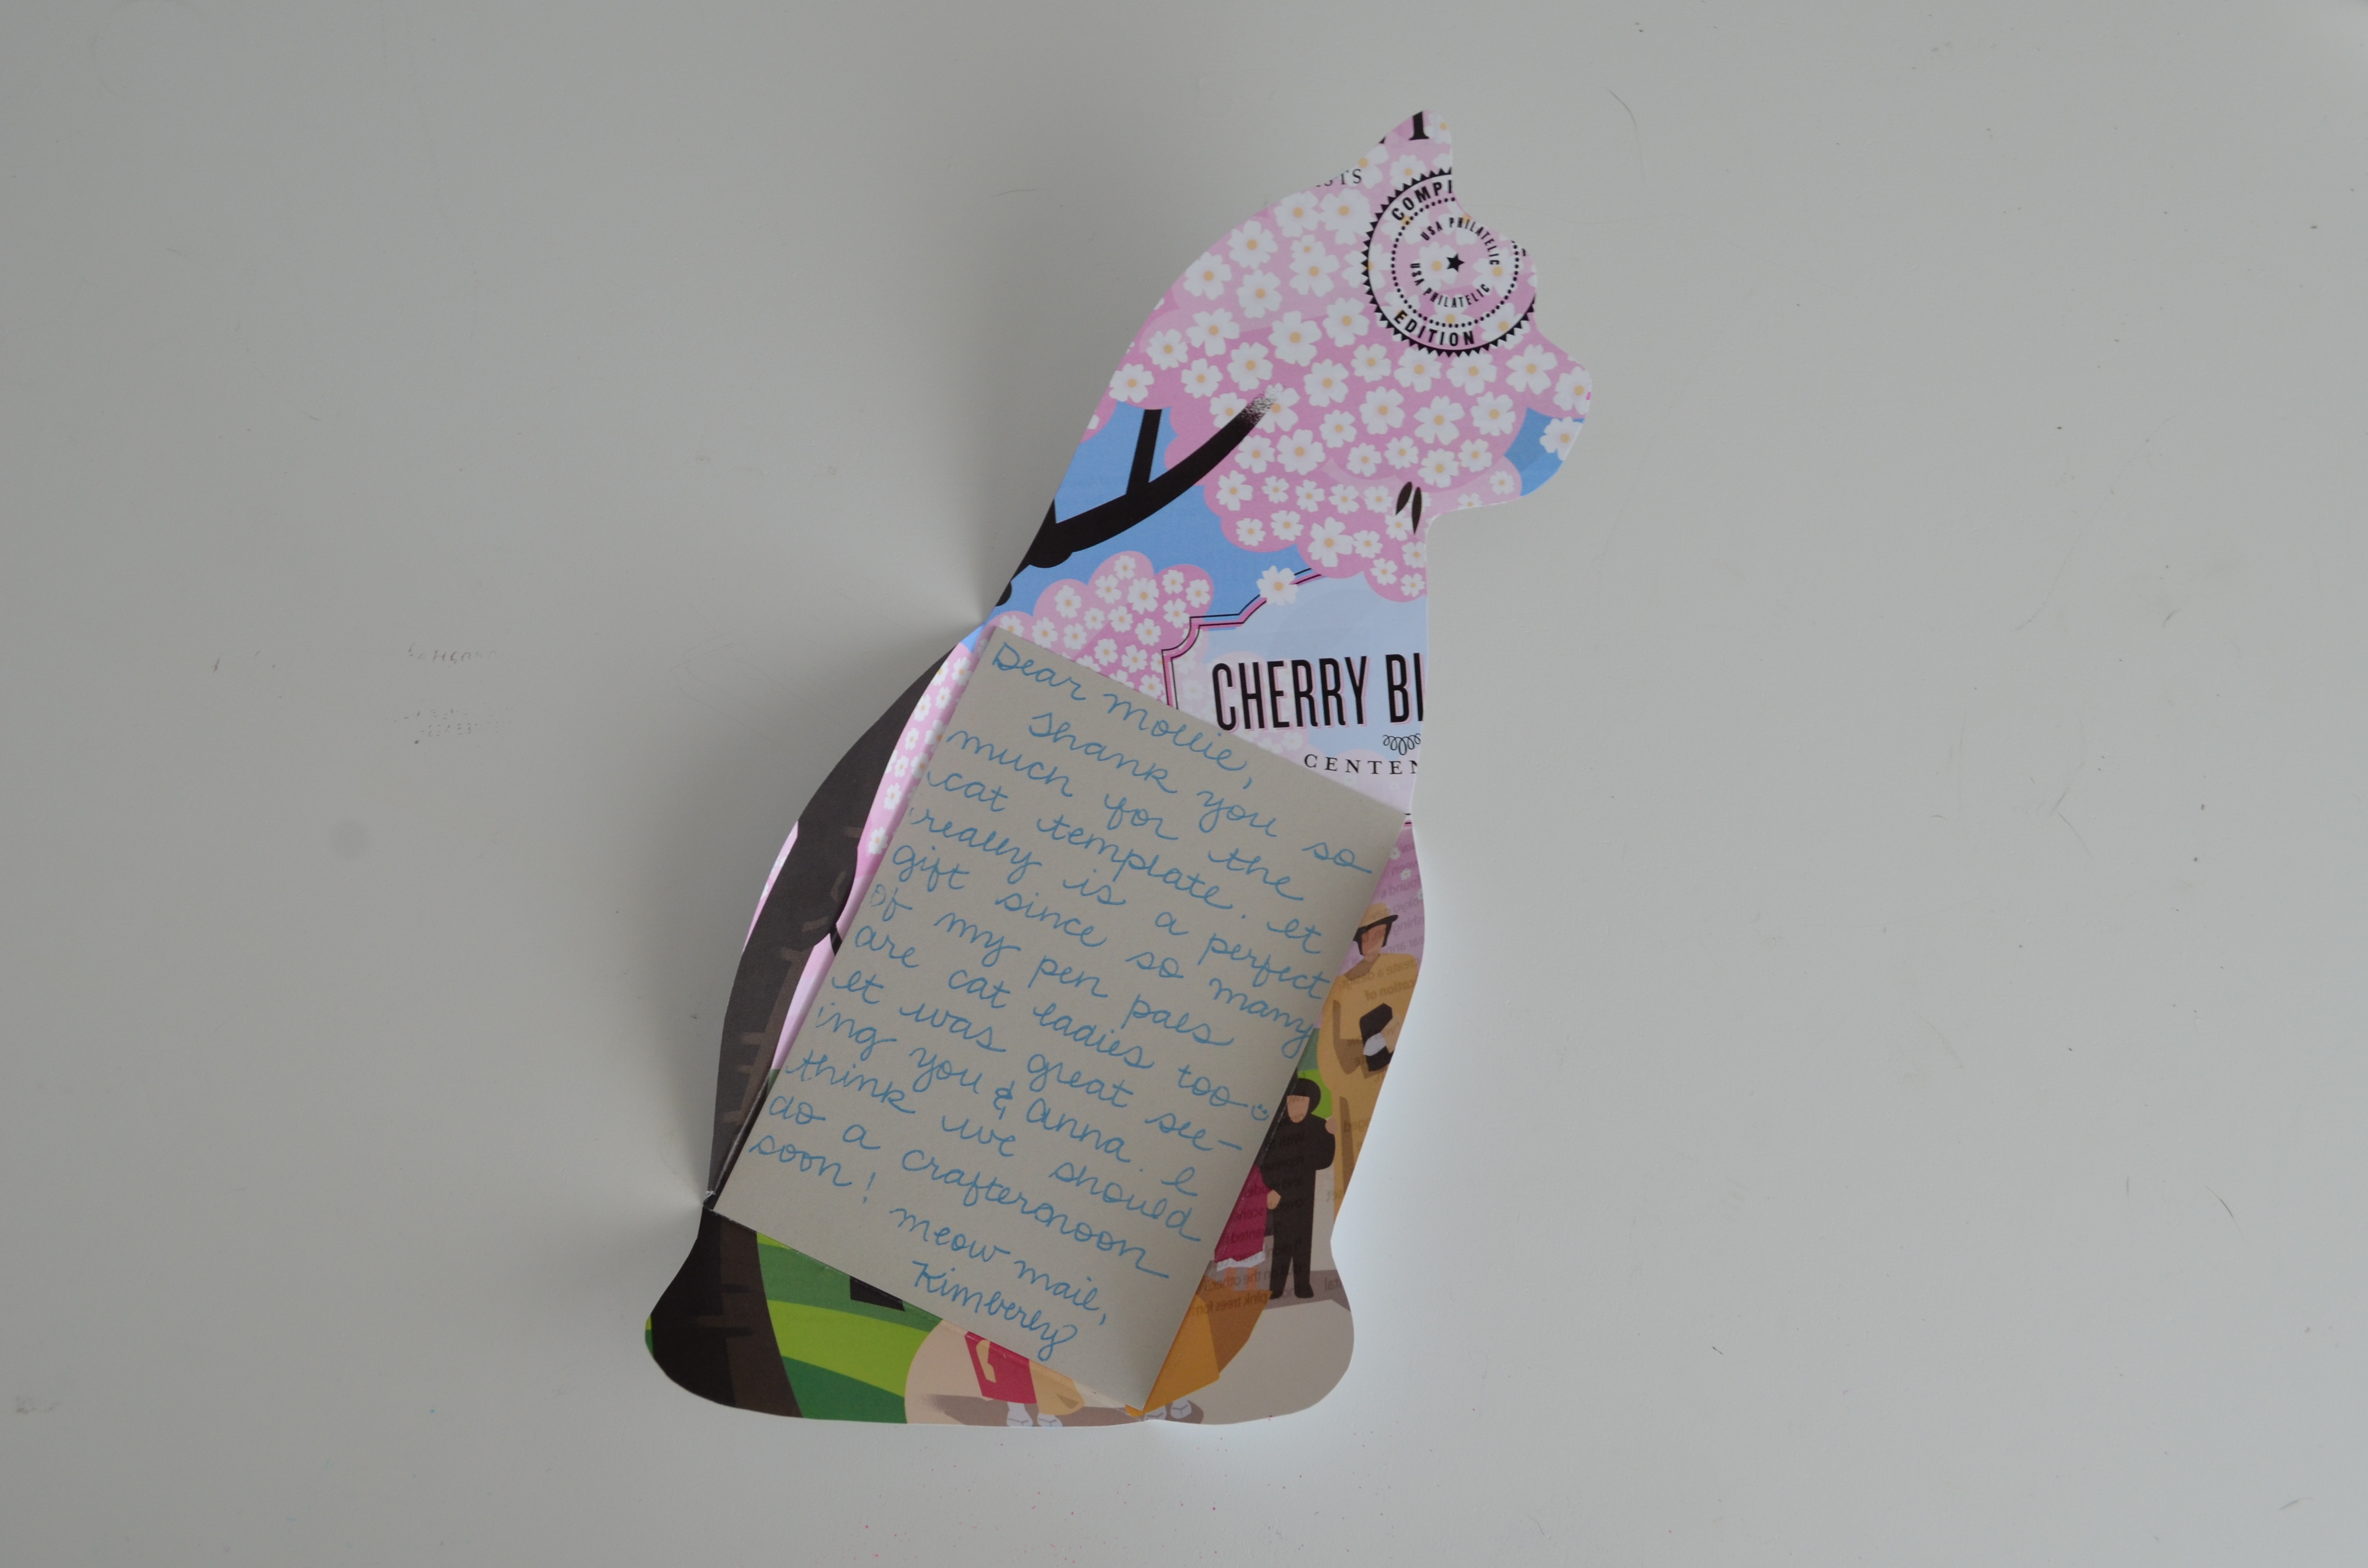
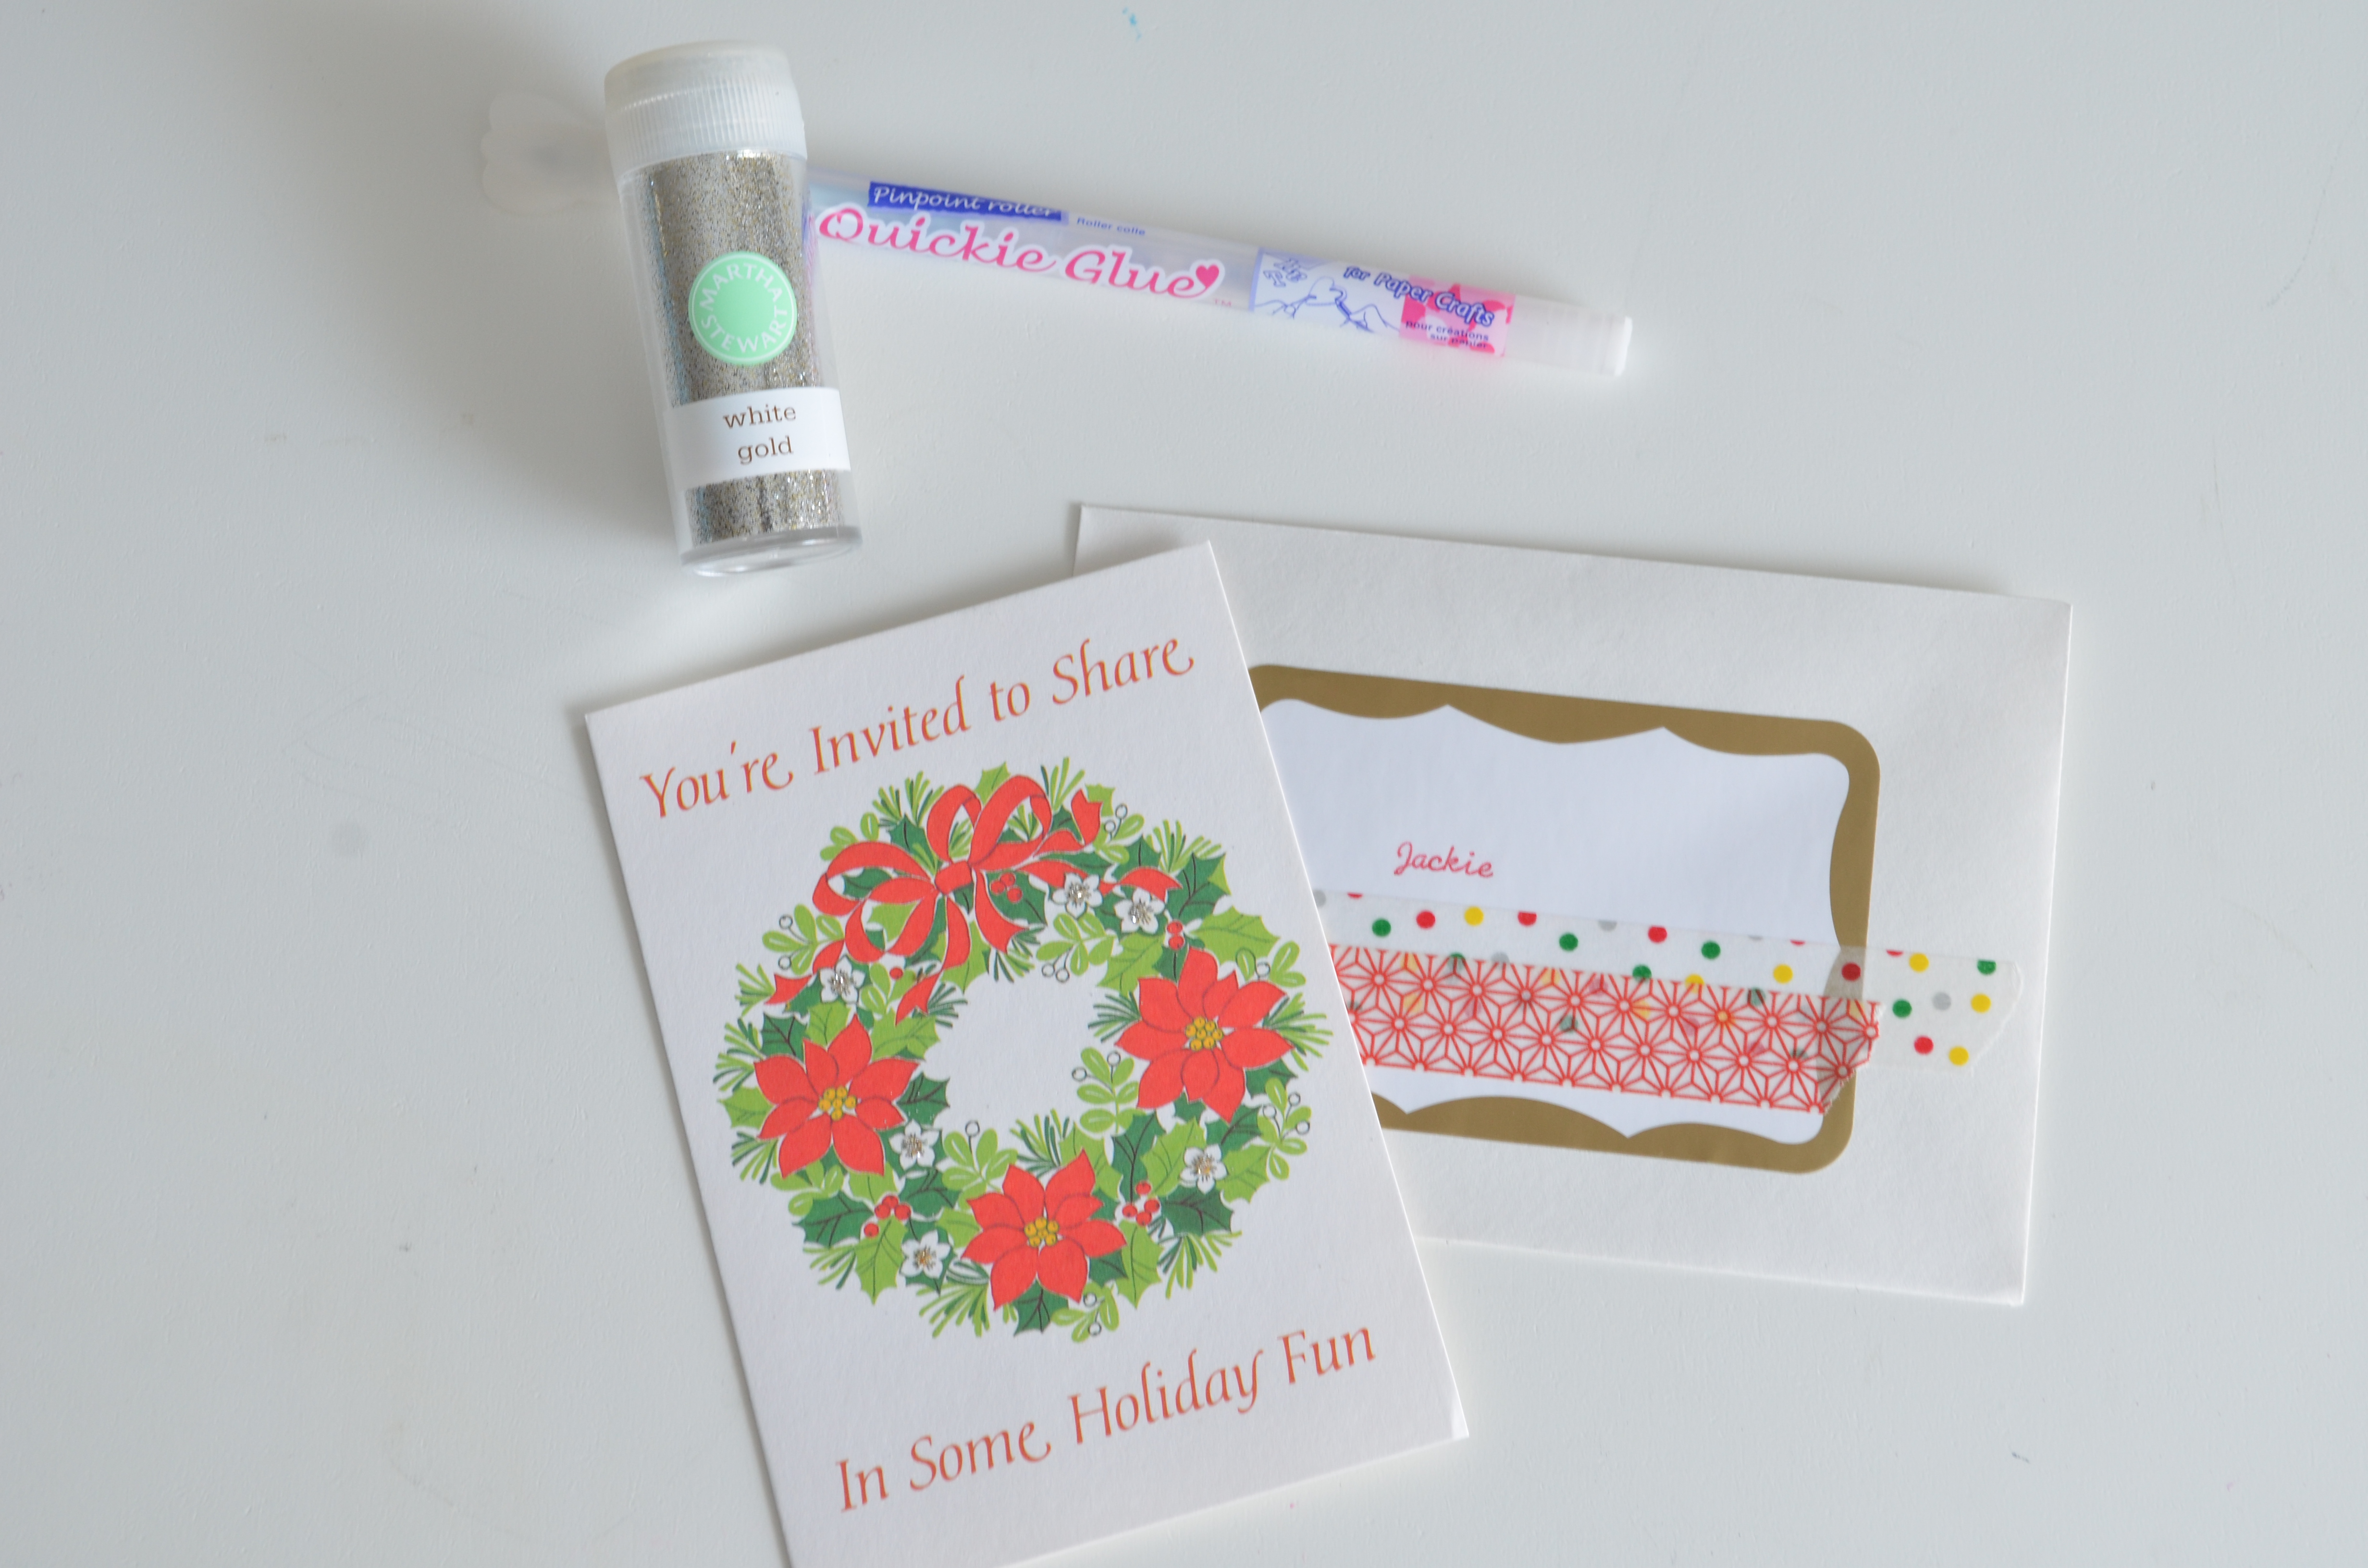
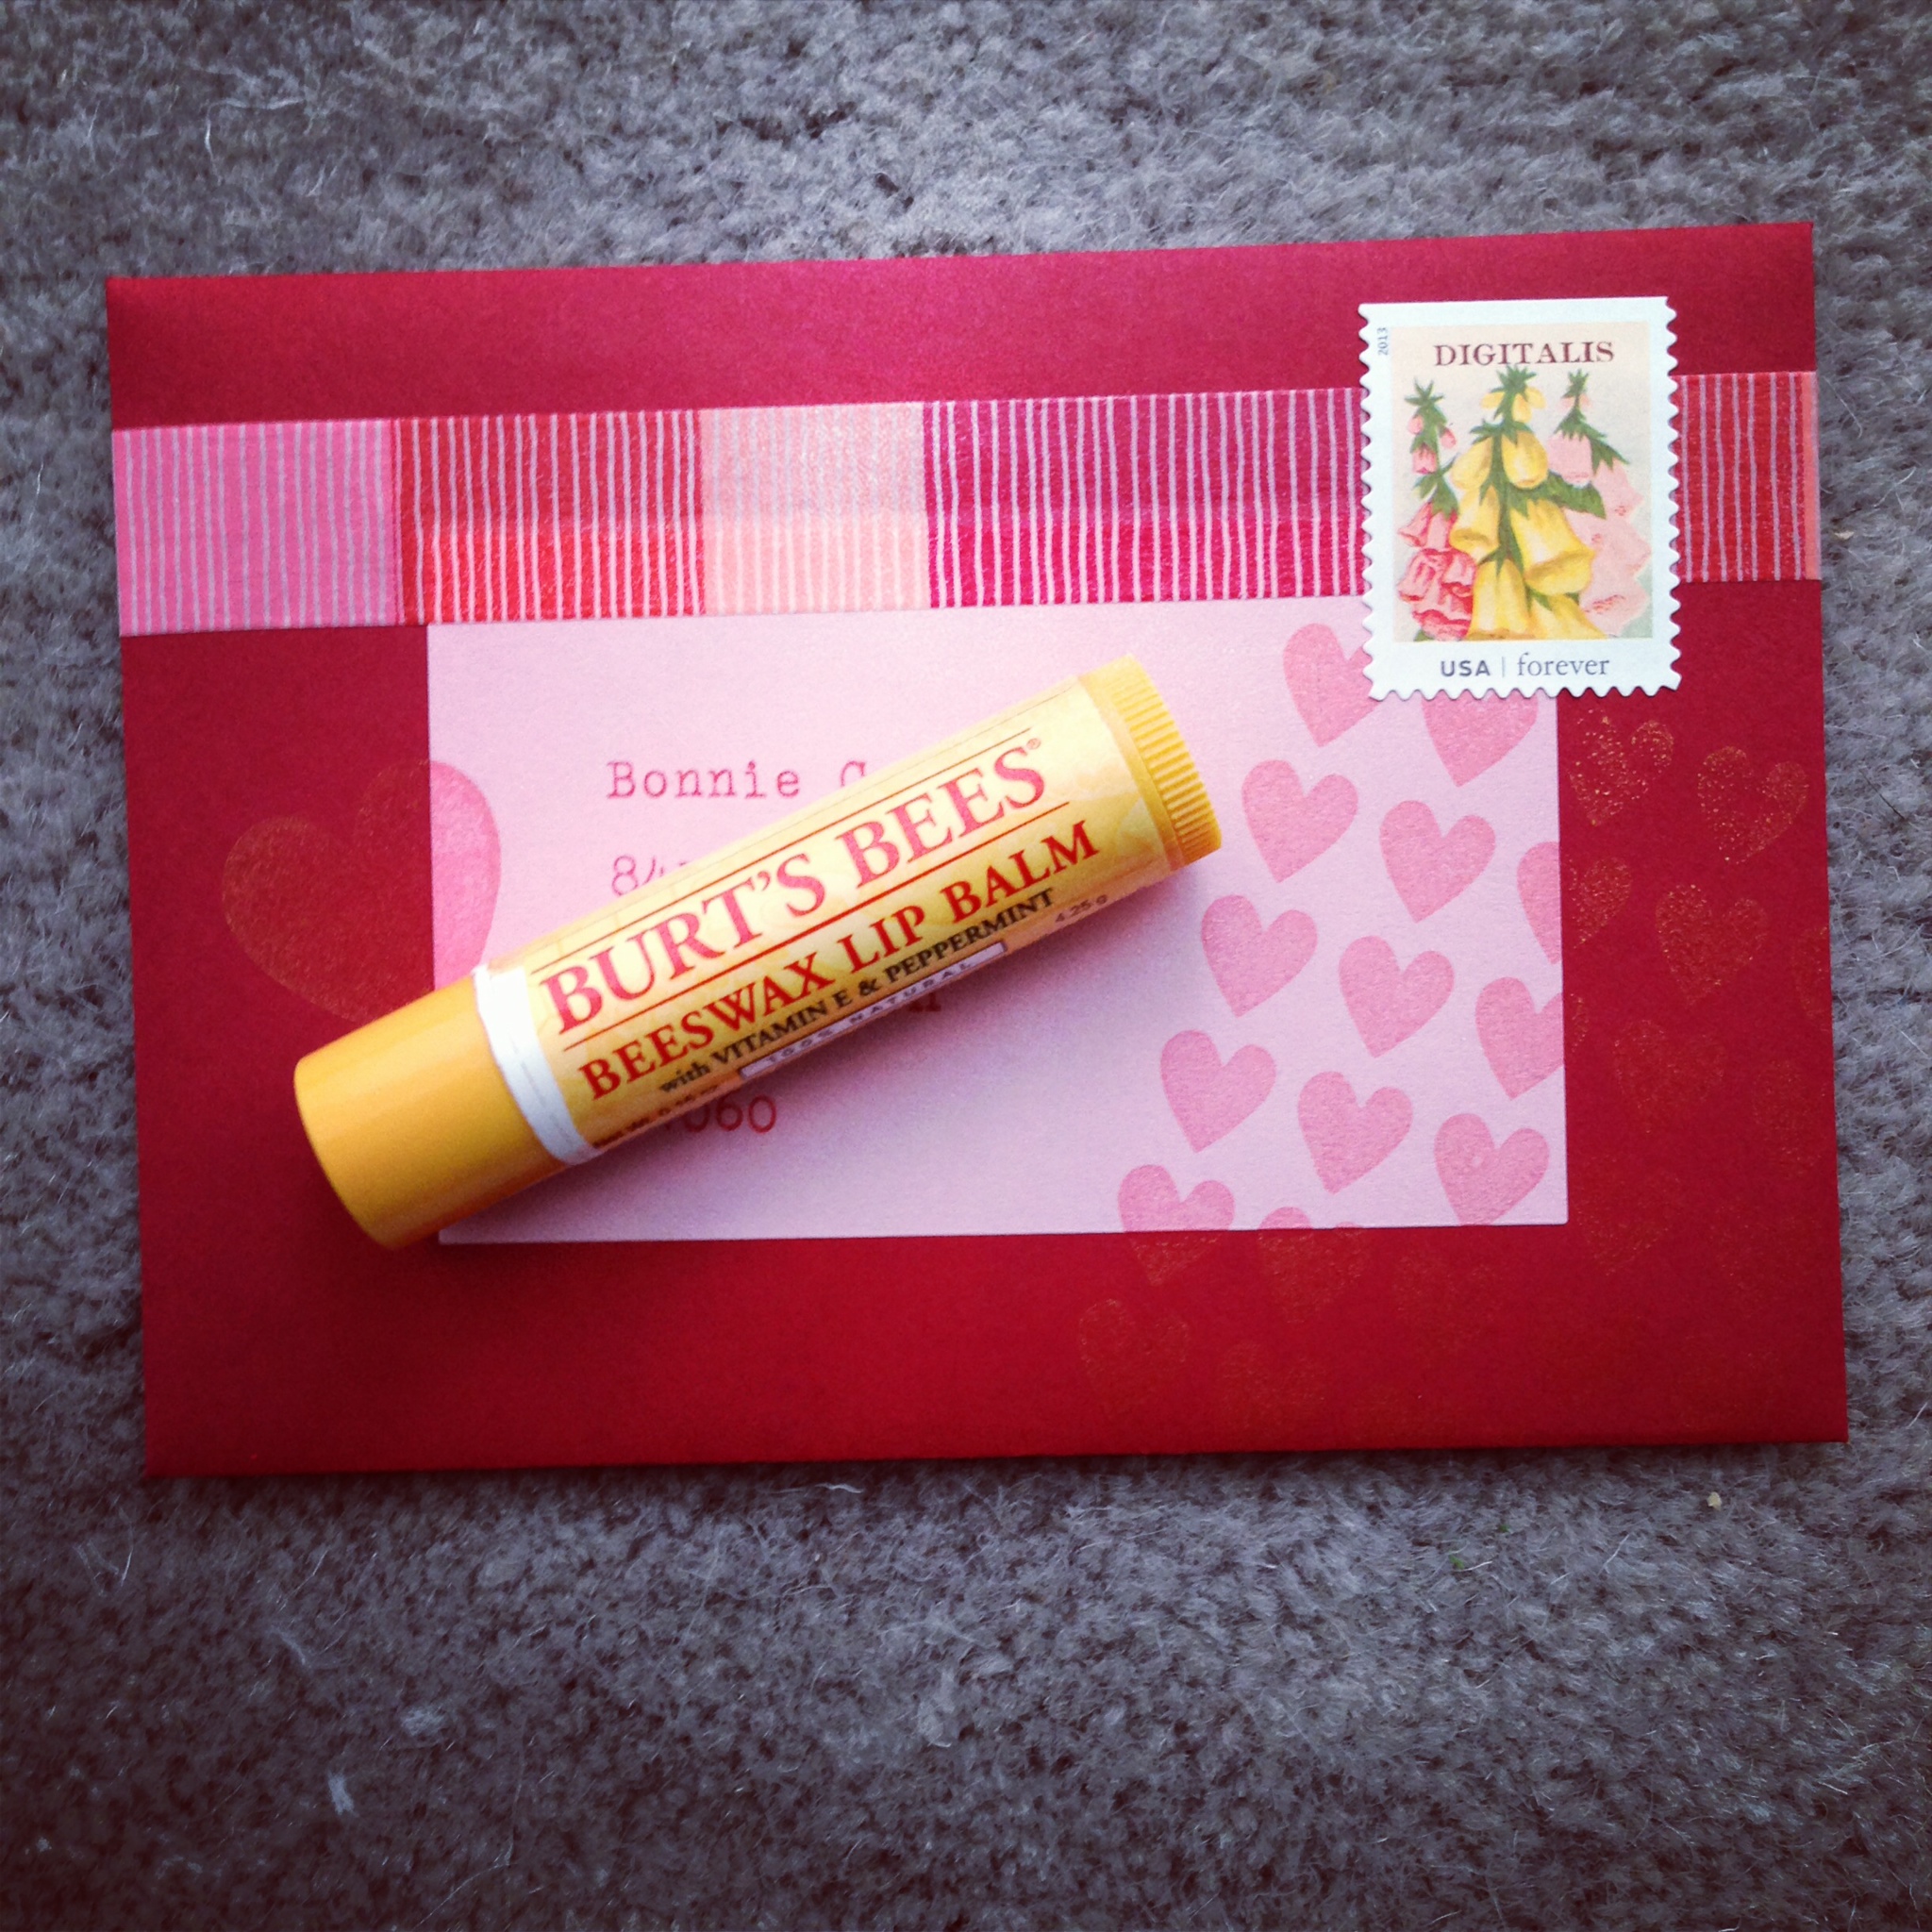
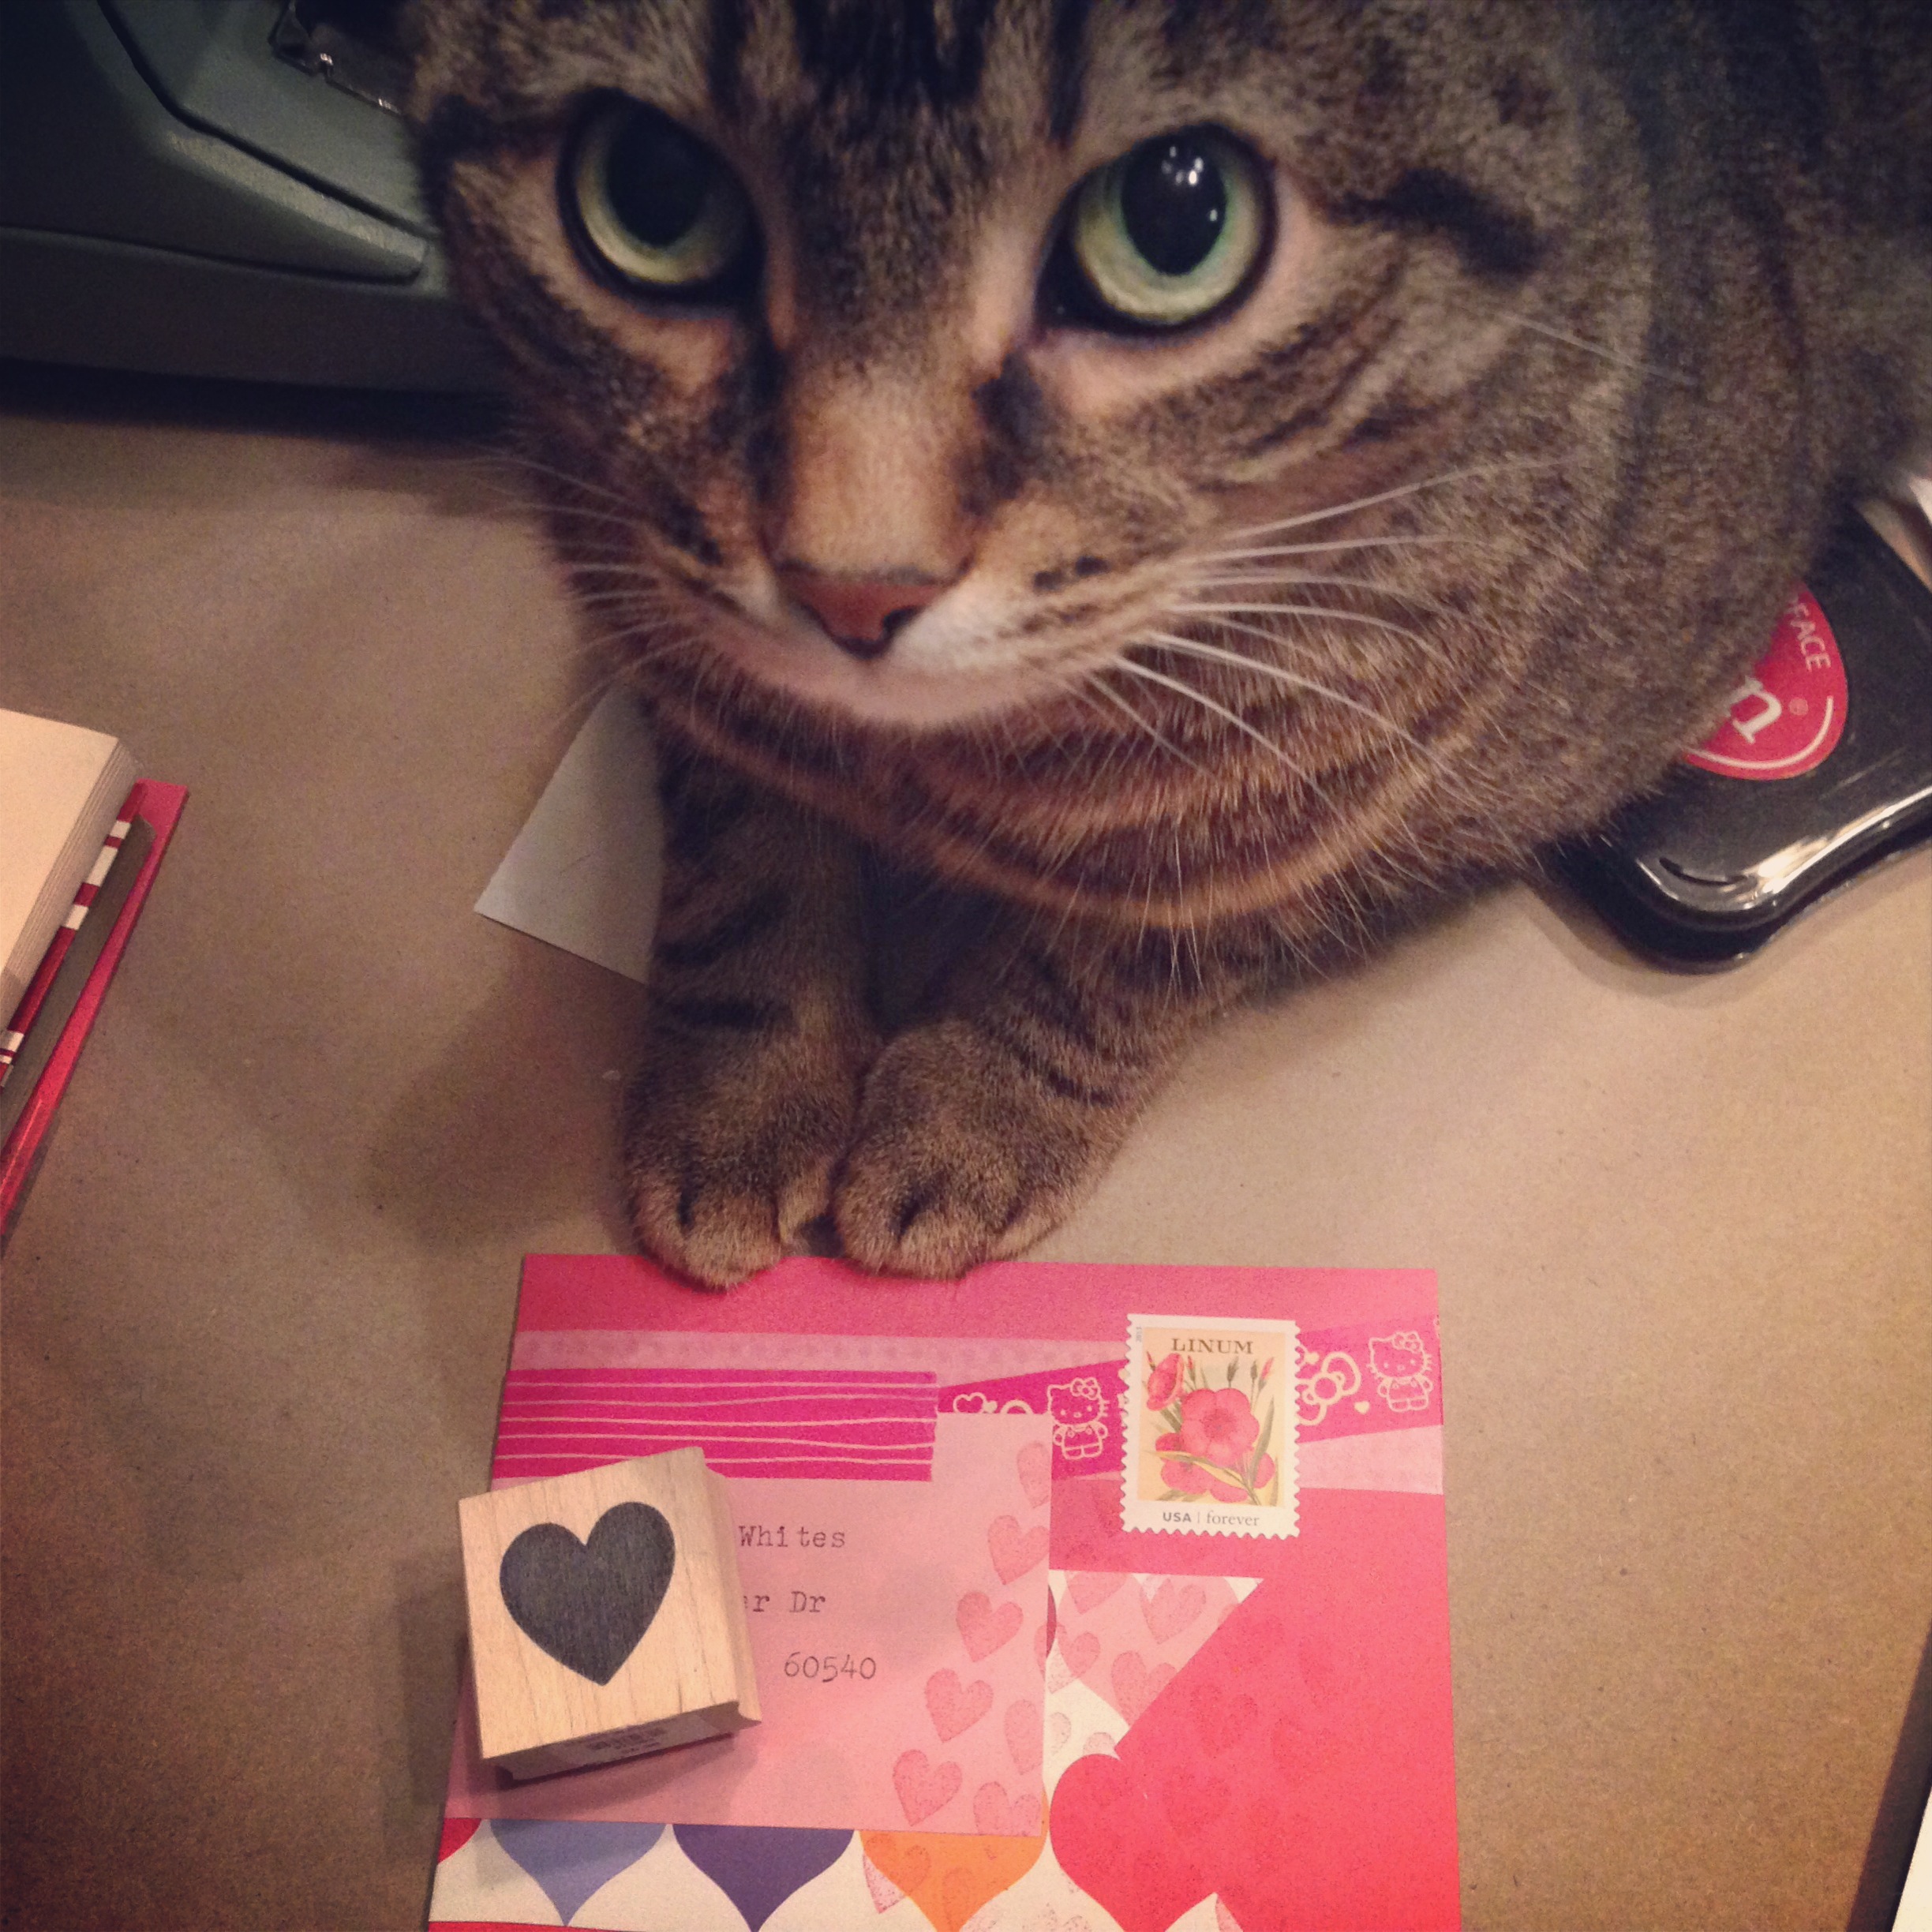
 I pulled out the bone folders to work on some Valentines. (Spoiler alert.) I decided to use the Paper Pastries Cat Note Template for some cards. (A 4-bar heart fits right inside…genius!) Because I was using card stock to make the cat, I wanted to score the folds in order to get a neat kitty in the end. I dragged the bone folder along the fold guides in the template to score them.
  Then, once I folded everything over, I used the bone folder to gently smooth the folds. It worked like a charm.
Off to make more Valentines…
*This and all posts about my little red toolbox are not sponsored posts. I just thought it would be fun to share my favorite tools for paper crafting. For more about my little red toolbox, go here.
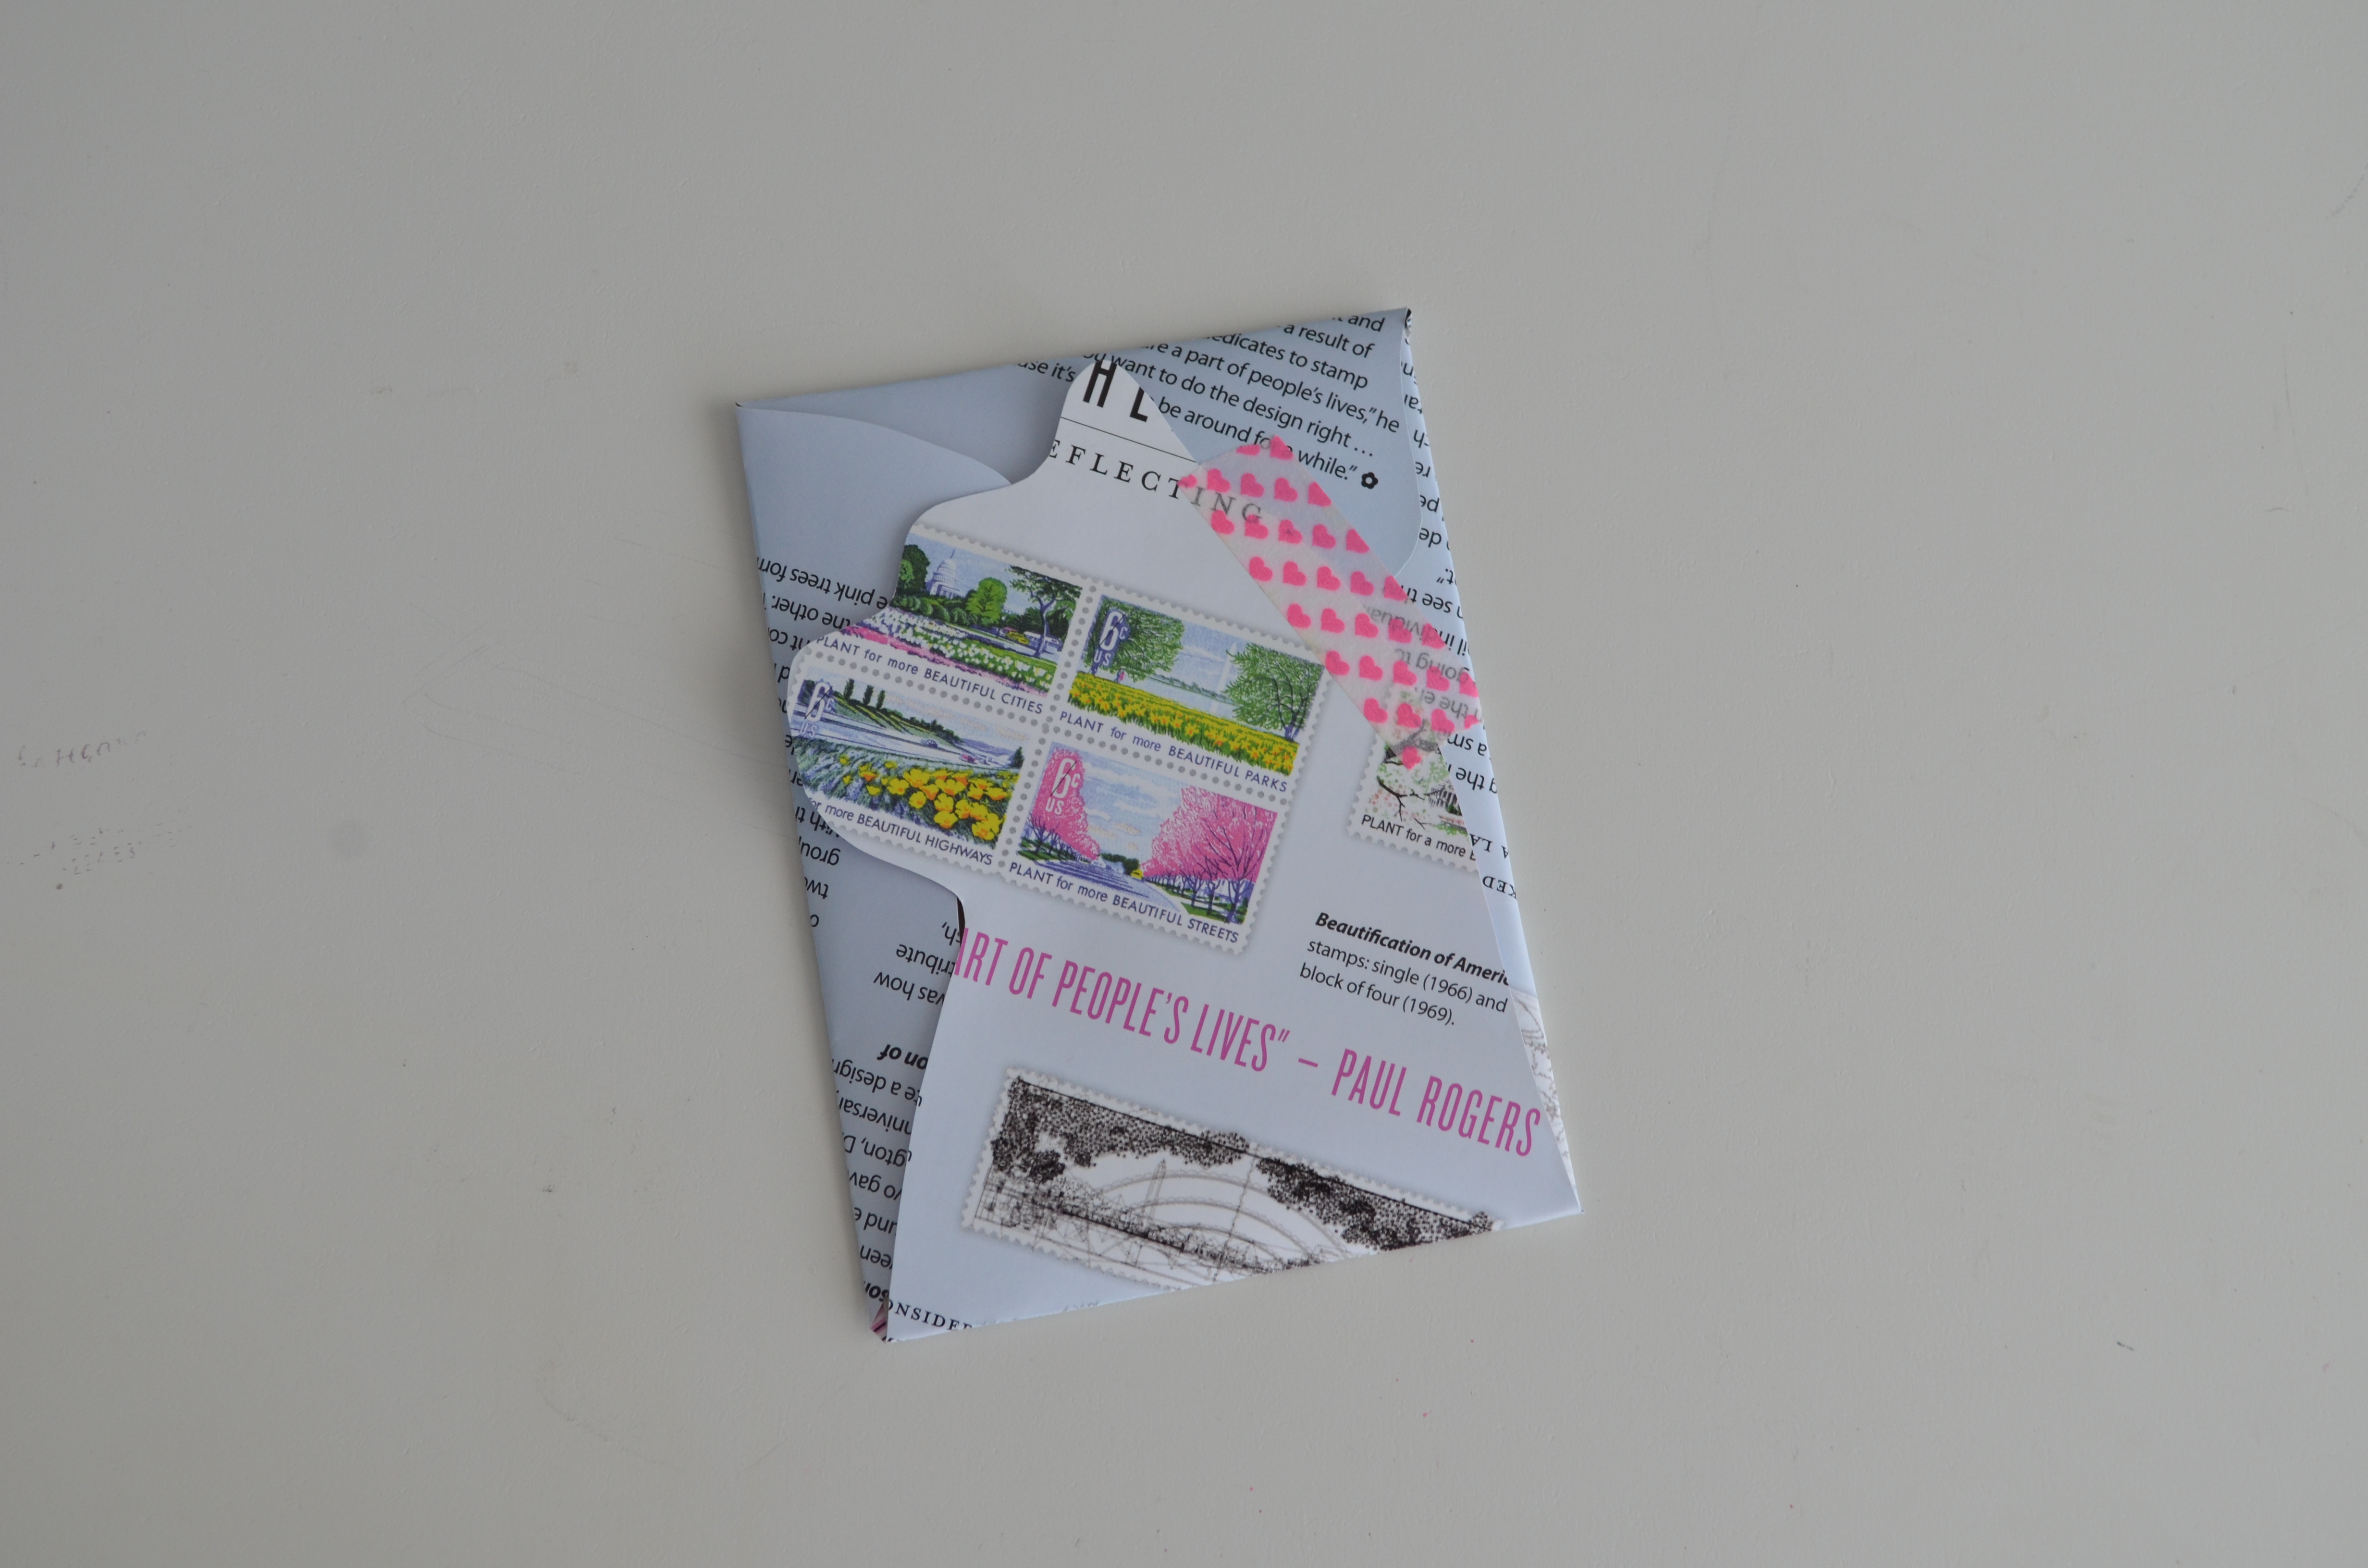
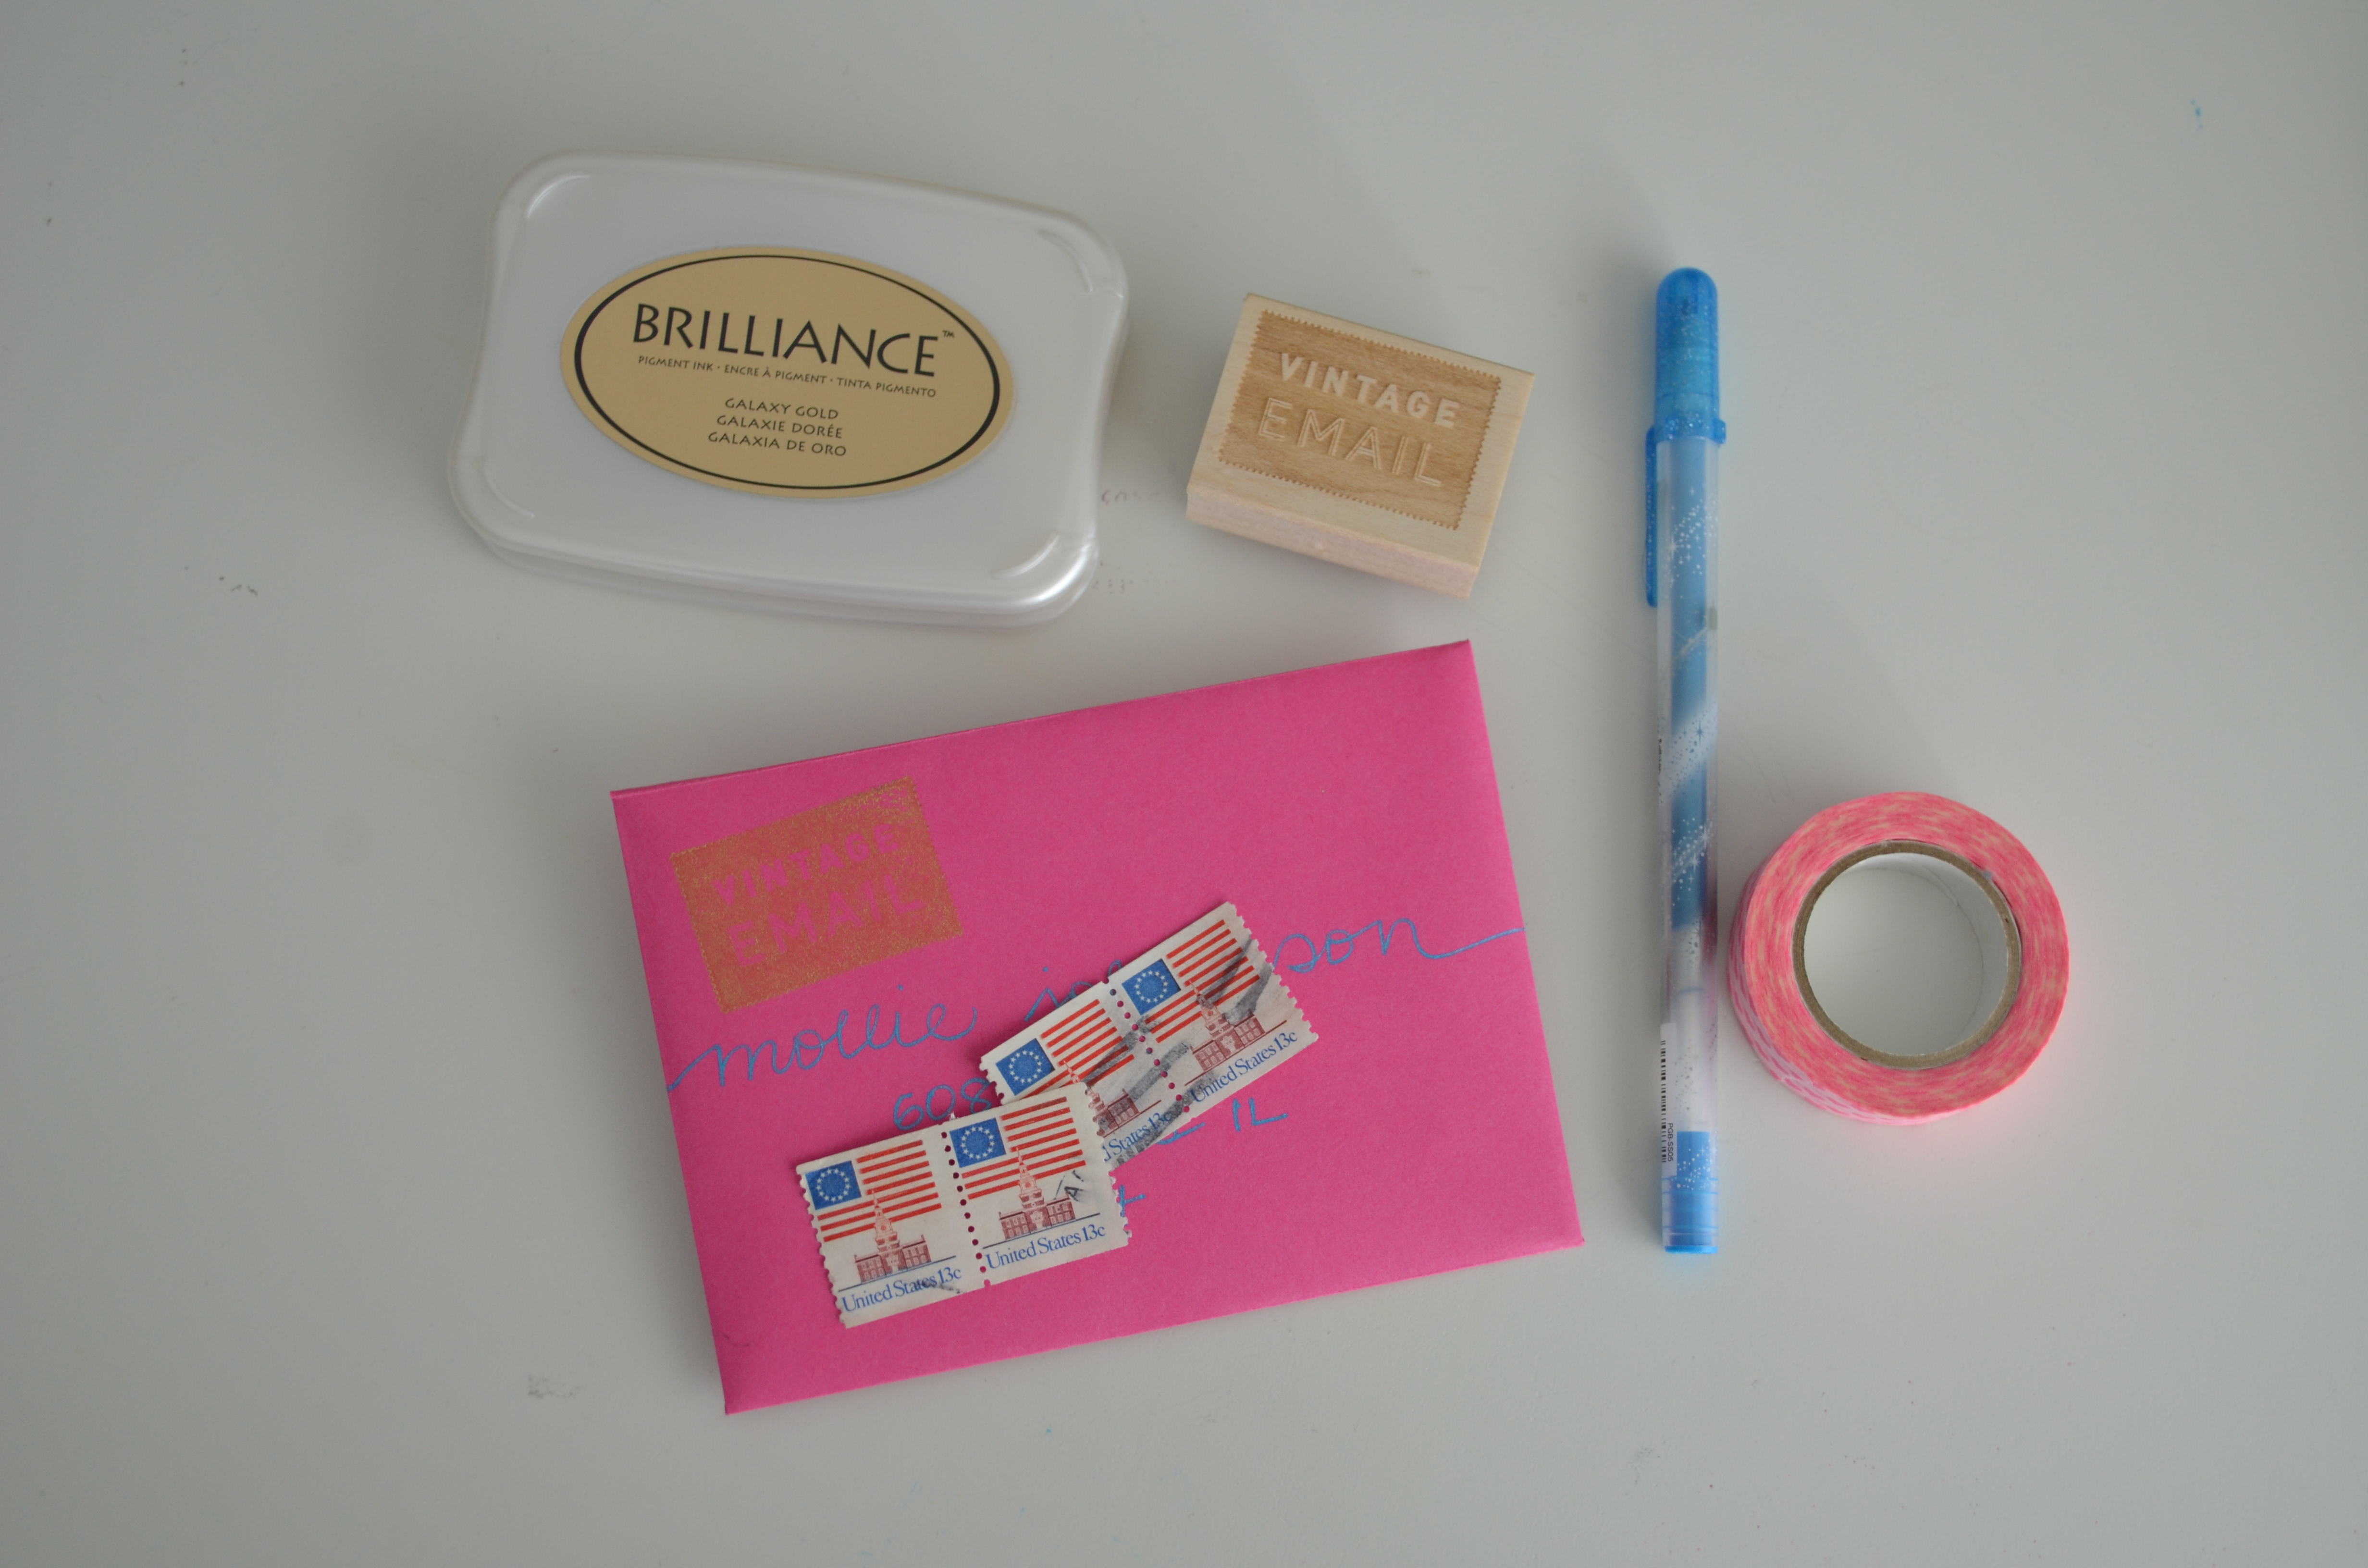
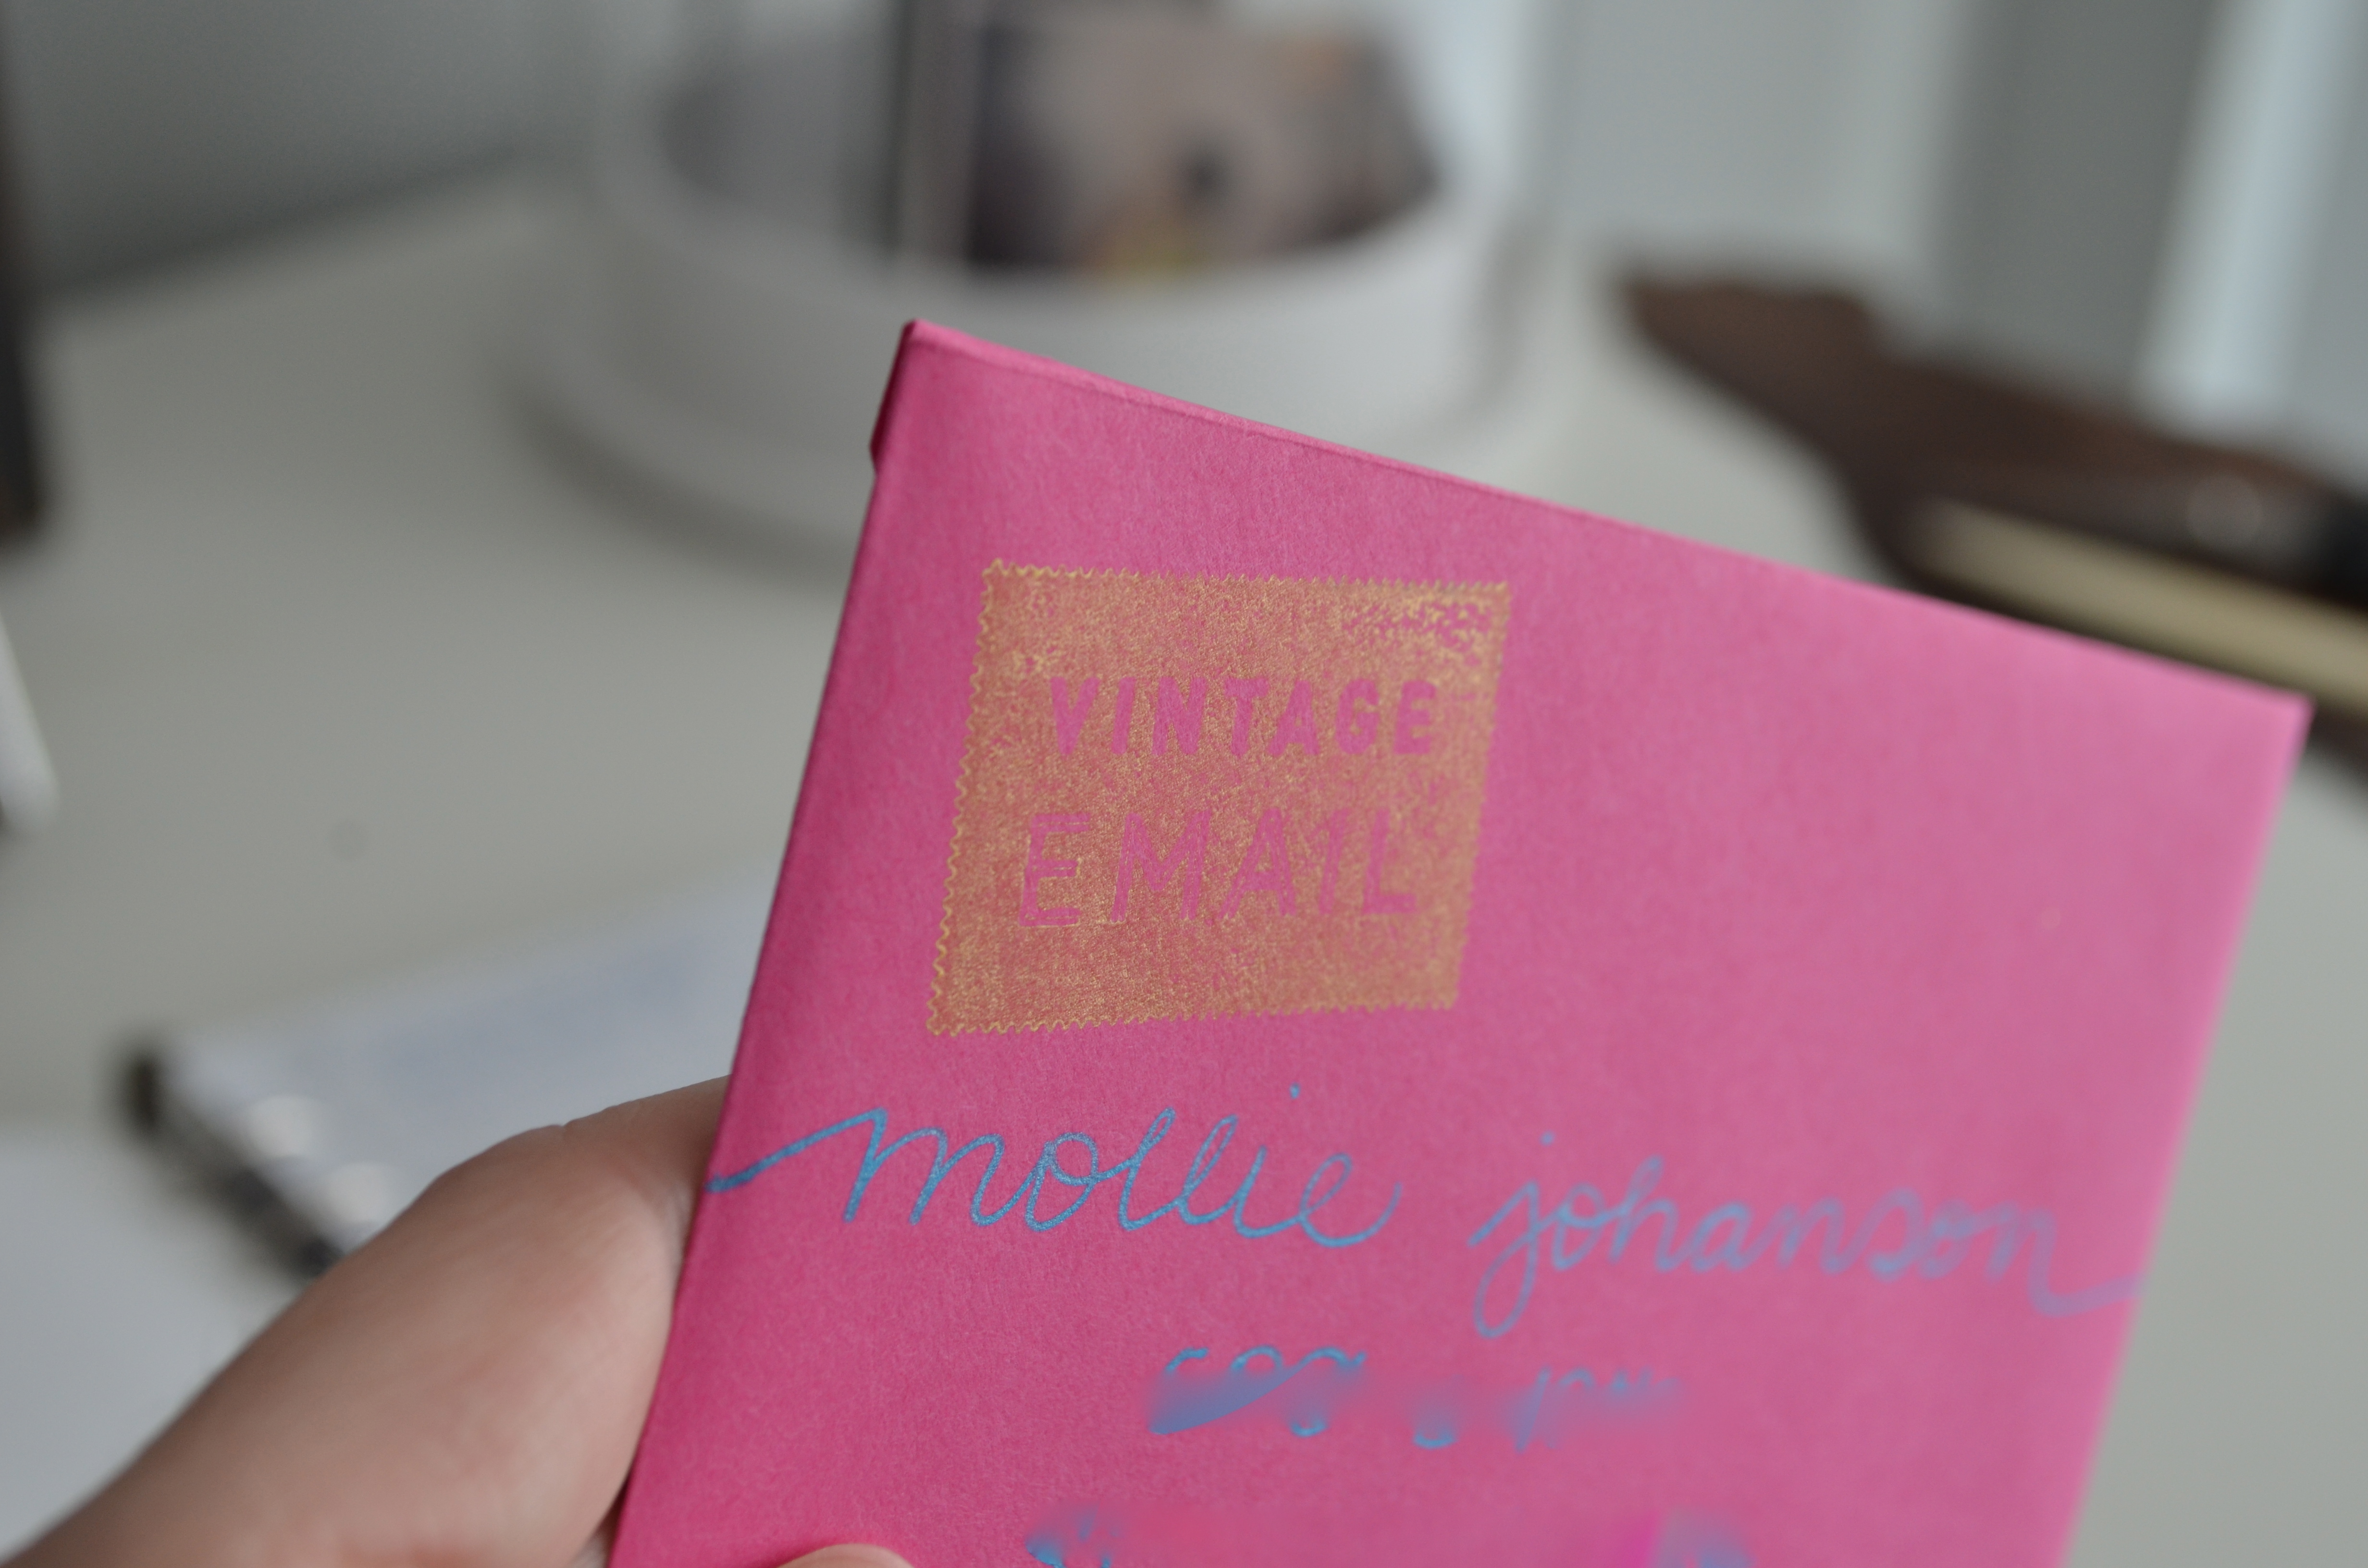
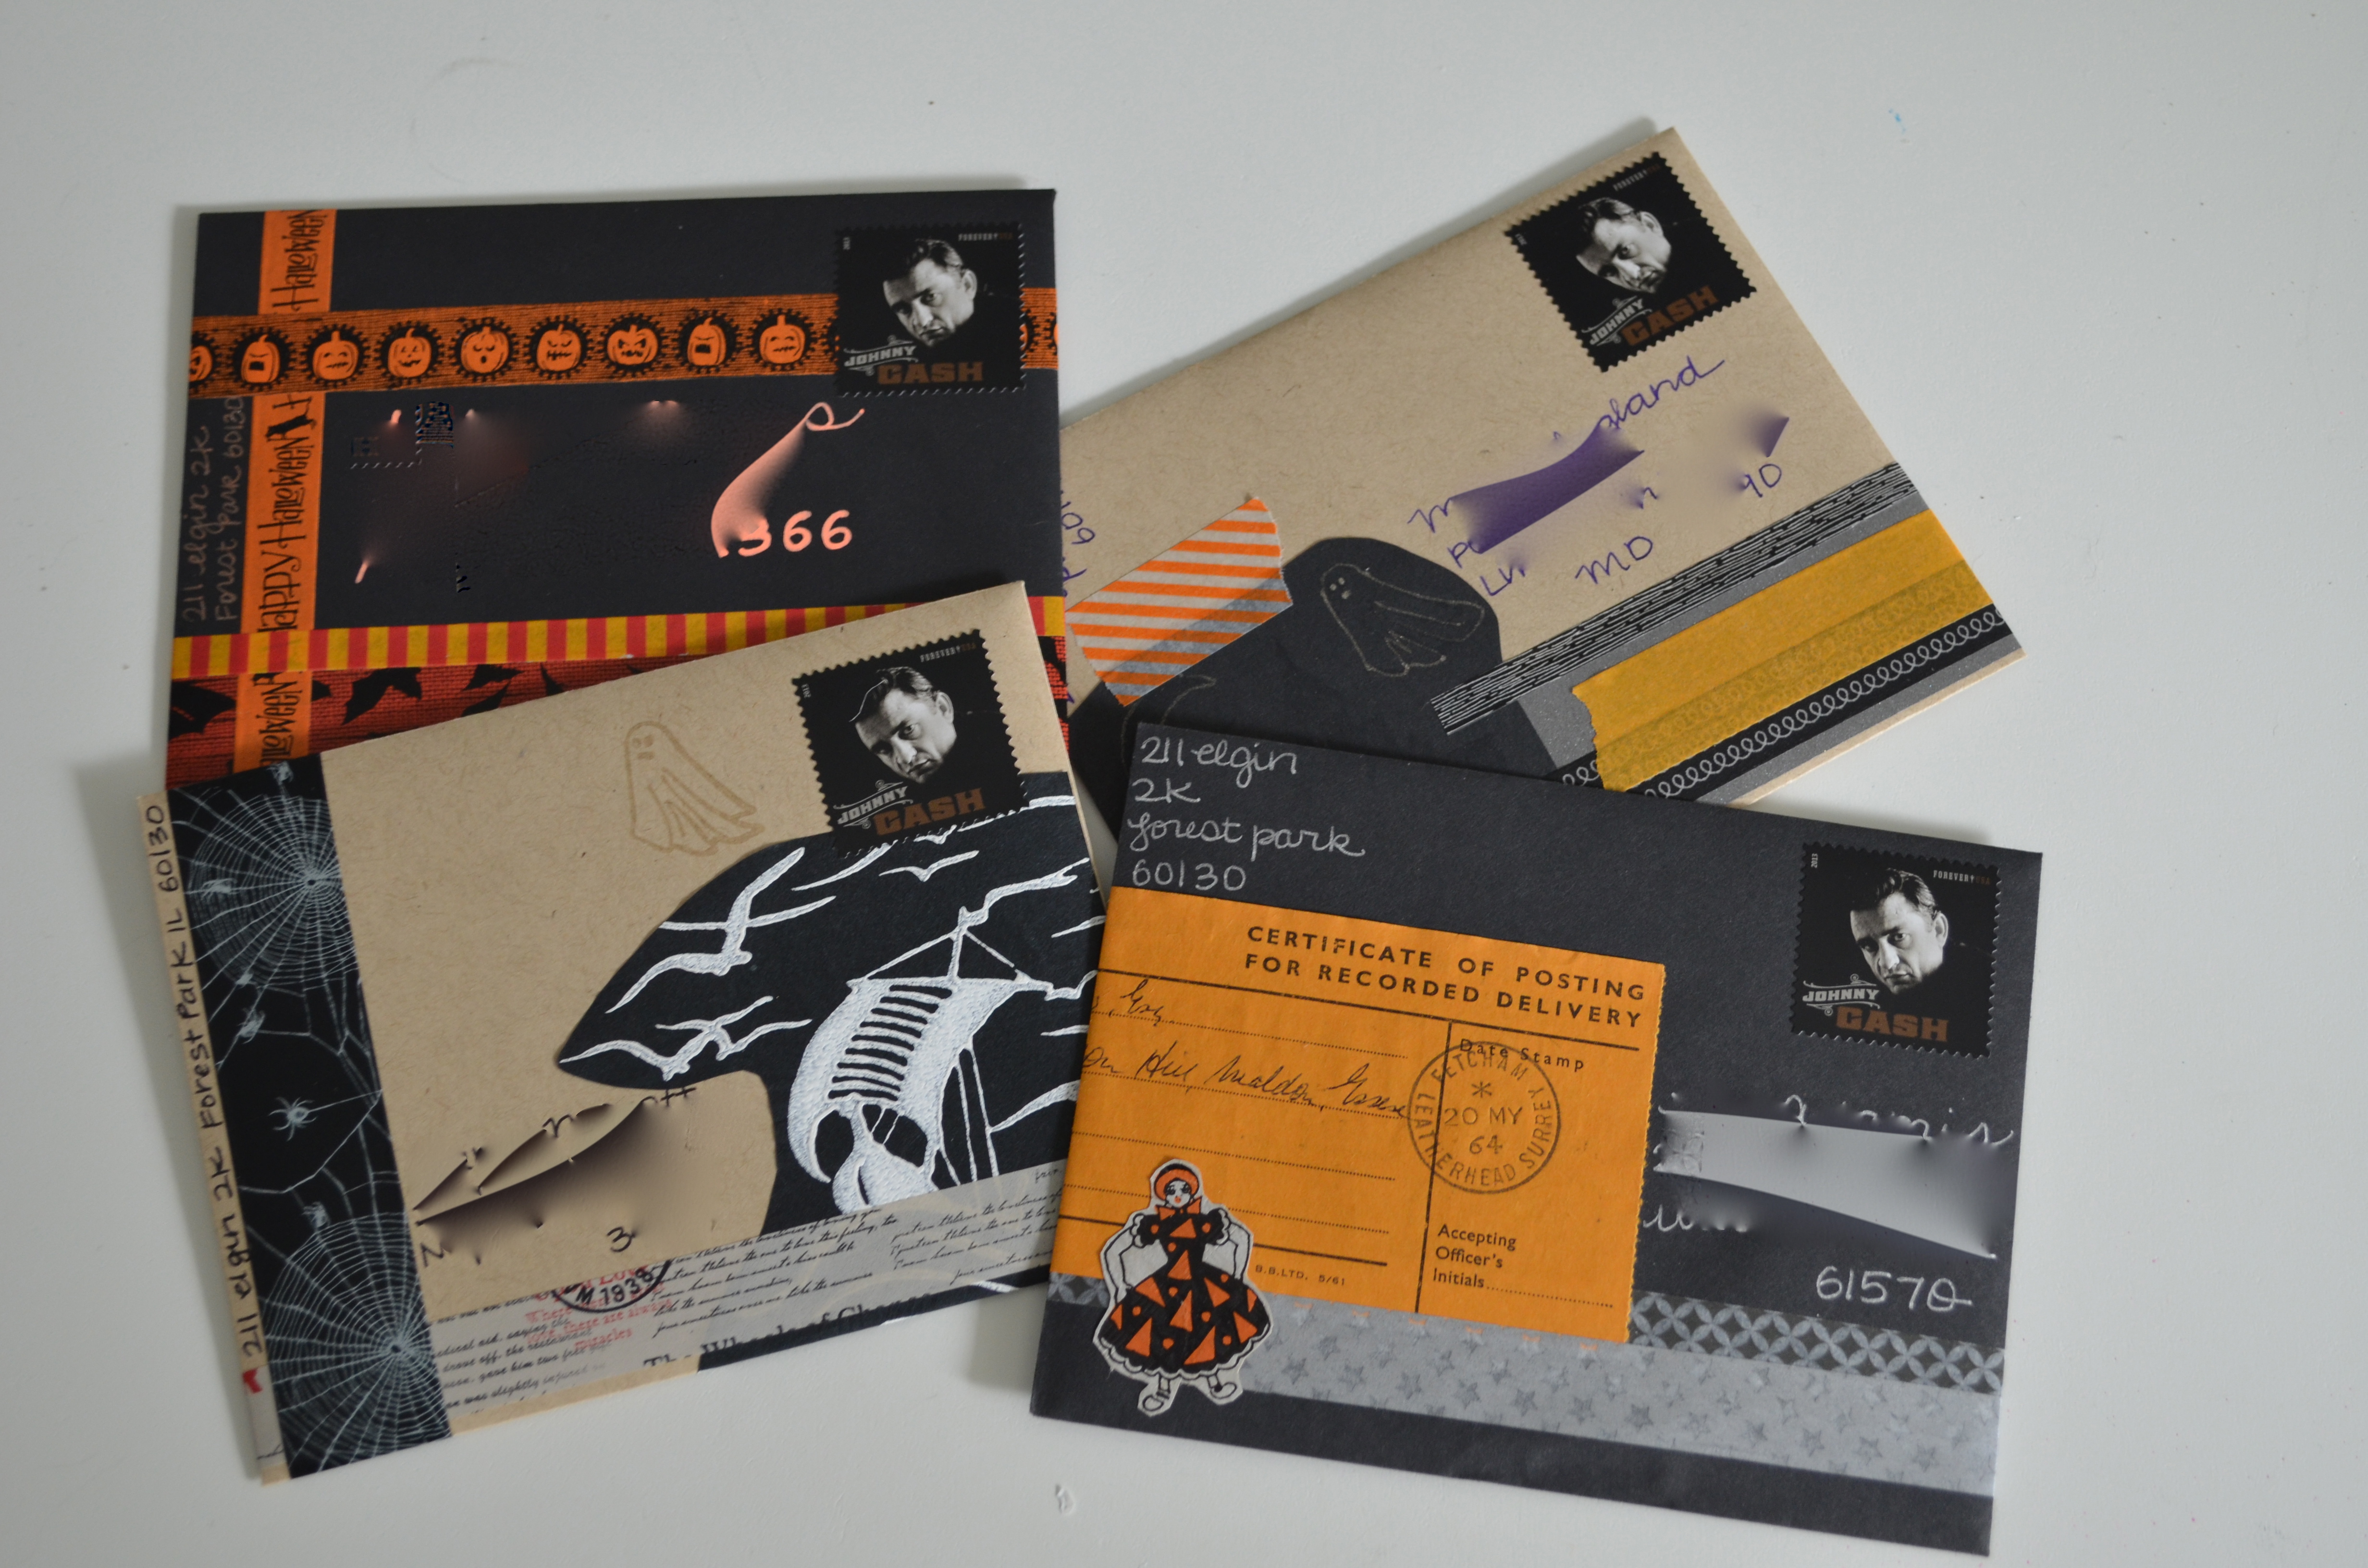
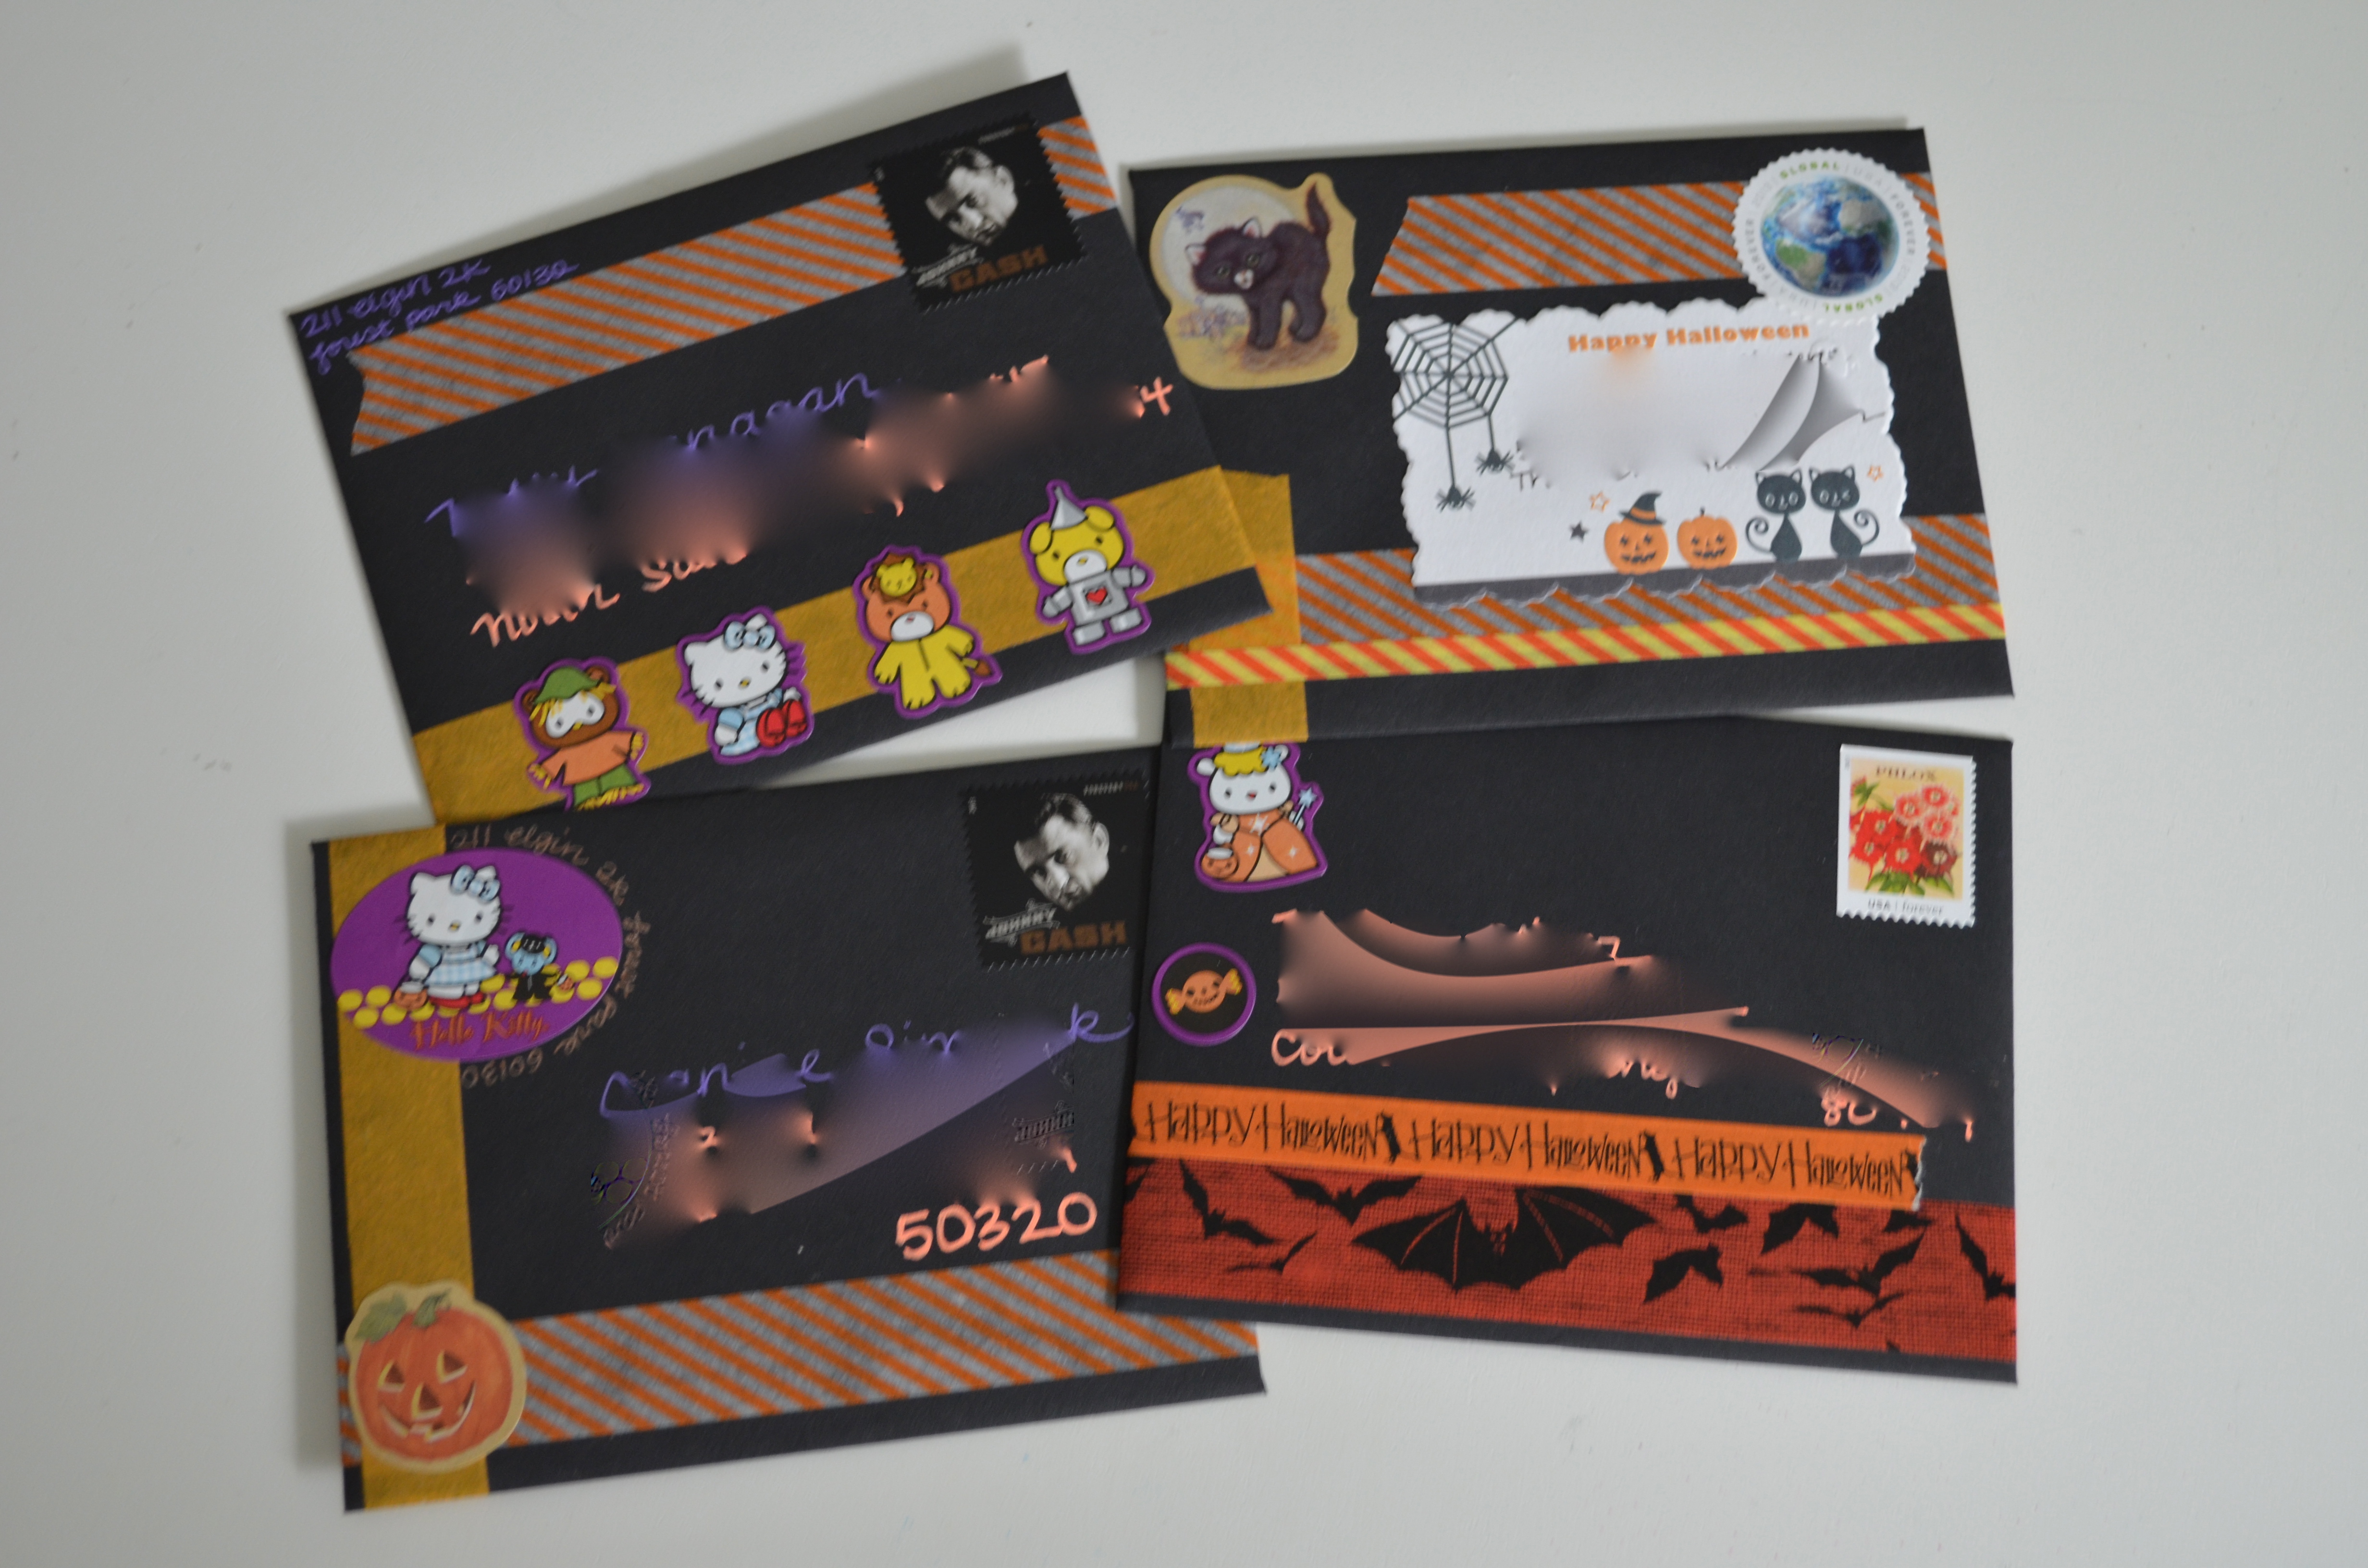
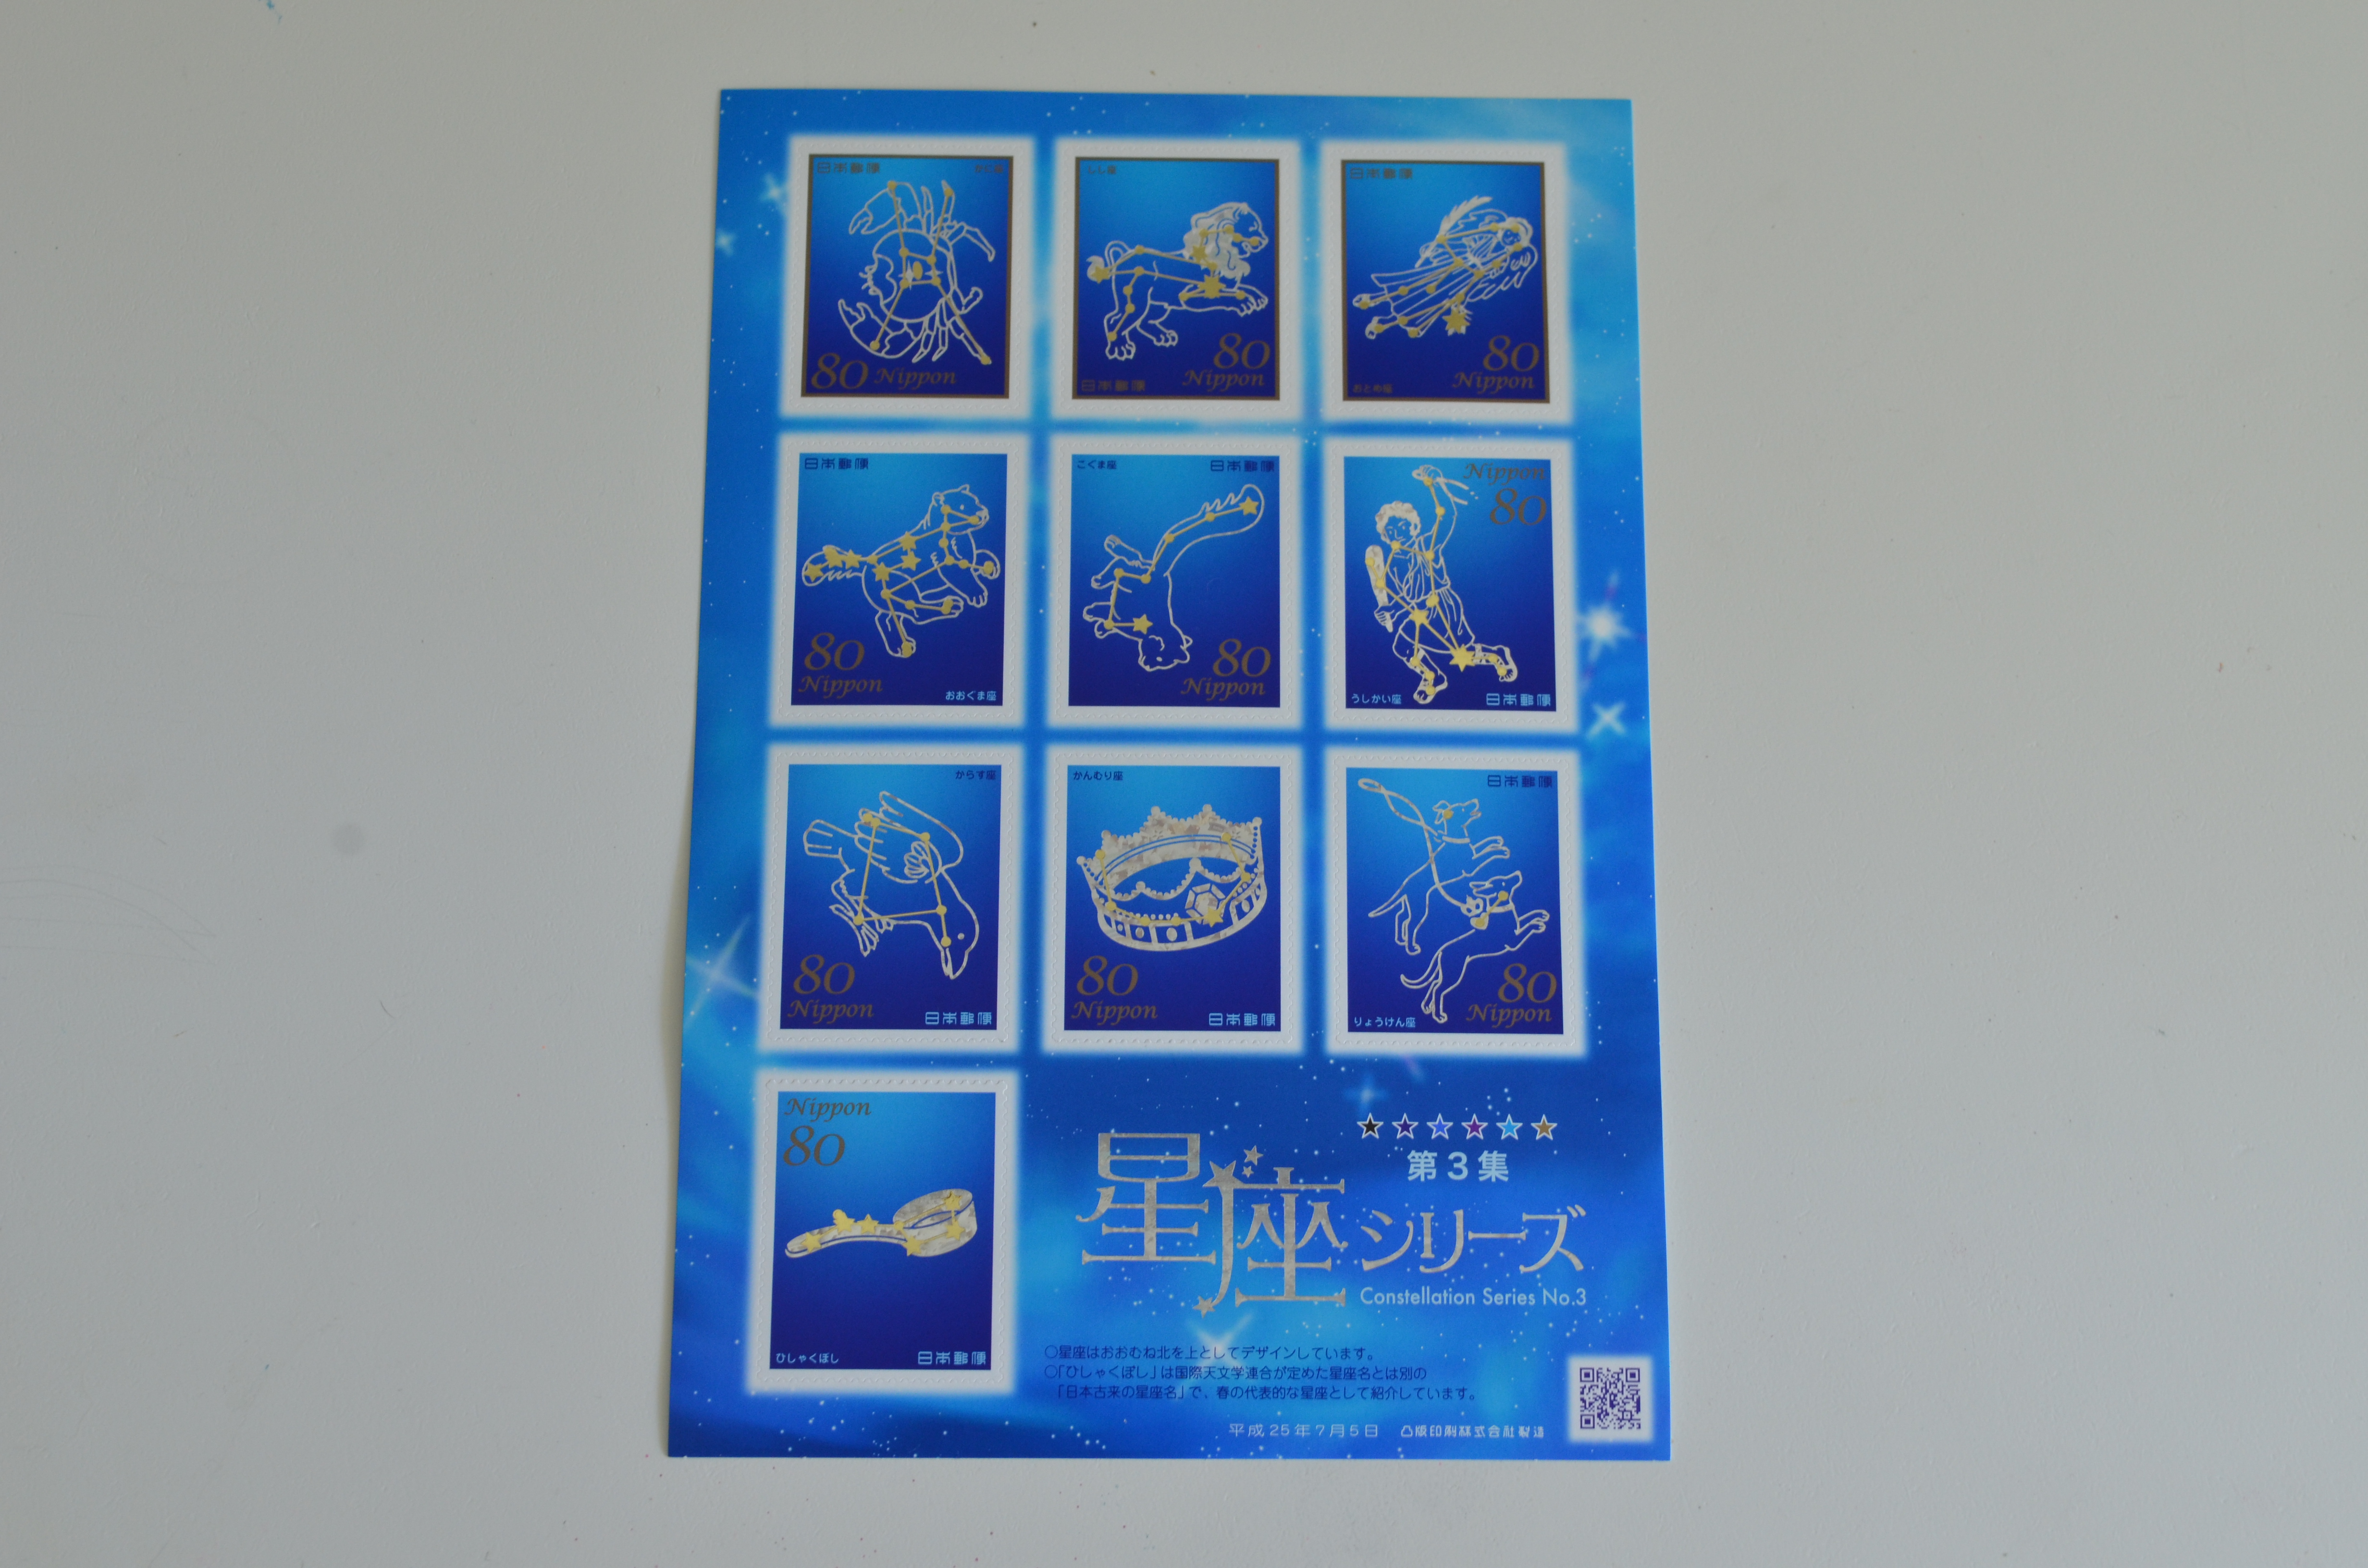
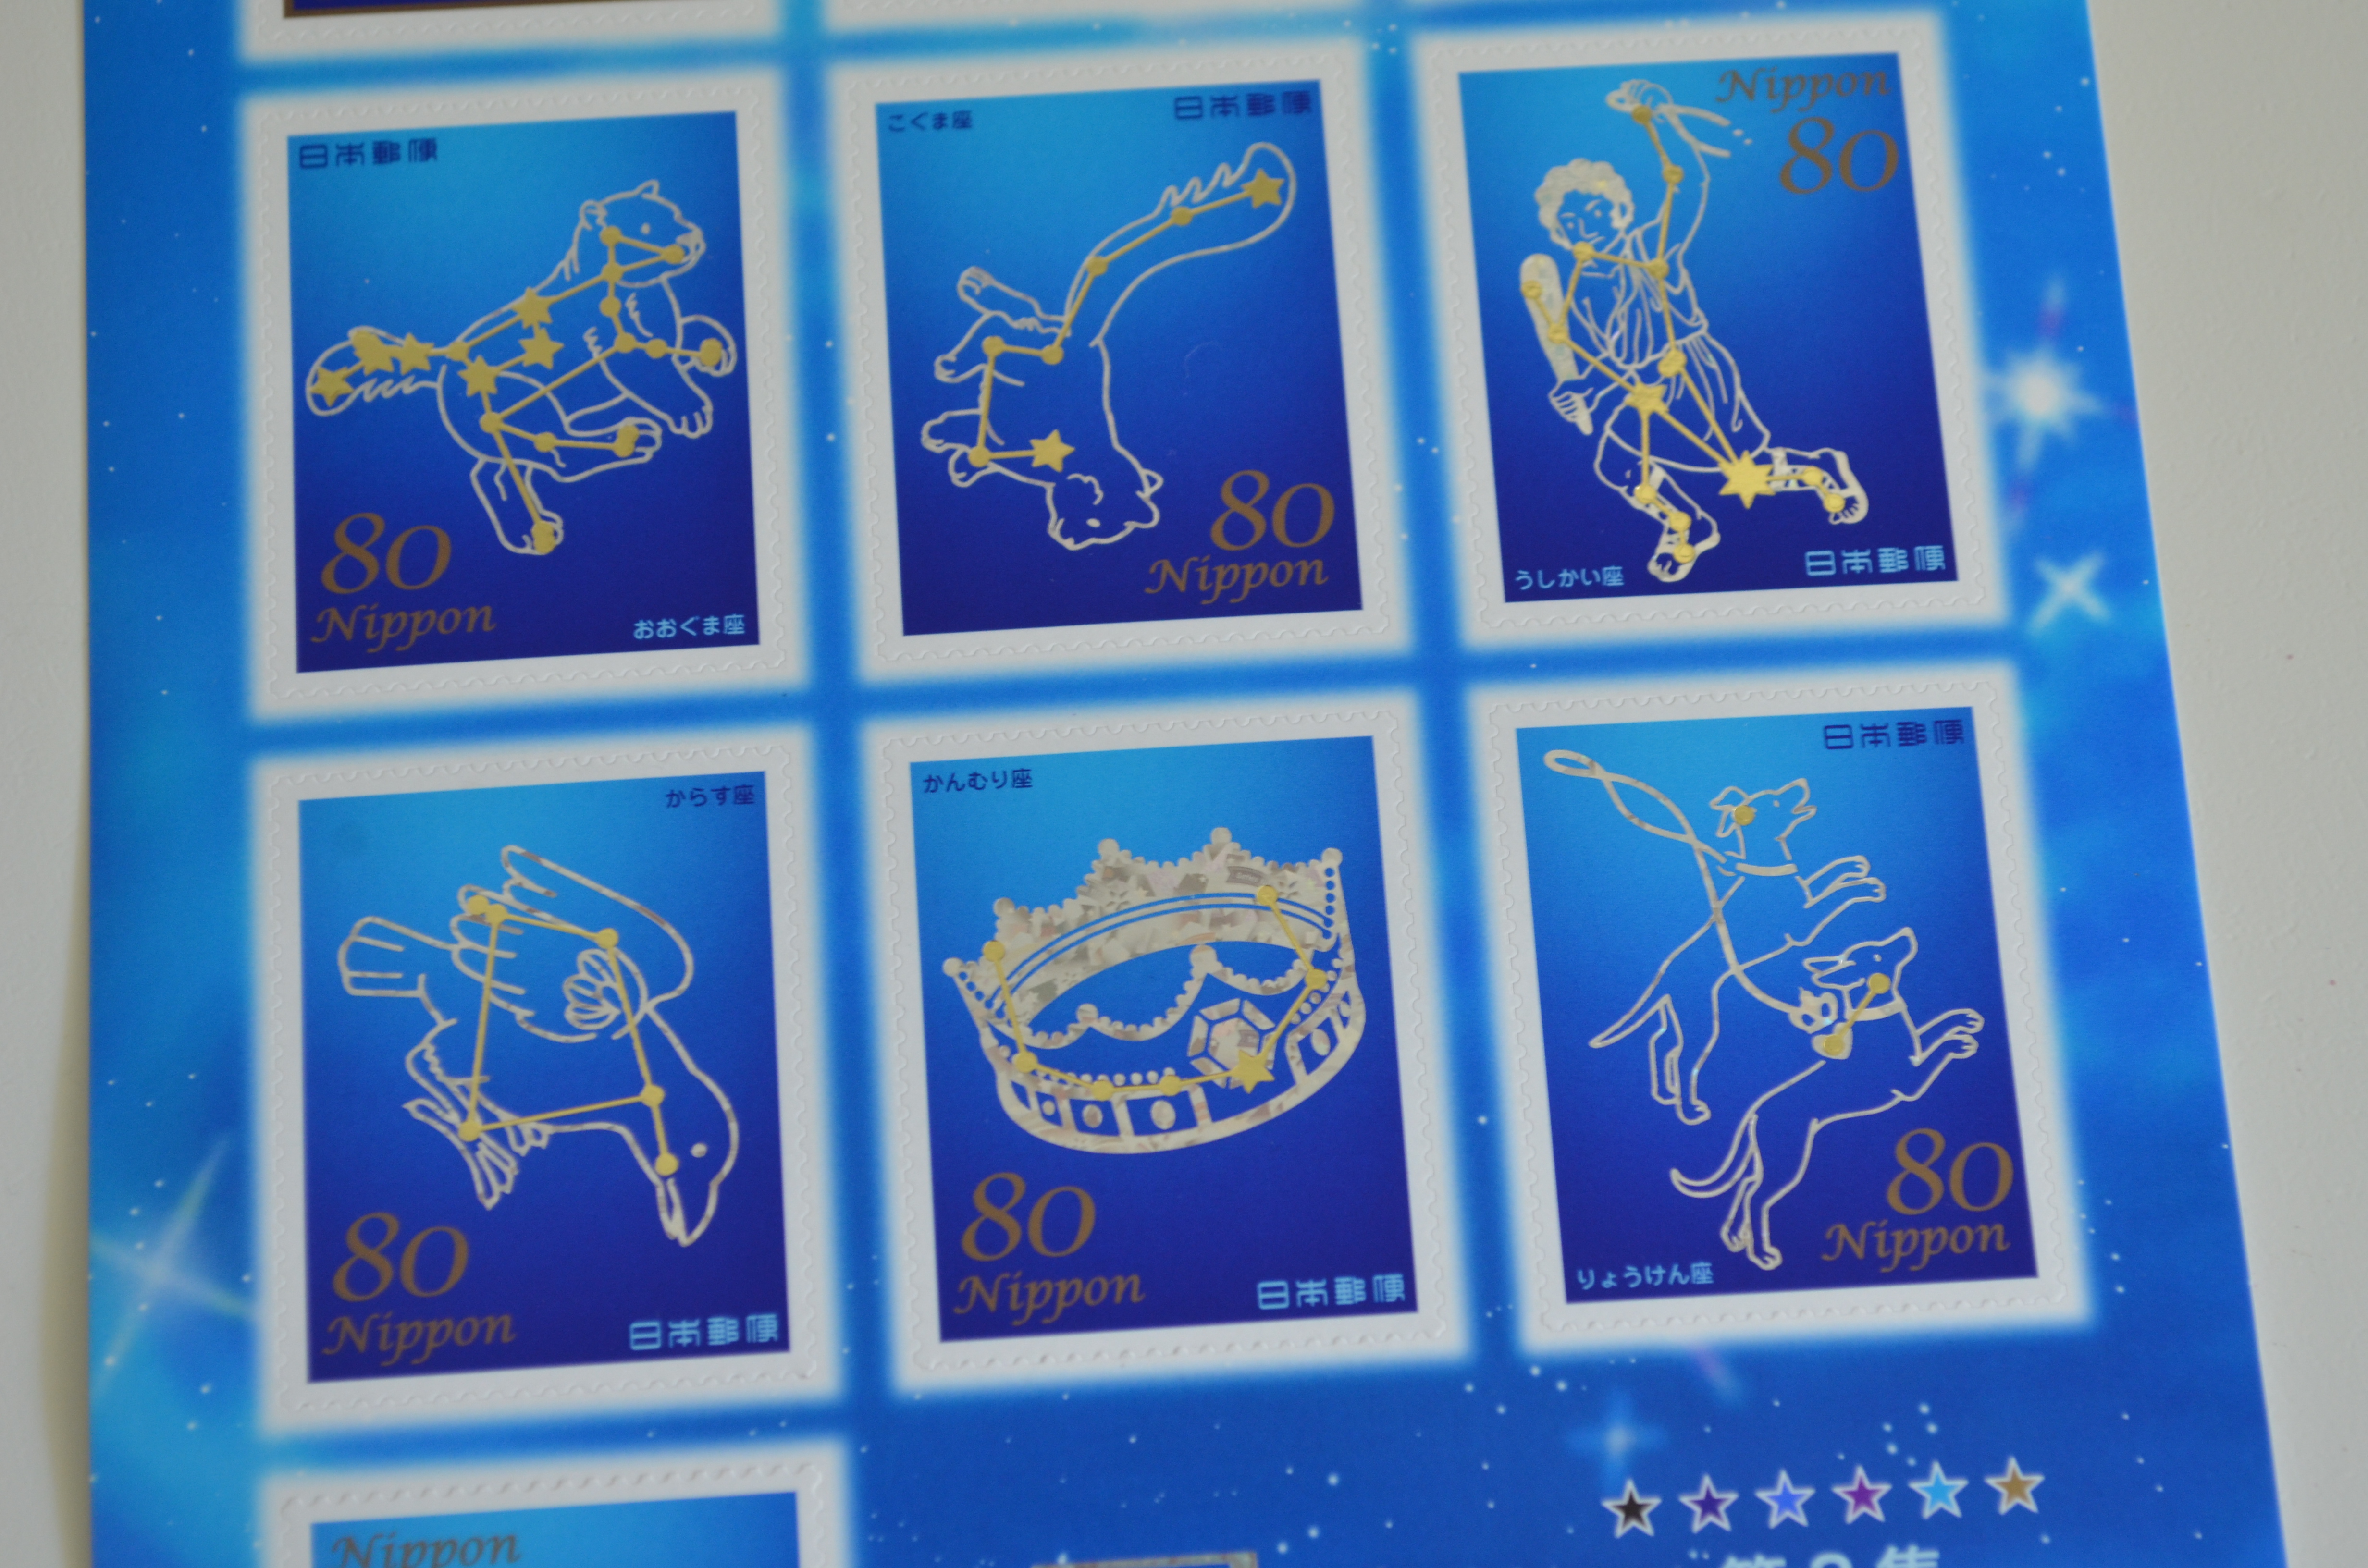
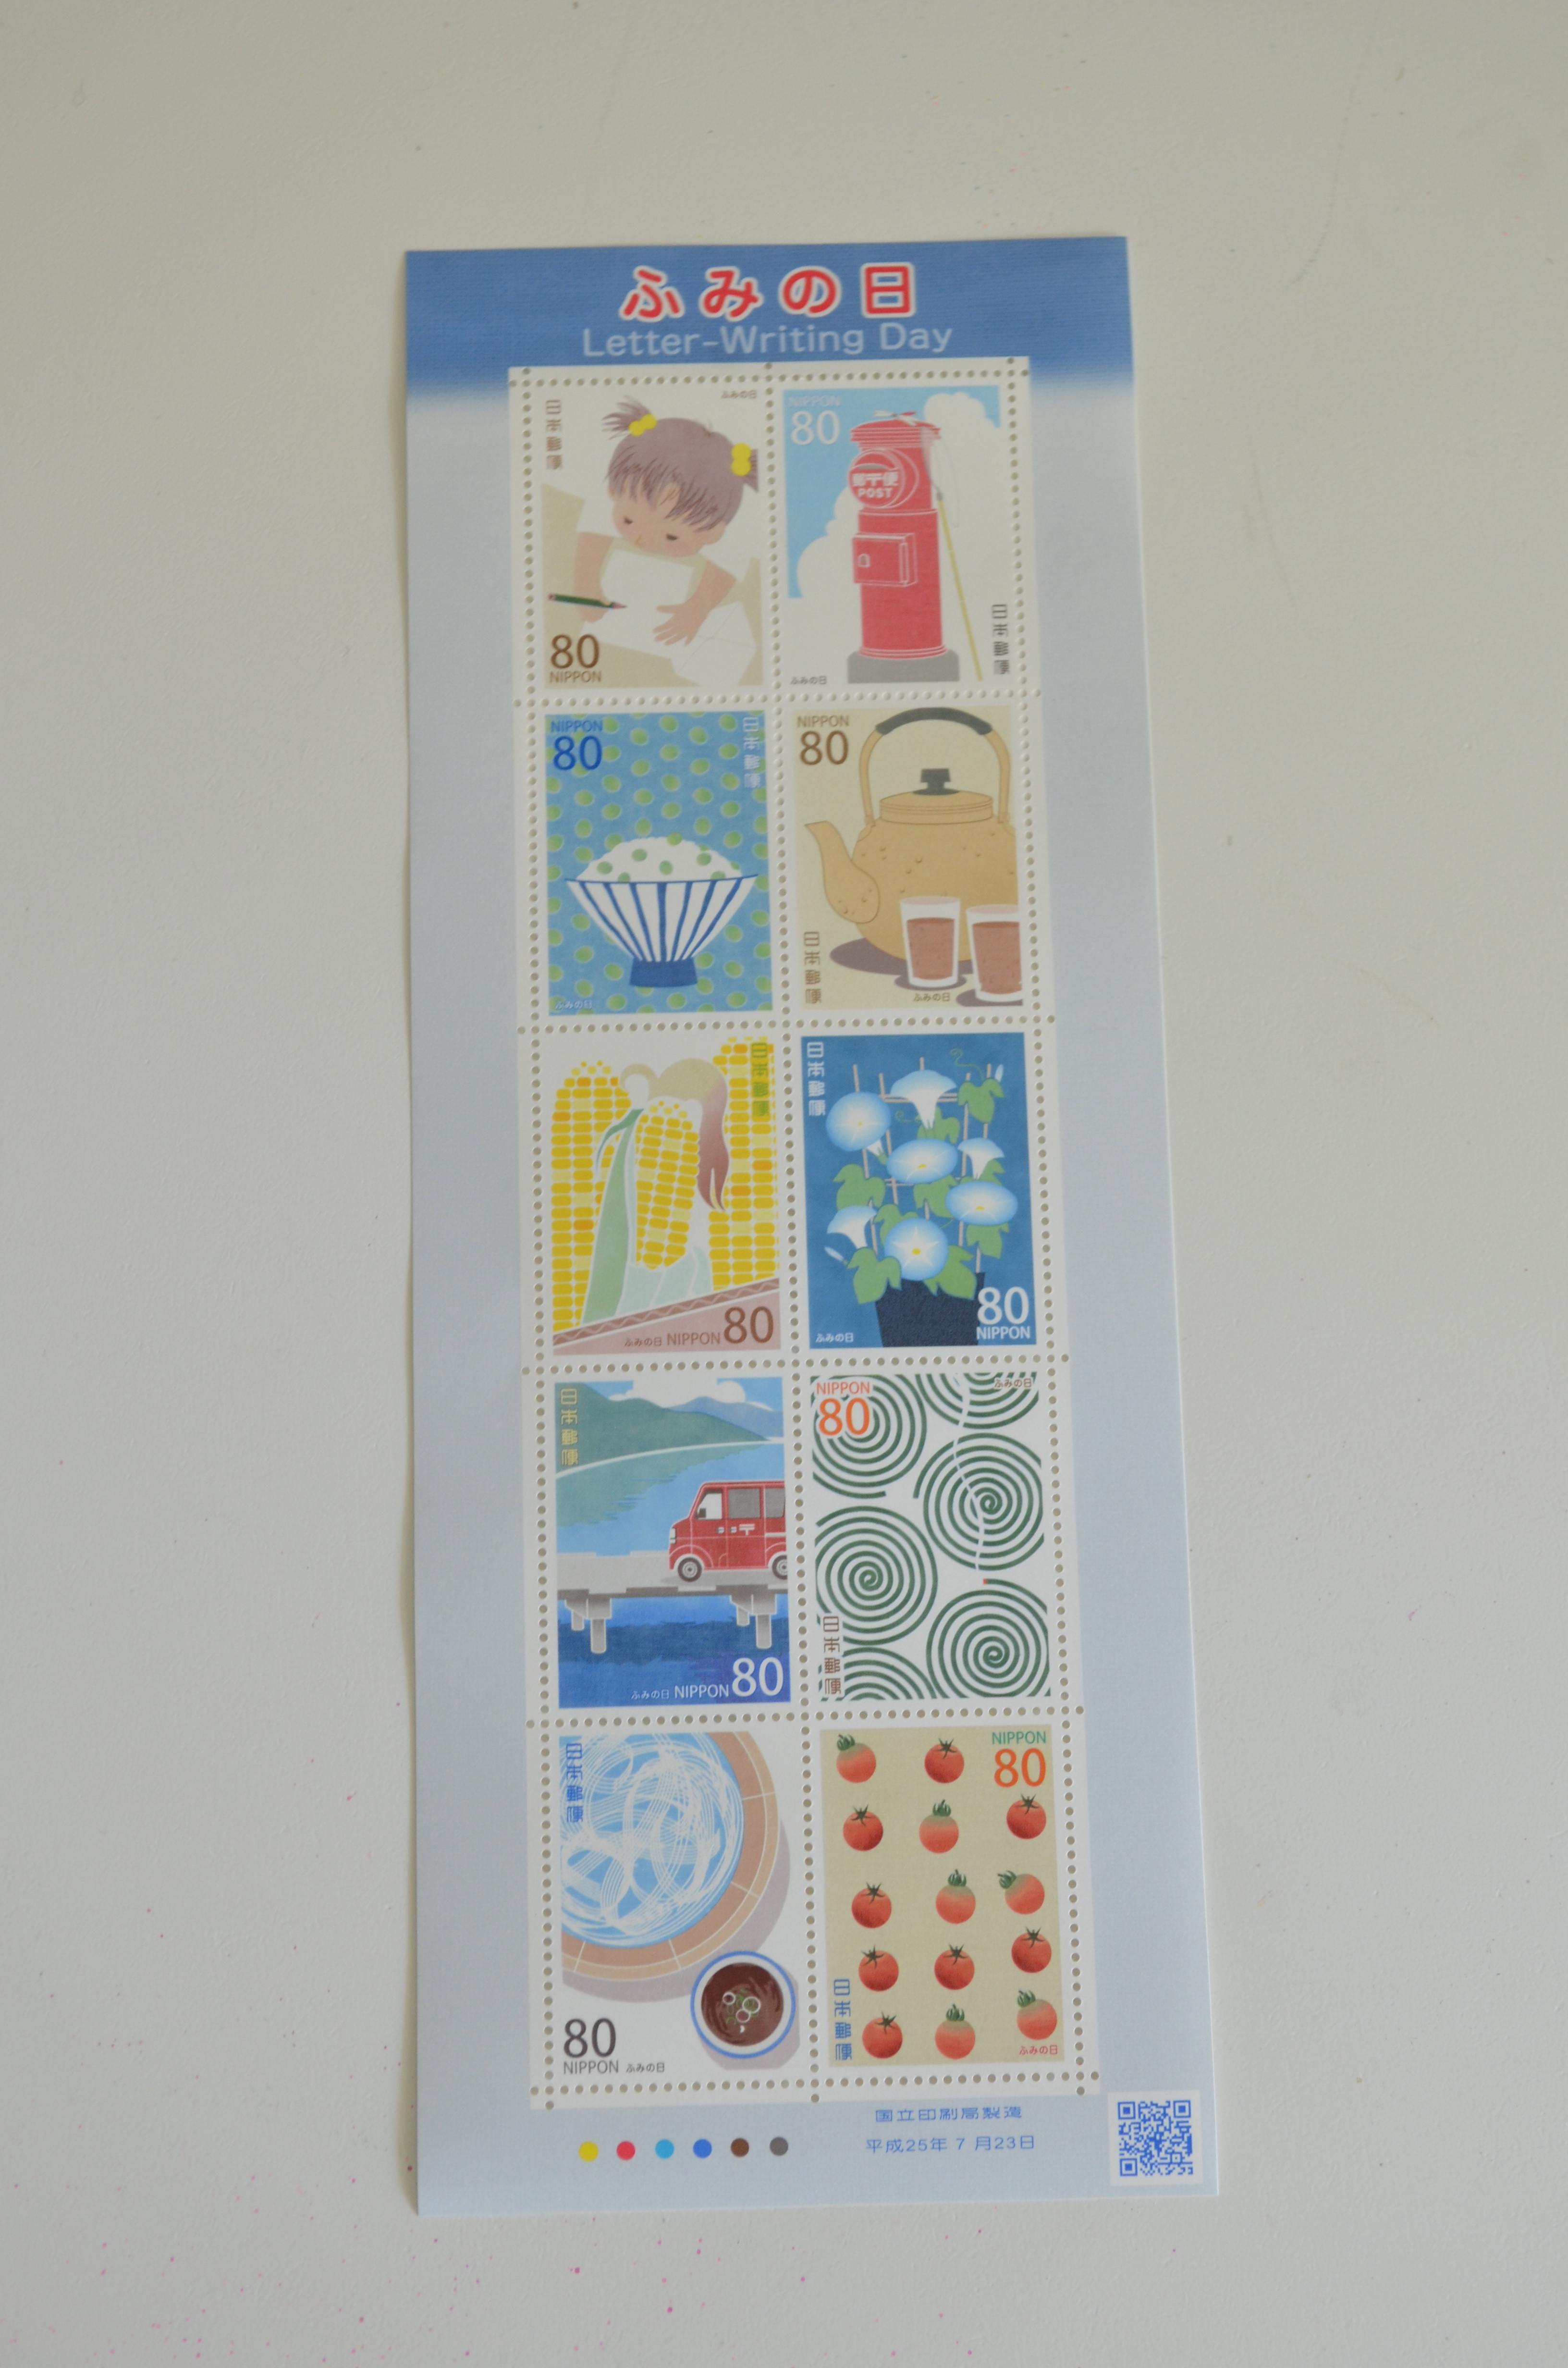
 Letter Month started up Saturday–are you playing along?
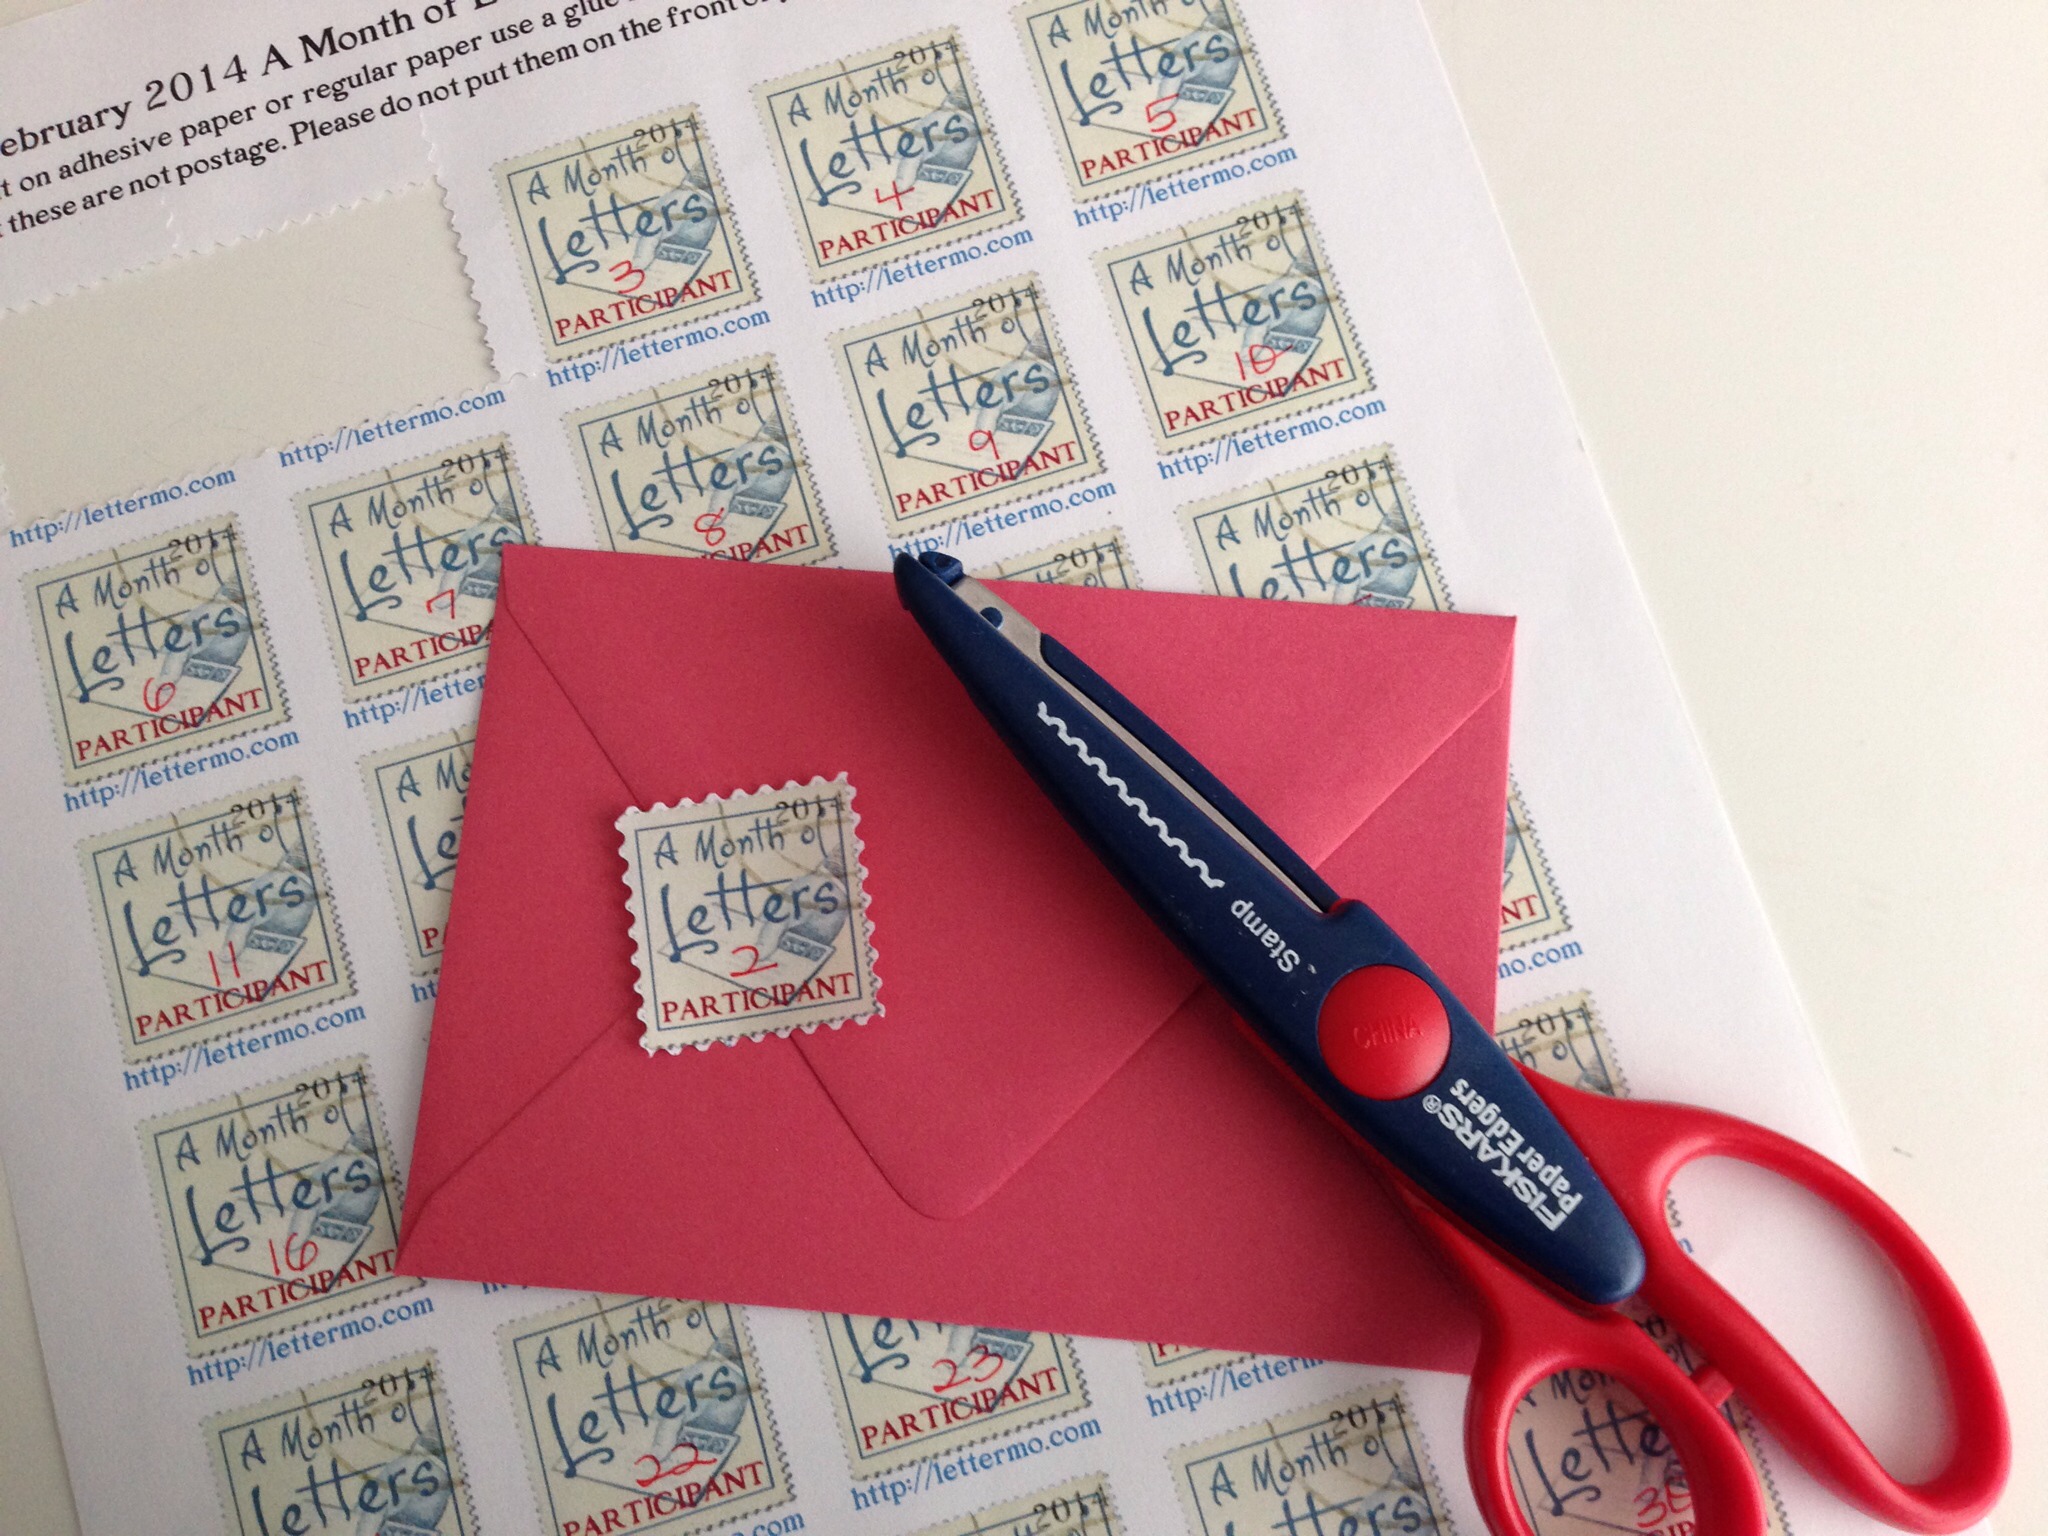 One thing I am trying to do this year is to use the Letter Month Participant stamps on each of my letters. I was pretty faithful about using them in 2012, but last year I kept forgetting. I printed out two sheets on regular paper and numbered them by hand. Then I cut them out each day (with my little Fiskars Stamp Scissors) and paste one onto each letter. The stamps usually end up on the back of the envelope (because sometimes it just doesn’t go with my mail art theme!) I’m hoping to remember to put one on each piece of mail I send out.